Skip to content
  • English
    • French
    • Italian
    • Spanish
    • German
    • Dutch
    • Portuguese (Portugal)
    • Greek
    • Polish
  • English
    • French
    • Italian
    • Spanish
    • German
    • Dutch
    • Portuguese (Portugal)
    • Greek
    • Polish
Logo Avidsen
  • Products
    • Products
    • Avidsen Brand
    • Extel Brand
    • Philips Brand
    • Thomson Brand
  • Support
    • Tutorials on repair and use
    • Avidsen Technical Support
    • Extel brand technical support
    • Philips technical support
    • Thomson Technical Support
  • The Group
    • The Group
    • Contact
  • Ethic Company
  • Where to buy ?
\

Replacement of an ORANE410 electric motor

  1. Home
  2. Replacement of an ORANE410 electric motor

Replacement of an ORANE410 electric motor

Your electric motor has stopped working and you need to replace it. Follow the step-by-step instructions in this tutorial.

This tutorial is applicable for:

Avidsen - 114200 - Orane 410 / Avidsen - 114201 - Orane 510 / Avidsen - 114202 - Orane Connect / Avidsen - 114302 - Orane 420 / Thomson - 510062 - Sésame 250
Difficulté : Moderate
Temps nécessaire : 20 minutes
Nombre d’étapes : 11
Mise à jour : February 2025

Materials needed:

Wrench or screw head BTR 4, Phillips screwdriver or Phillips screw head

Tutorial steps:

Step 1: Locate BTR screws

Locate the 7 BTR screws (circled in red)

Tip: Start unscrewing

From the factory, the screws may be tight and cannot be turned with a screwdriver. Using a BTR wrench, unscrew the screws to loosen them. Once the screw can be turned freely, you can use the screwdriver to go faster.

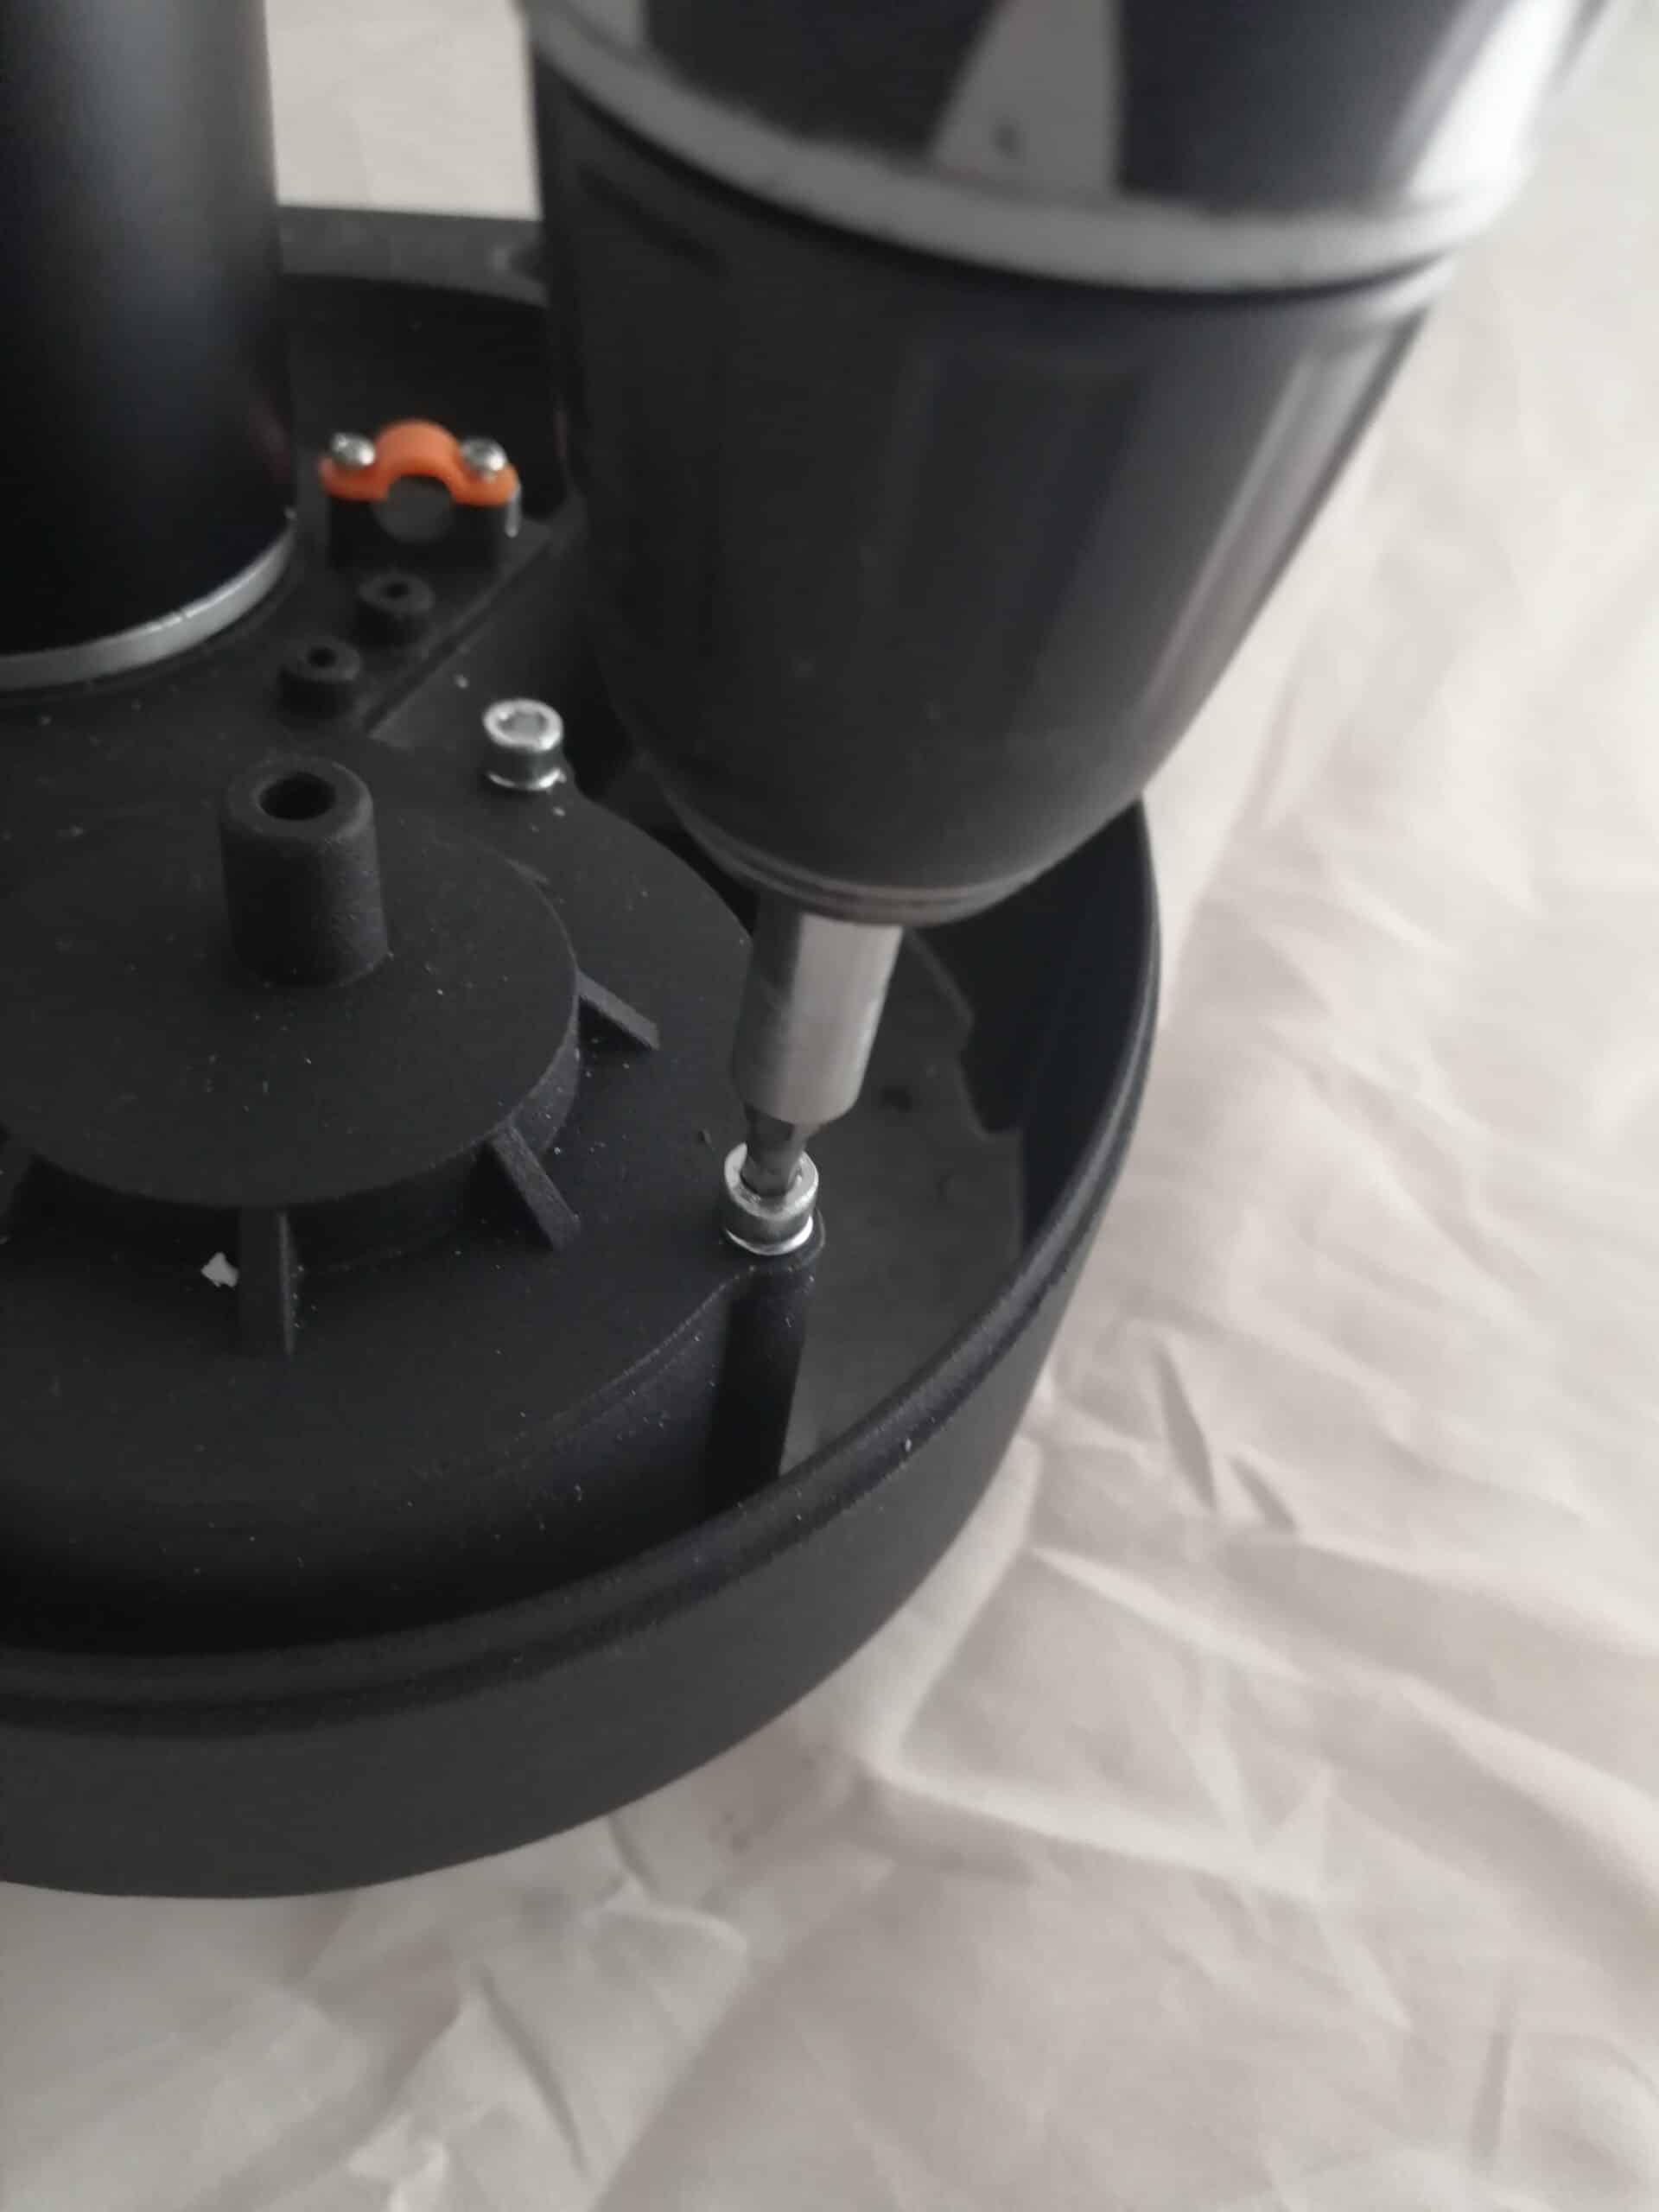
Step 2: Loosen BTR screws

Remove the 7 BTR screws from the motor

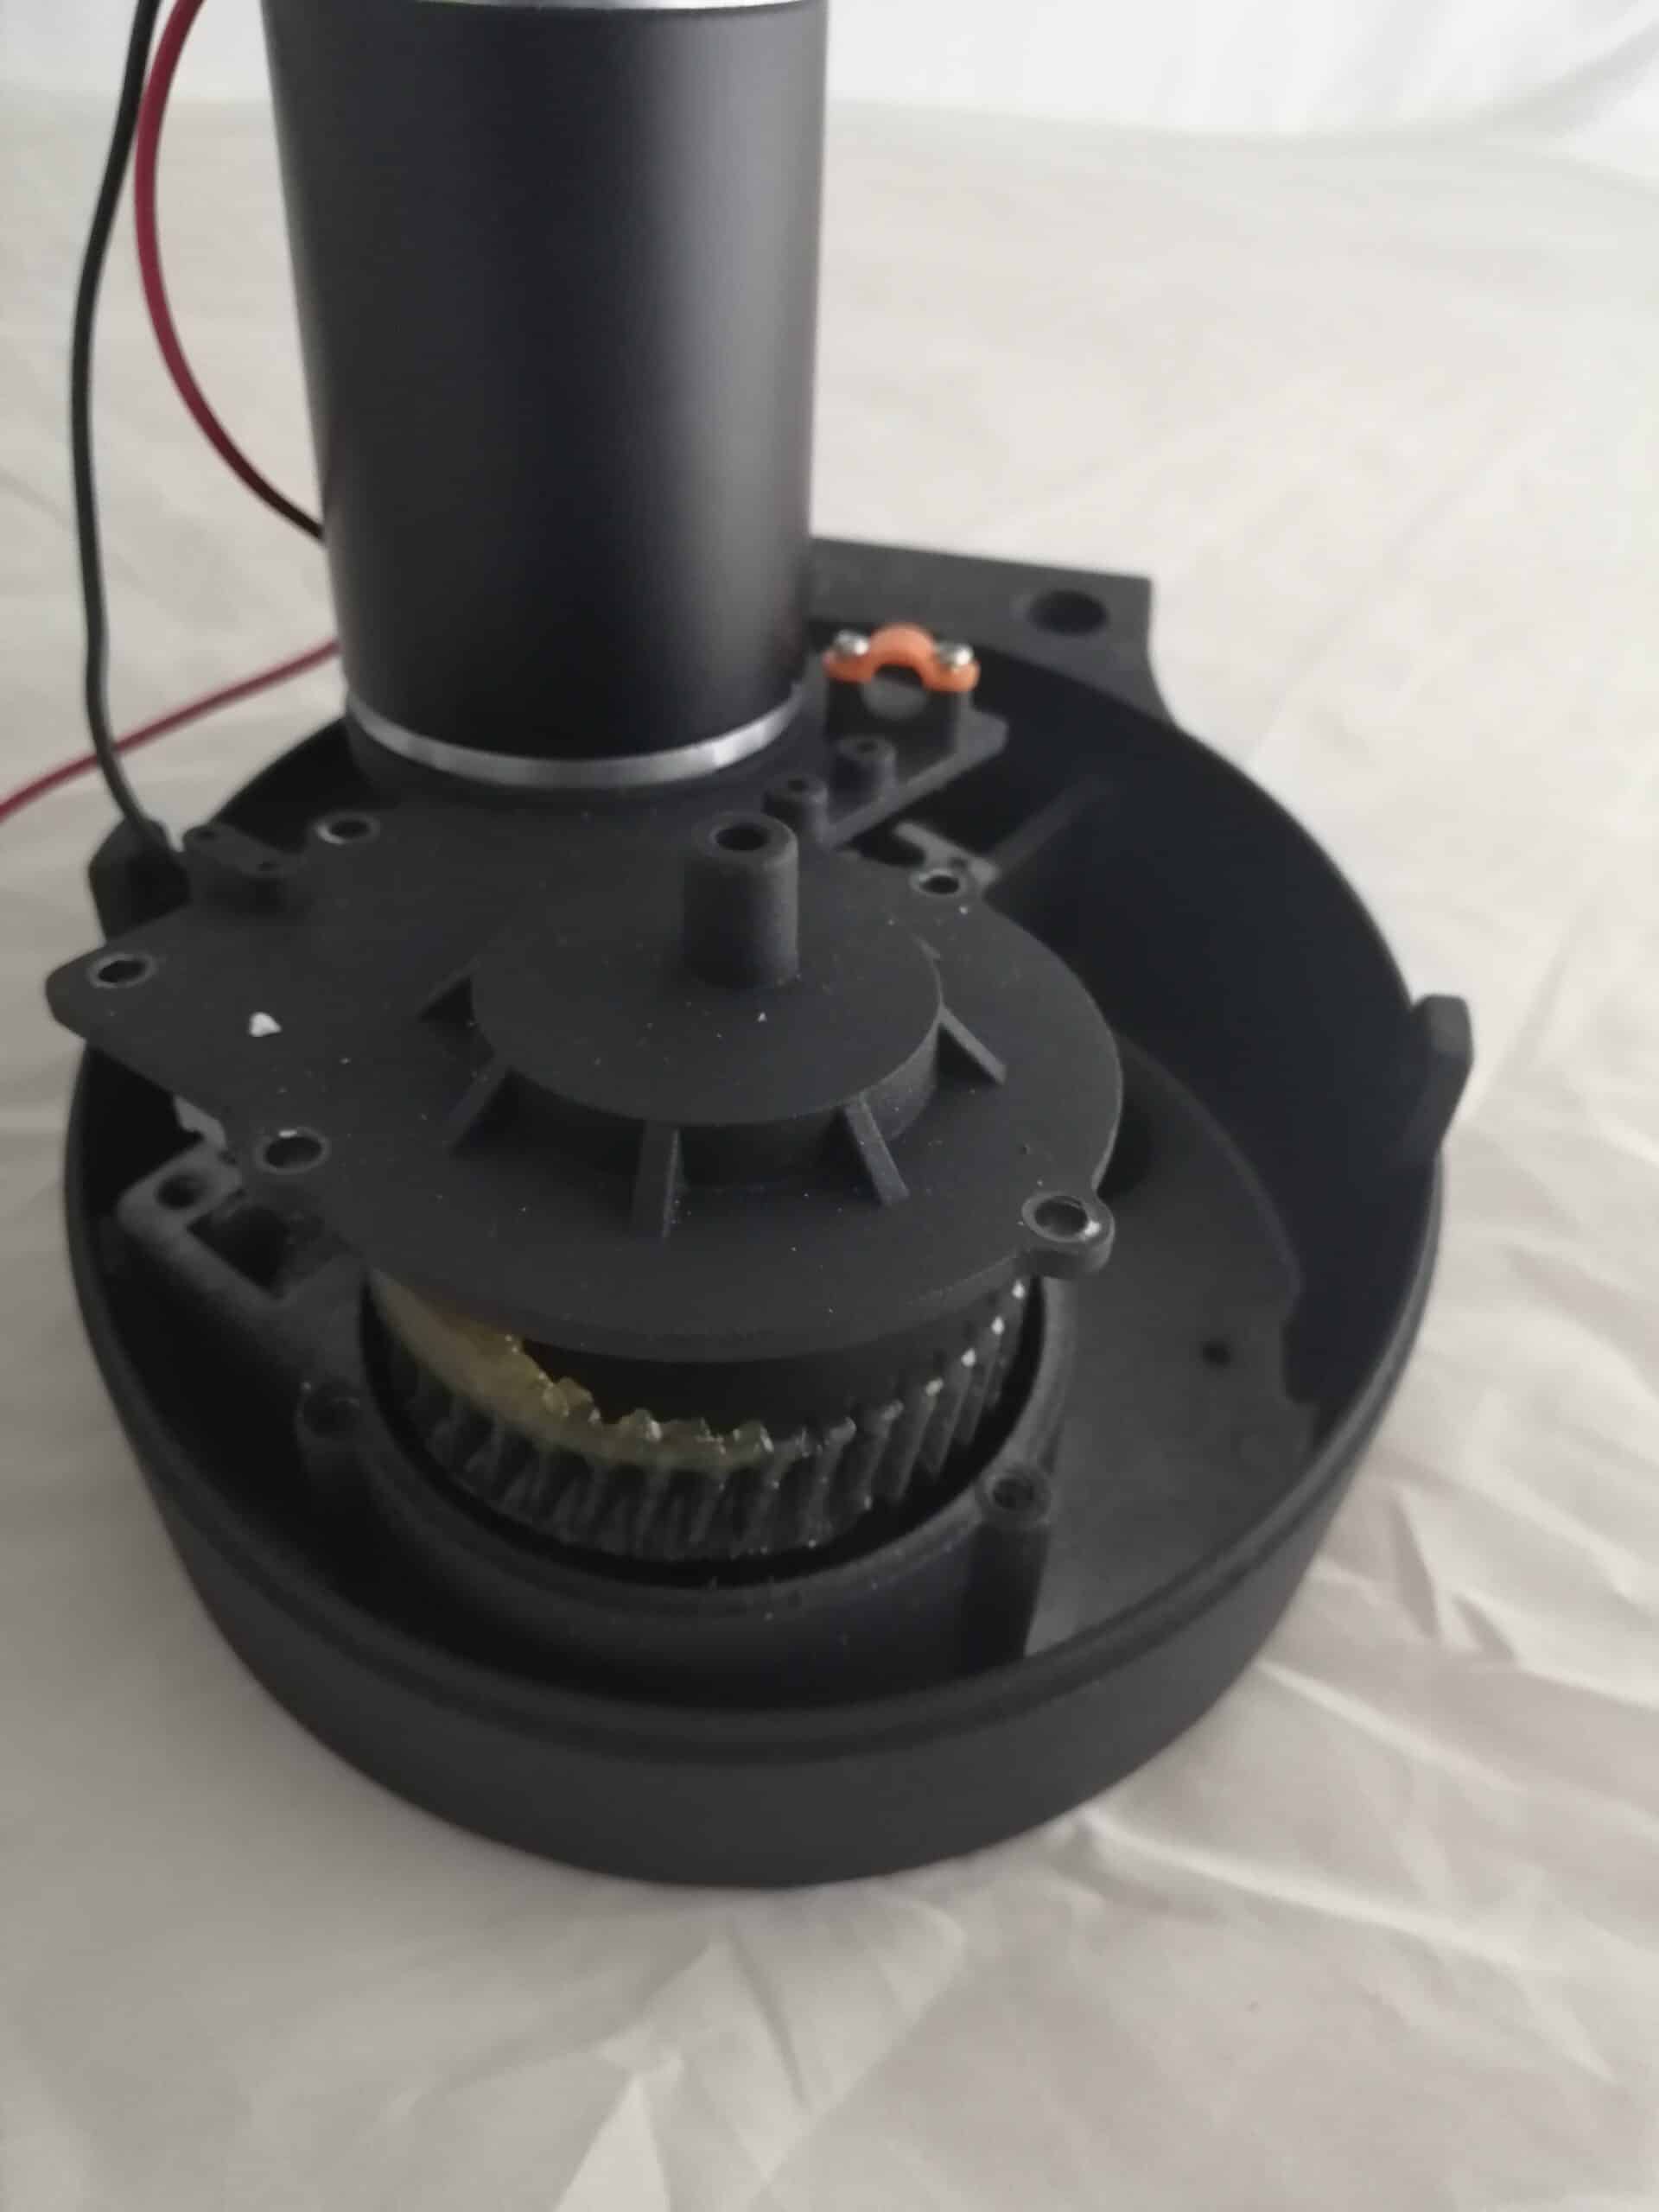
Step 3: Opening the motor

Once the last screw has been removed, the motor will open on its own, with the motor shaft rising as it rests on the work surface.

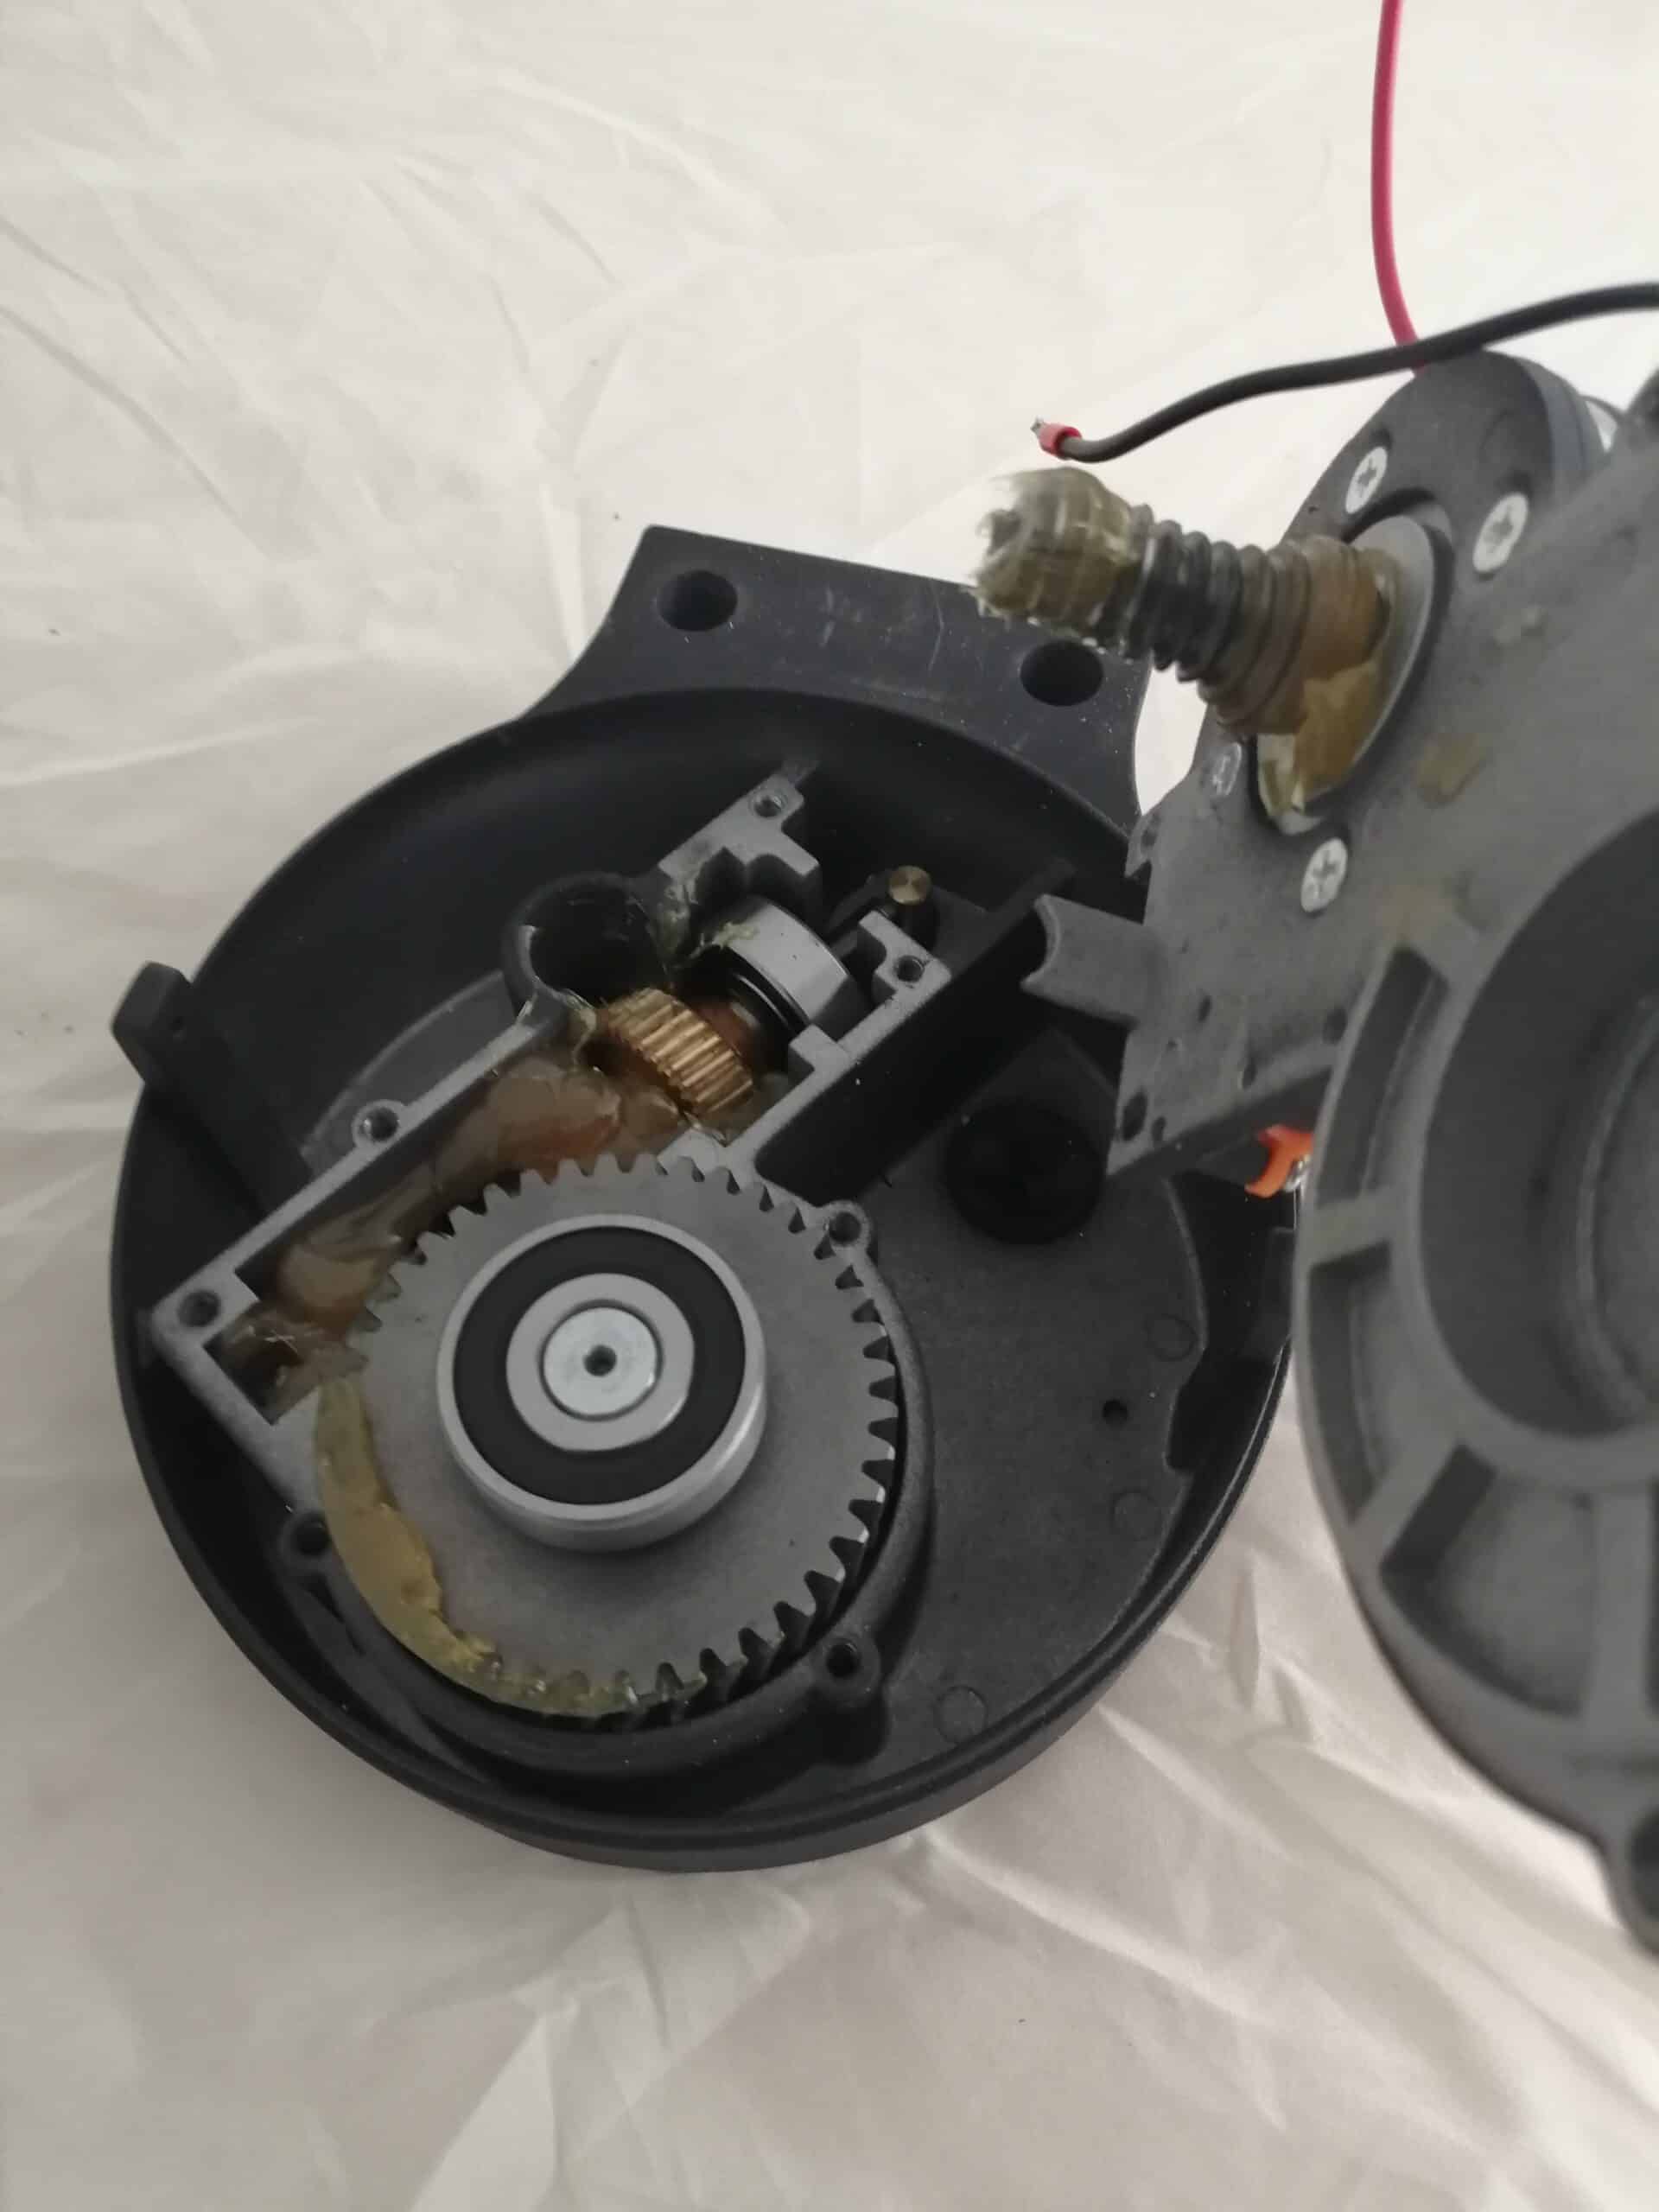
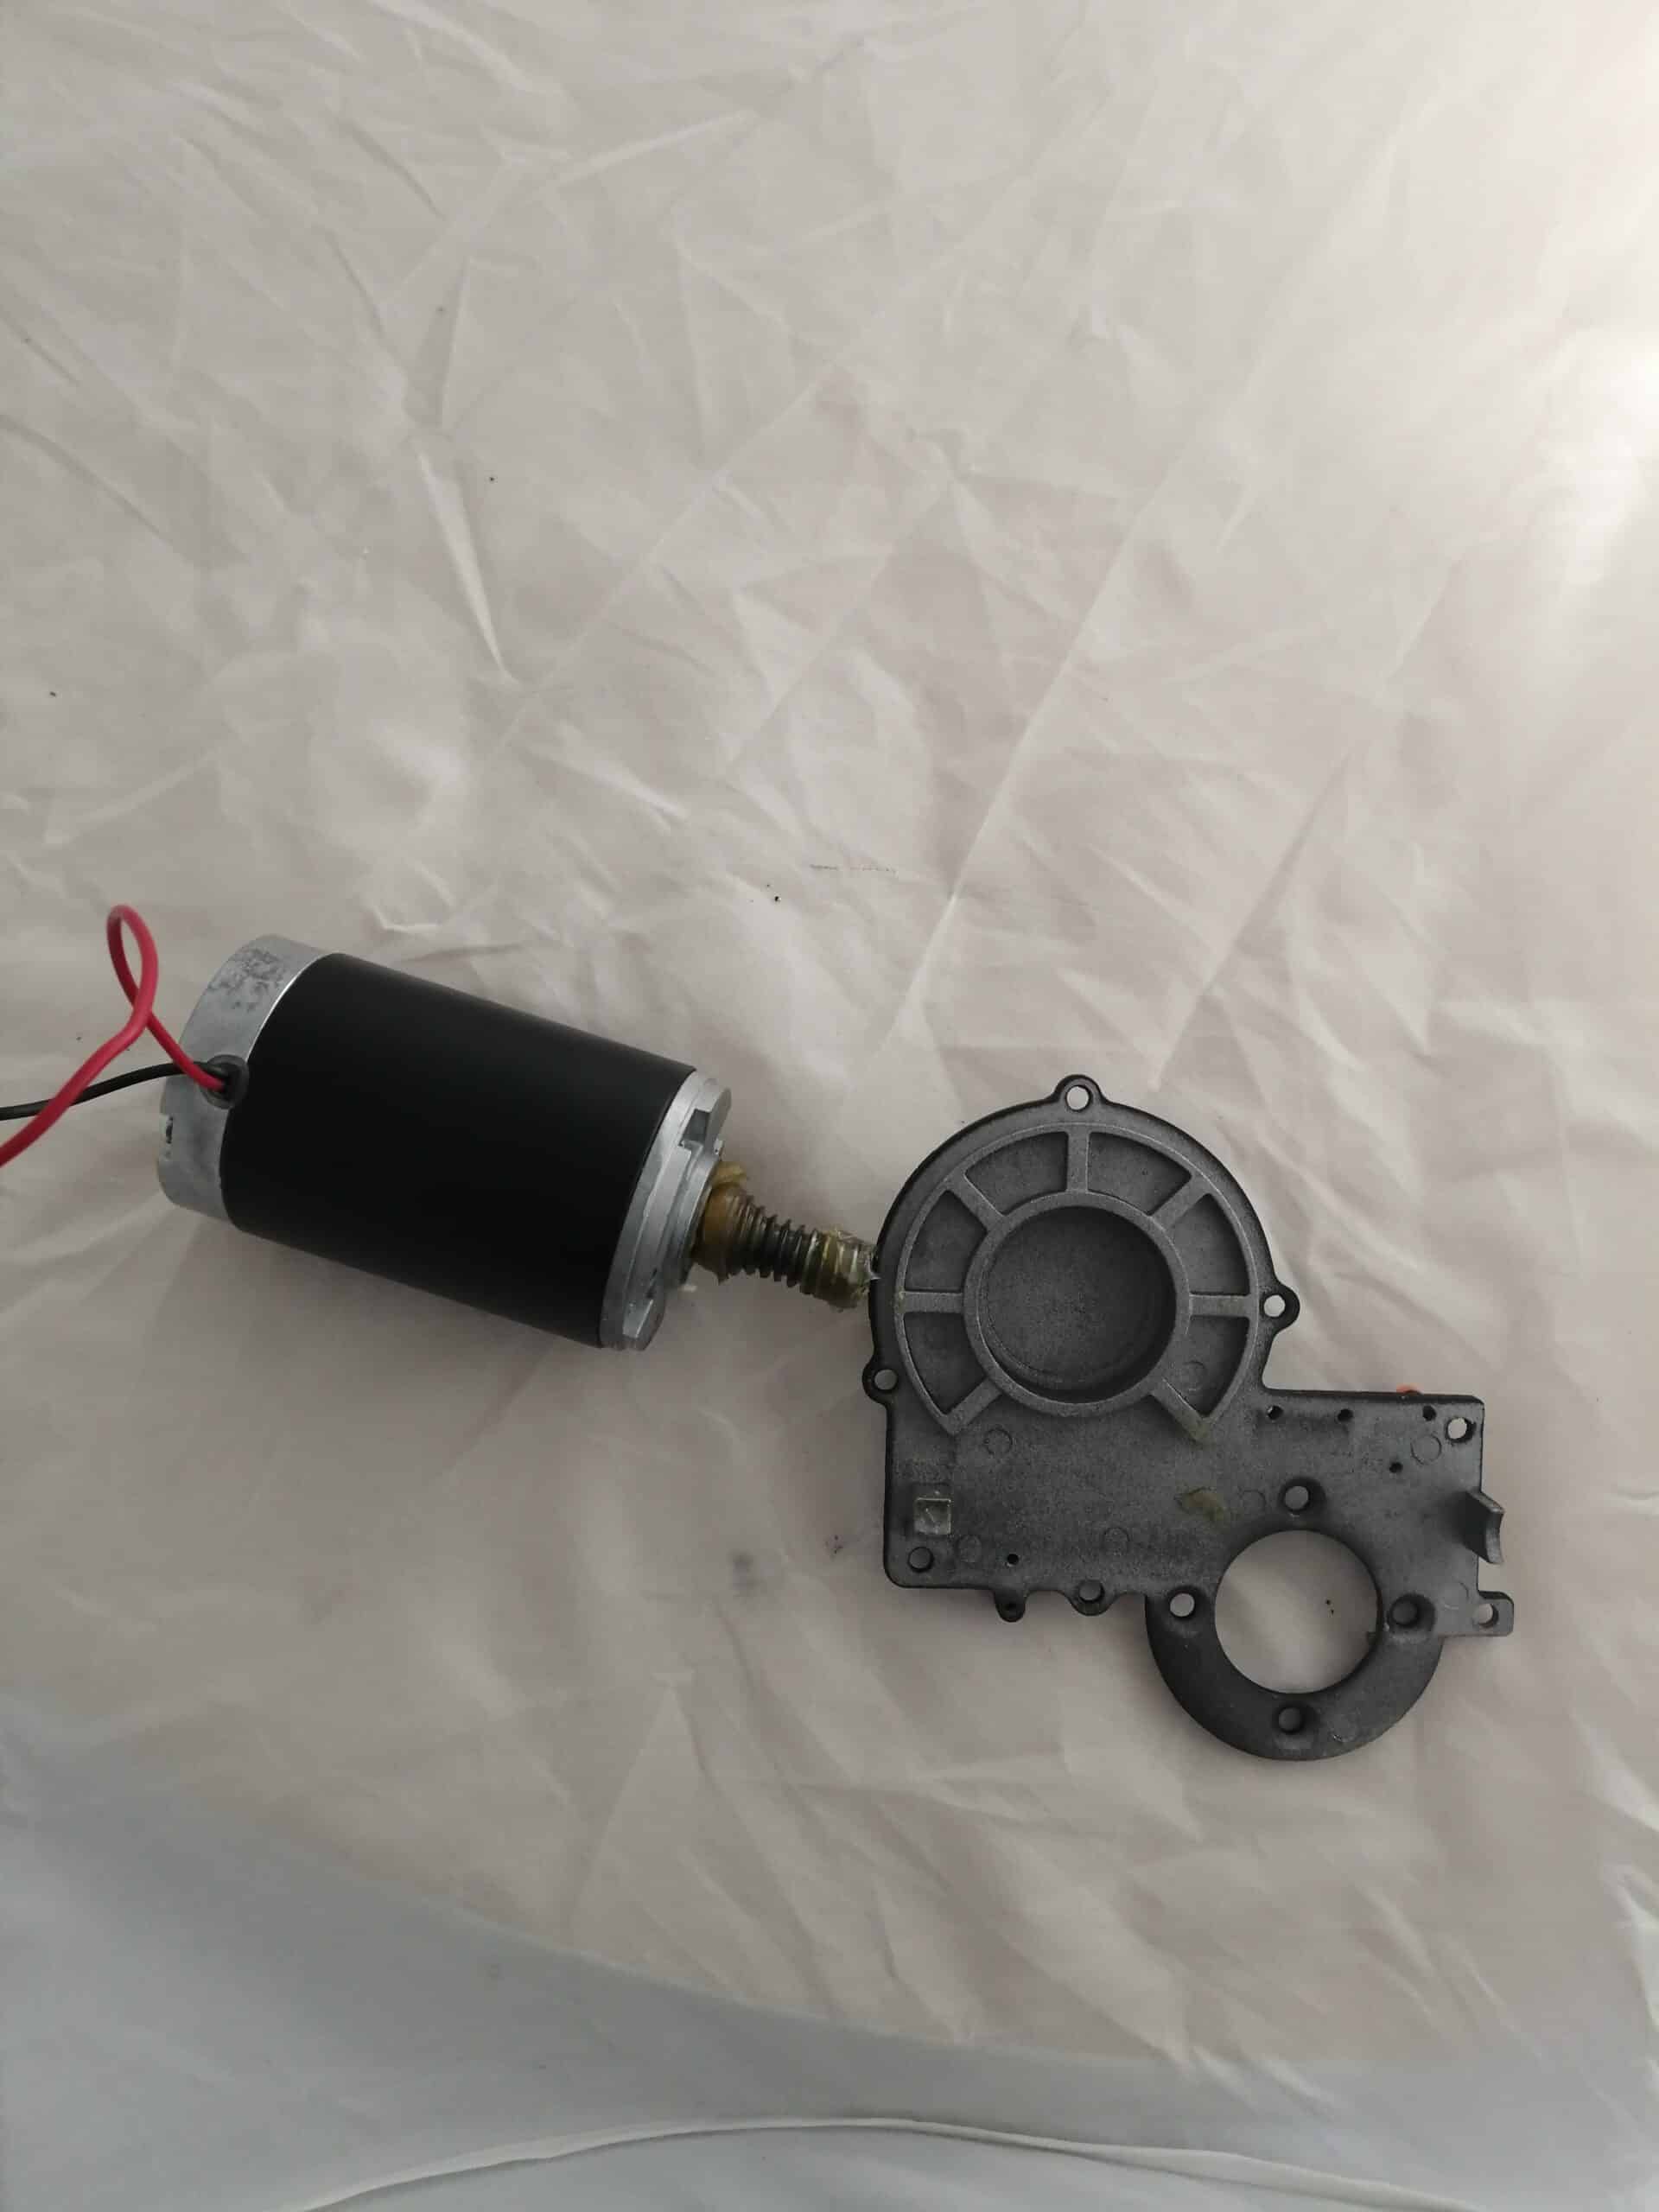
Step 4: Separation of components

Completely remove the electric motor and motor mount from the motor block.

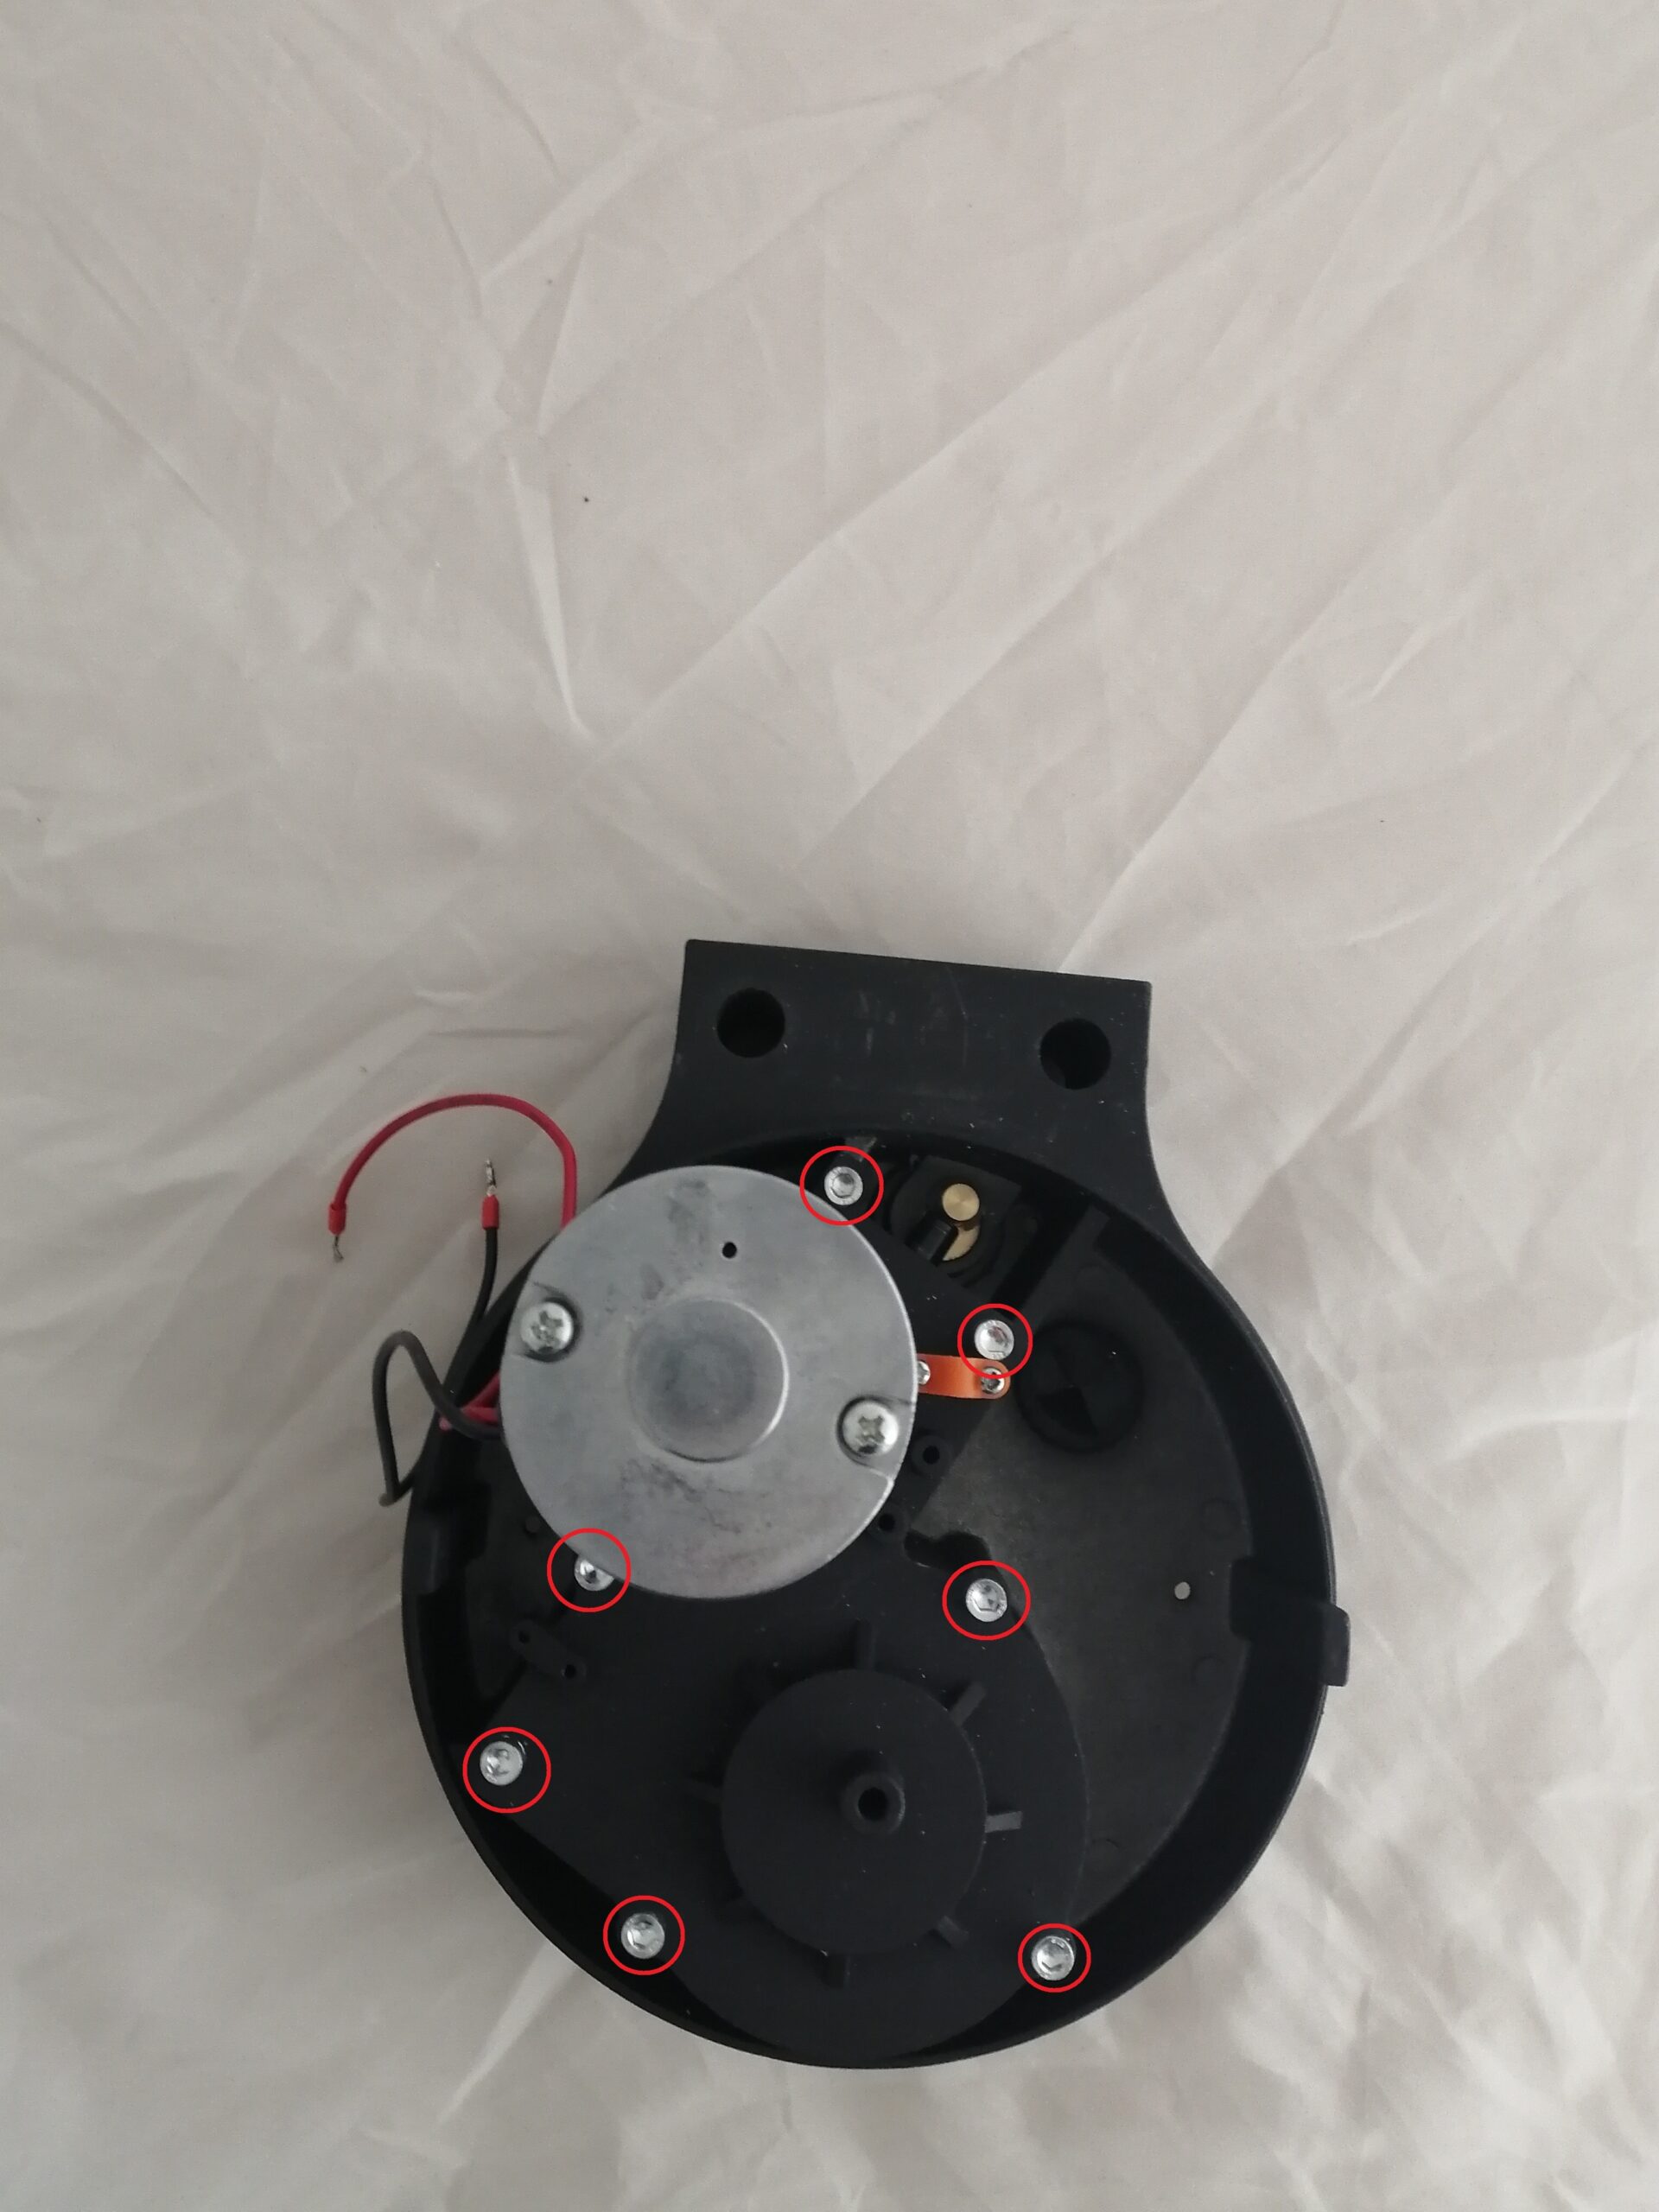
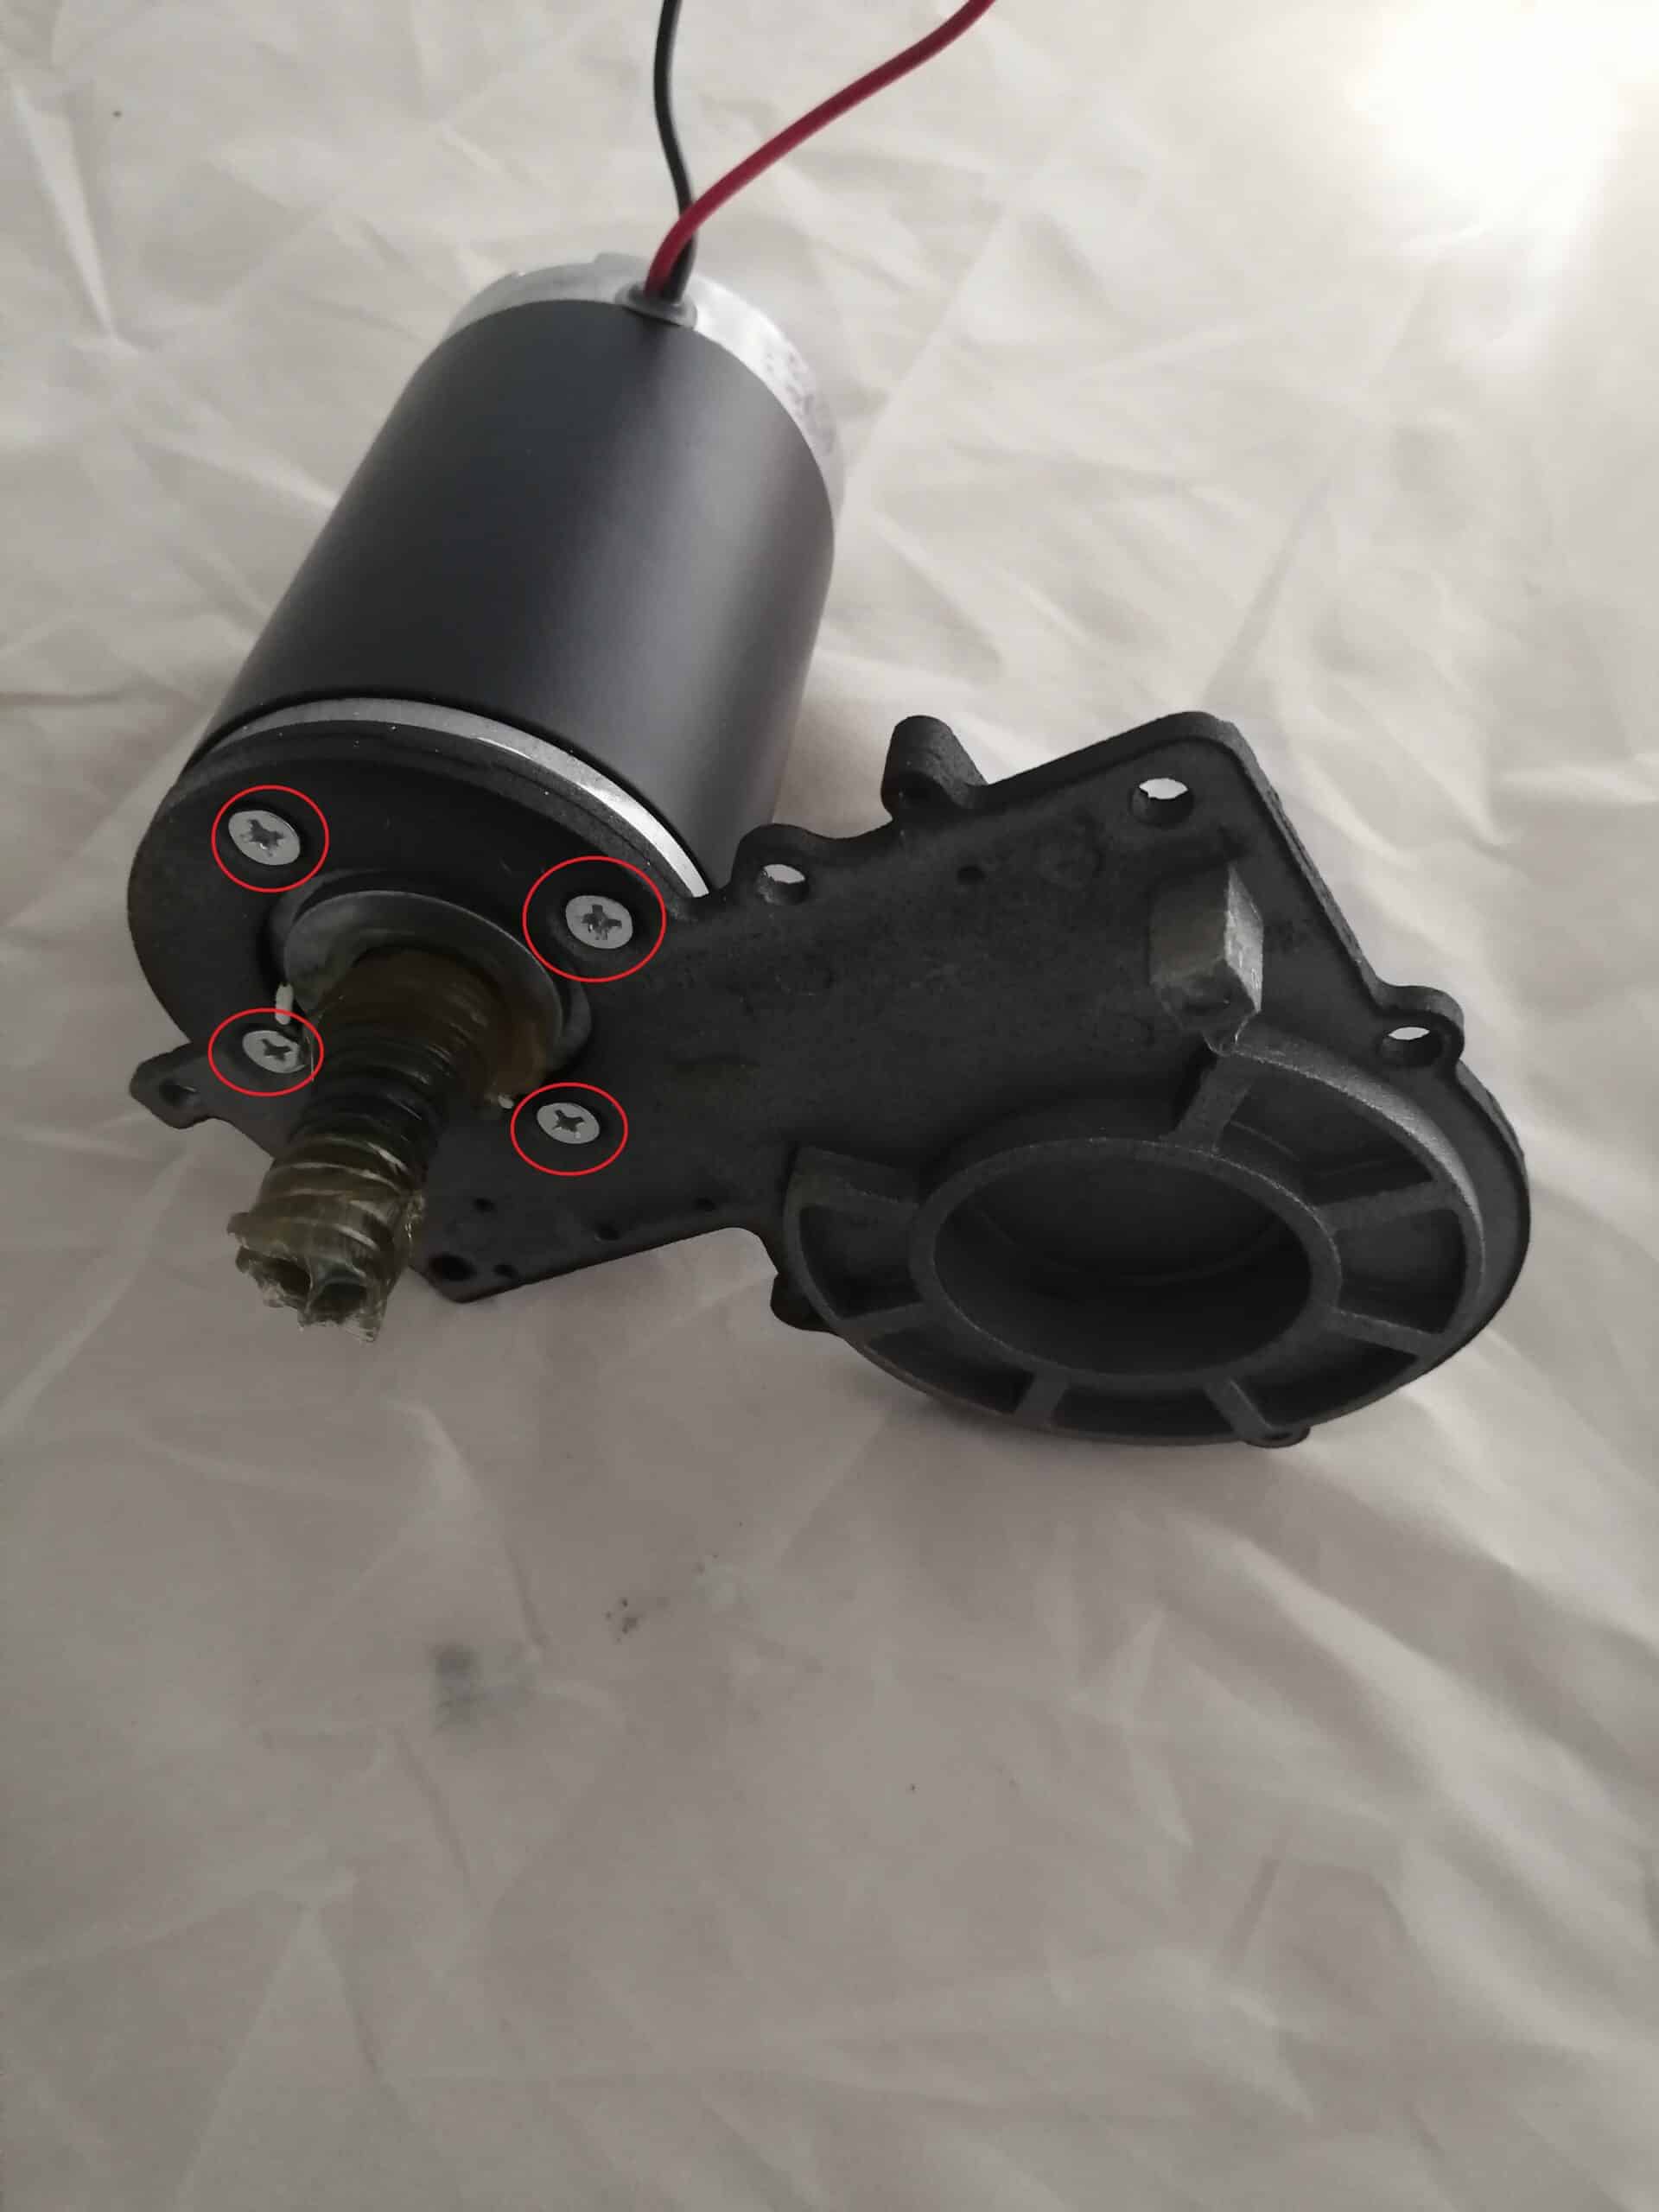
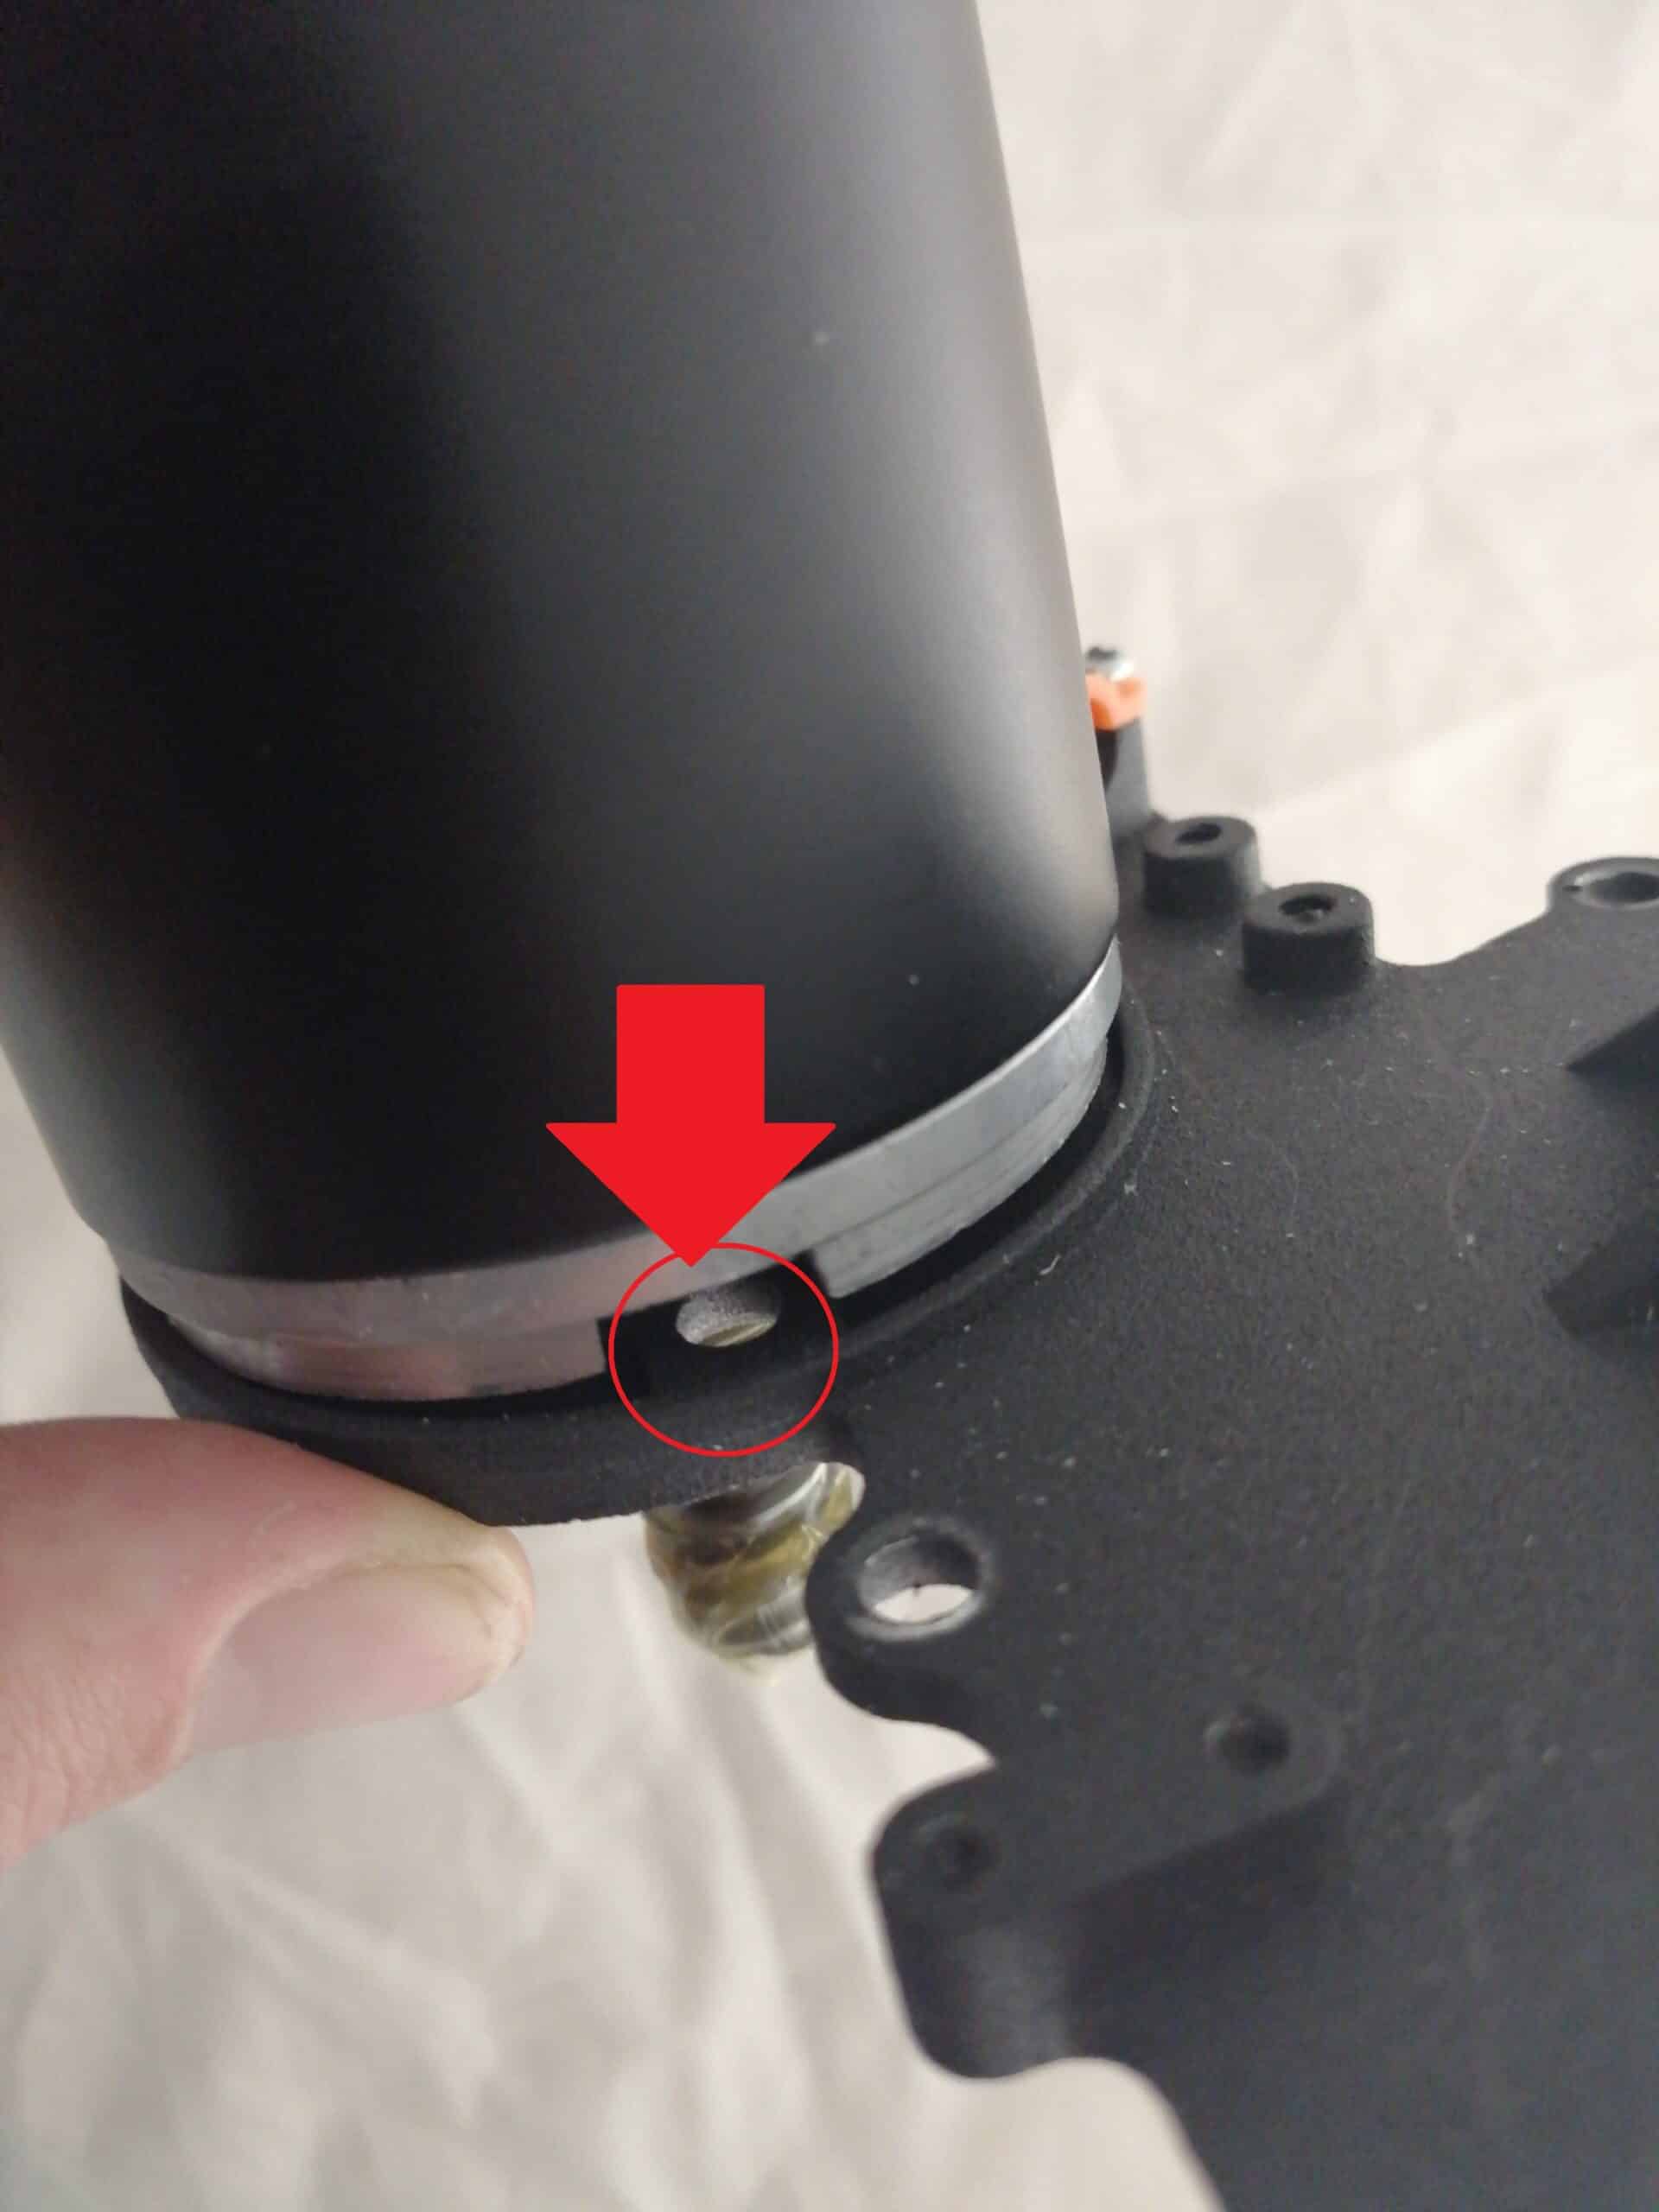
Step 5: Locate the motor mounting screws on the bracket

Turn the electric motor over and locate the 4 Phillips screws (circled in red).

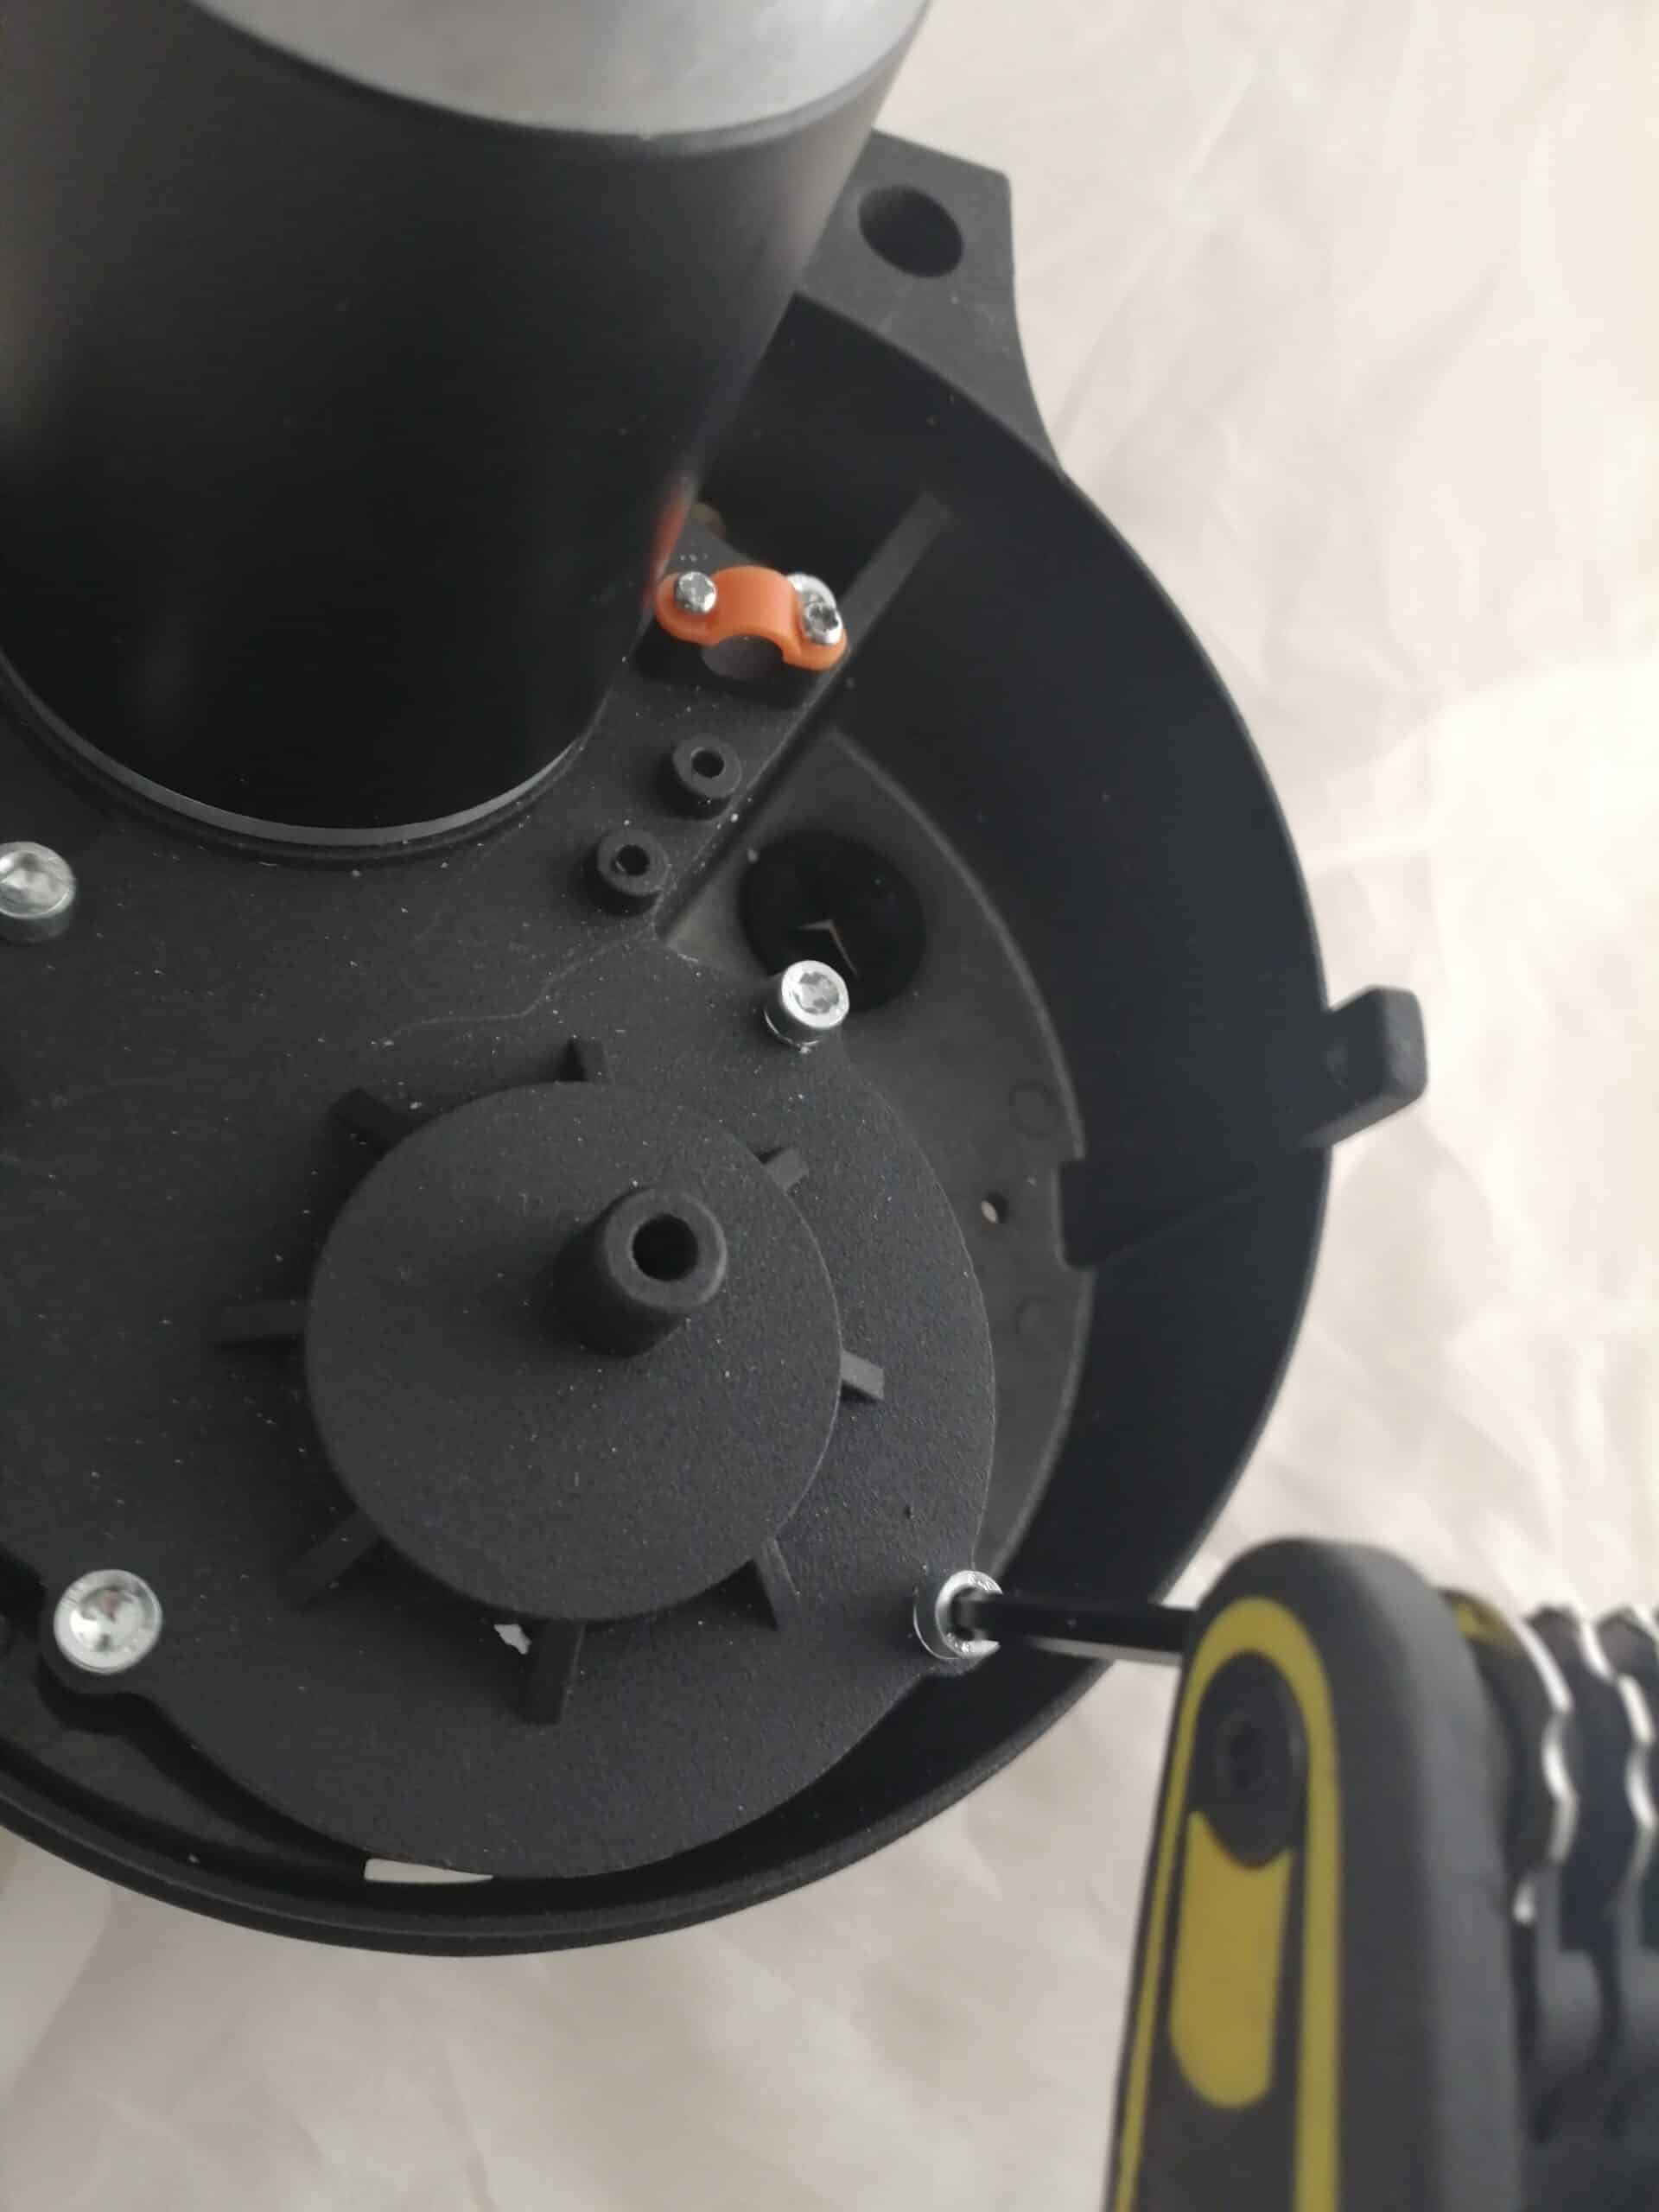
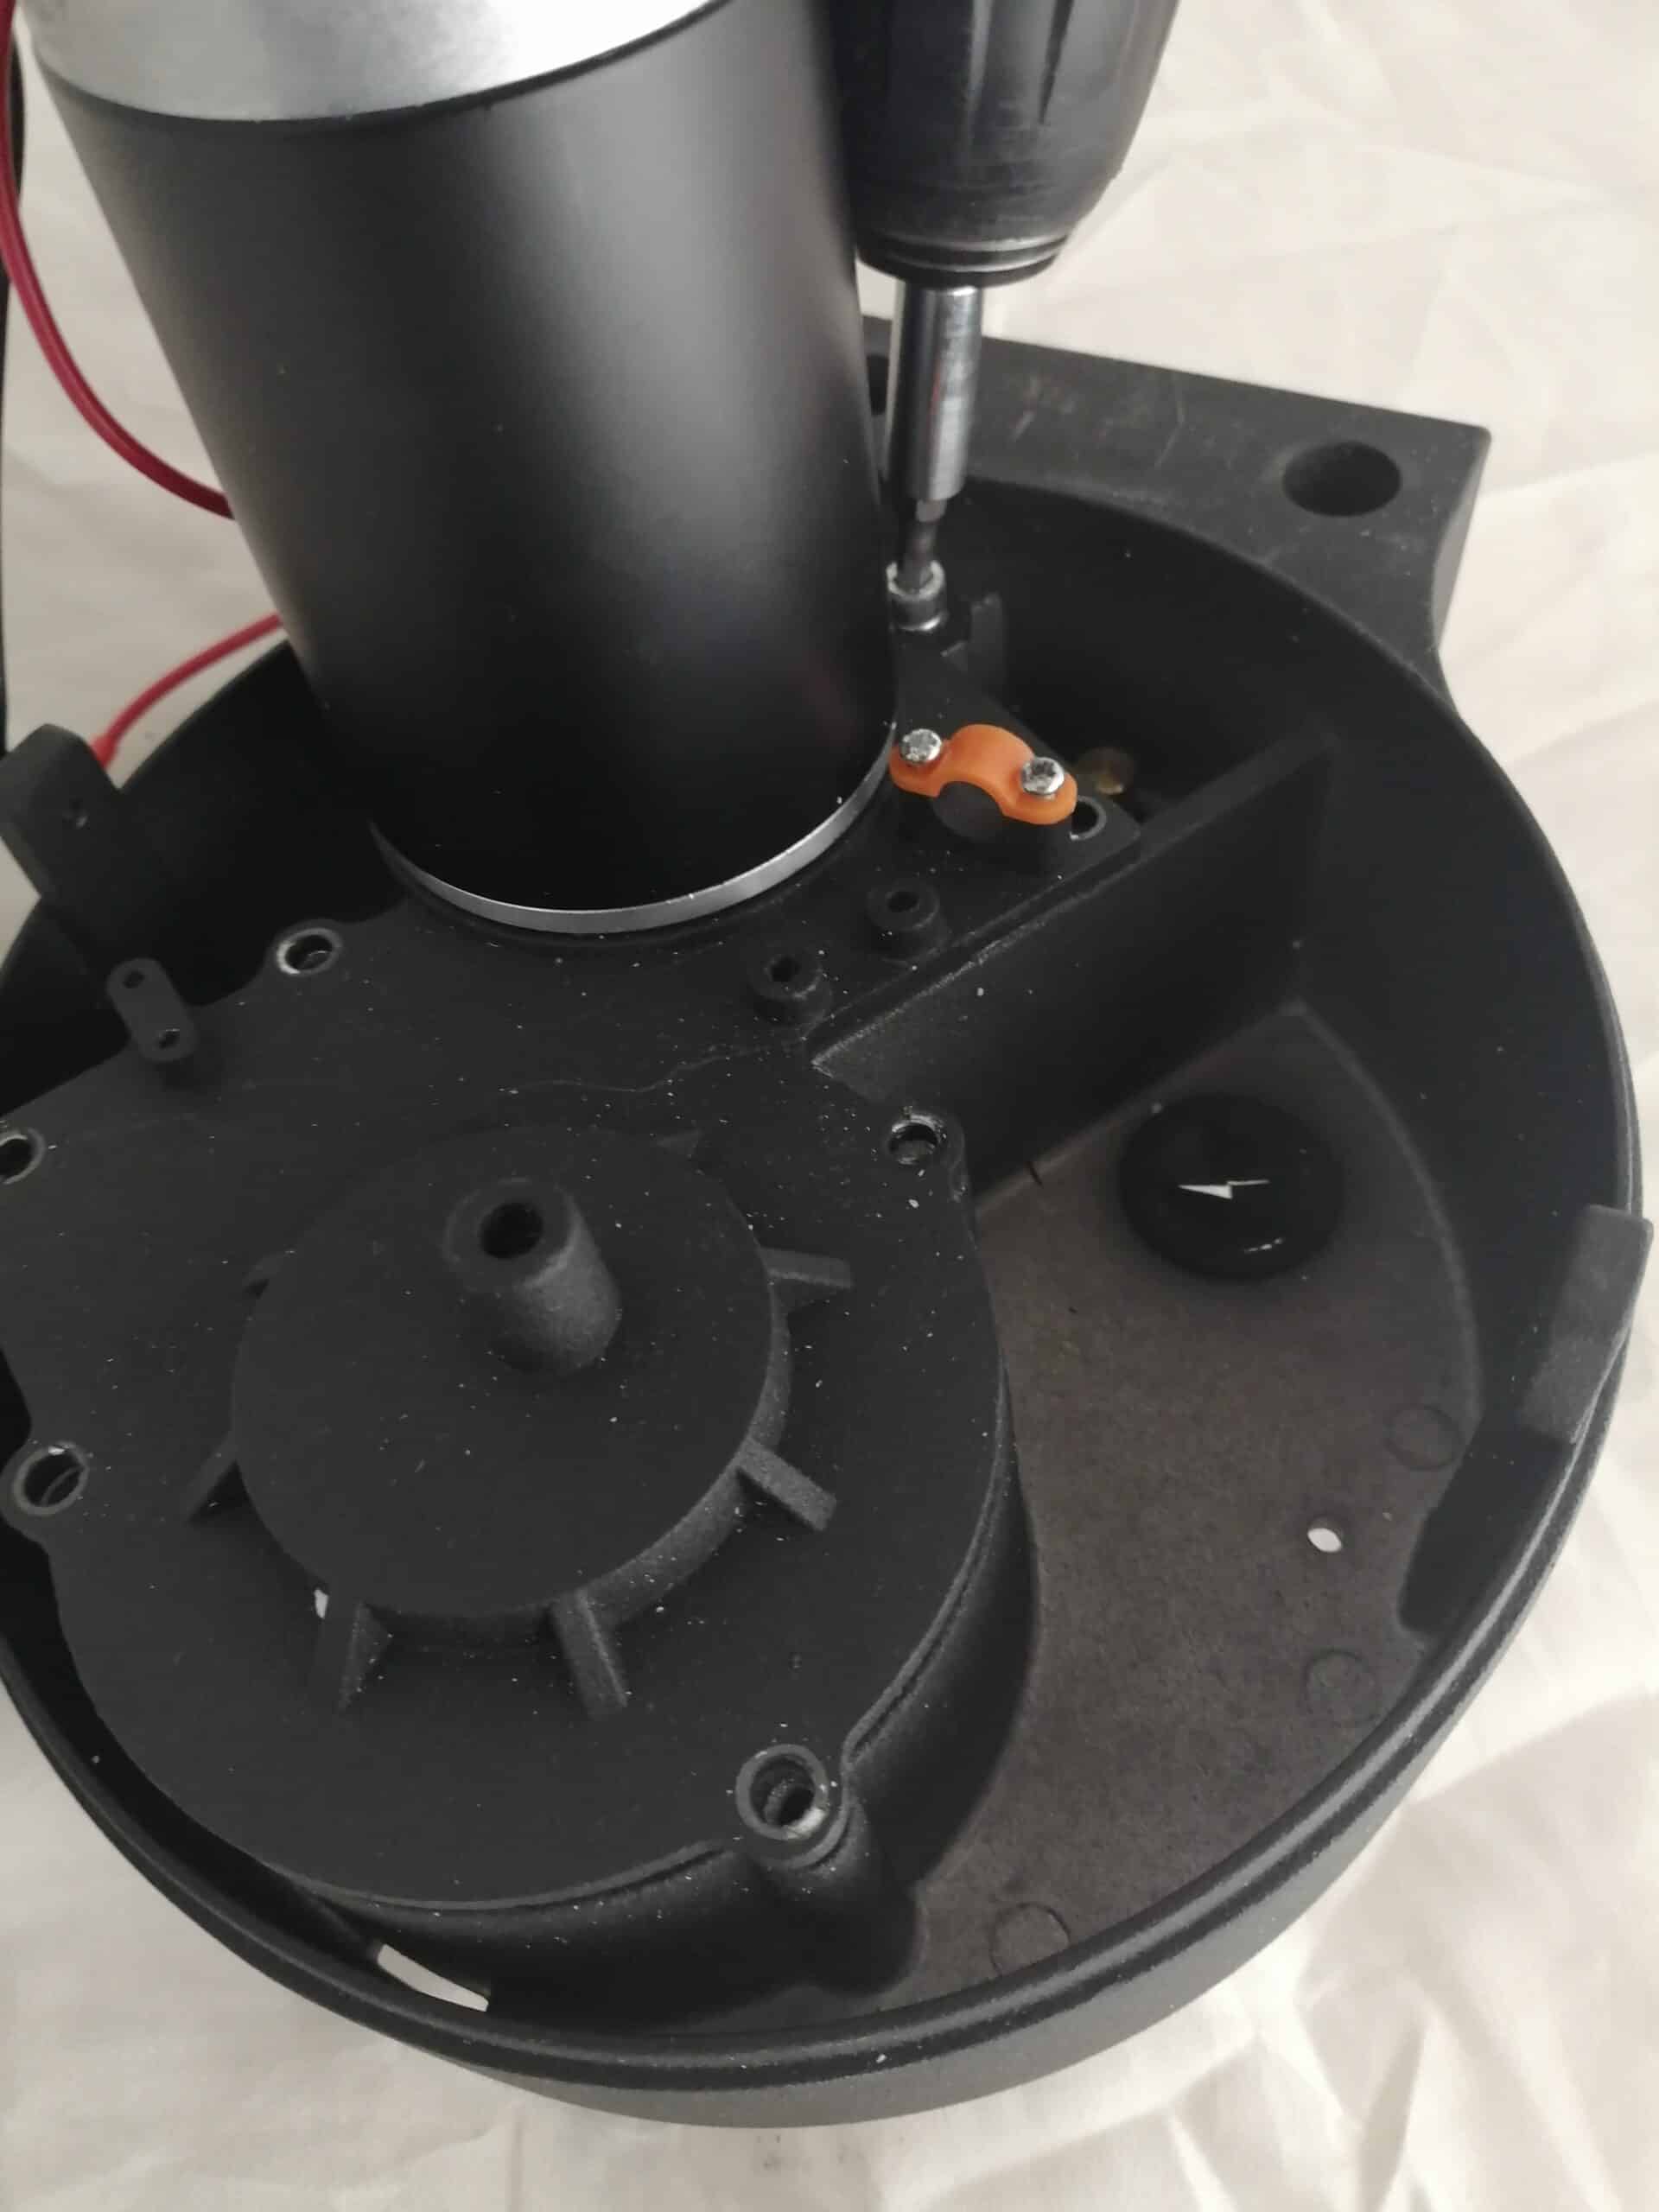
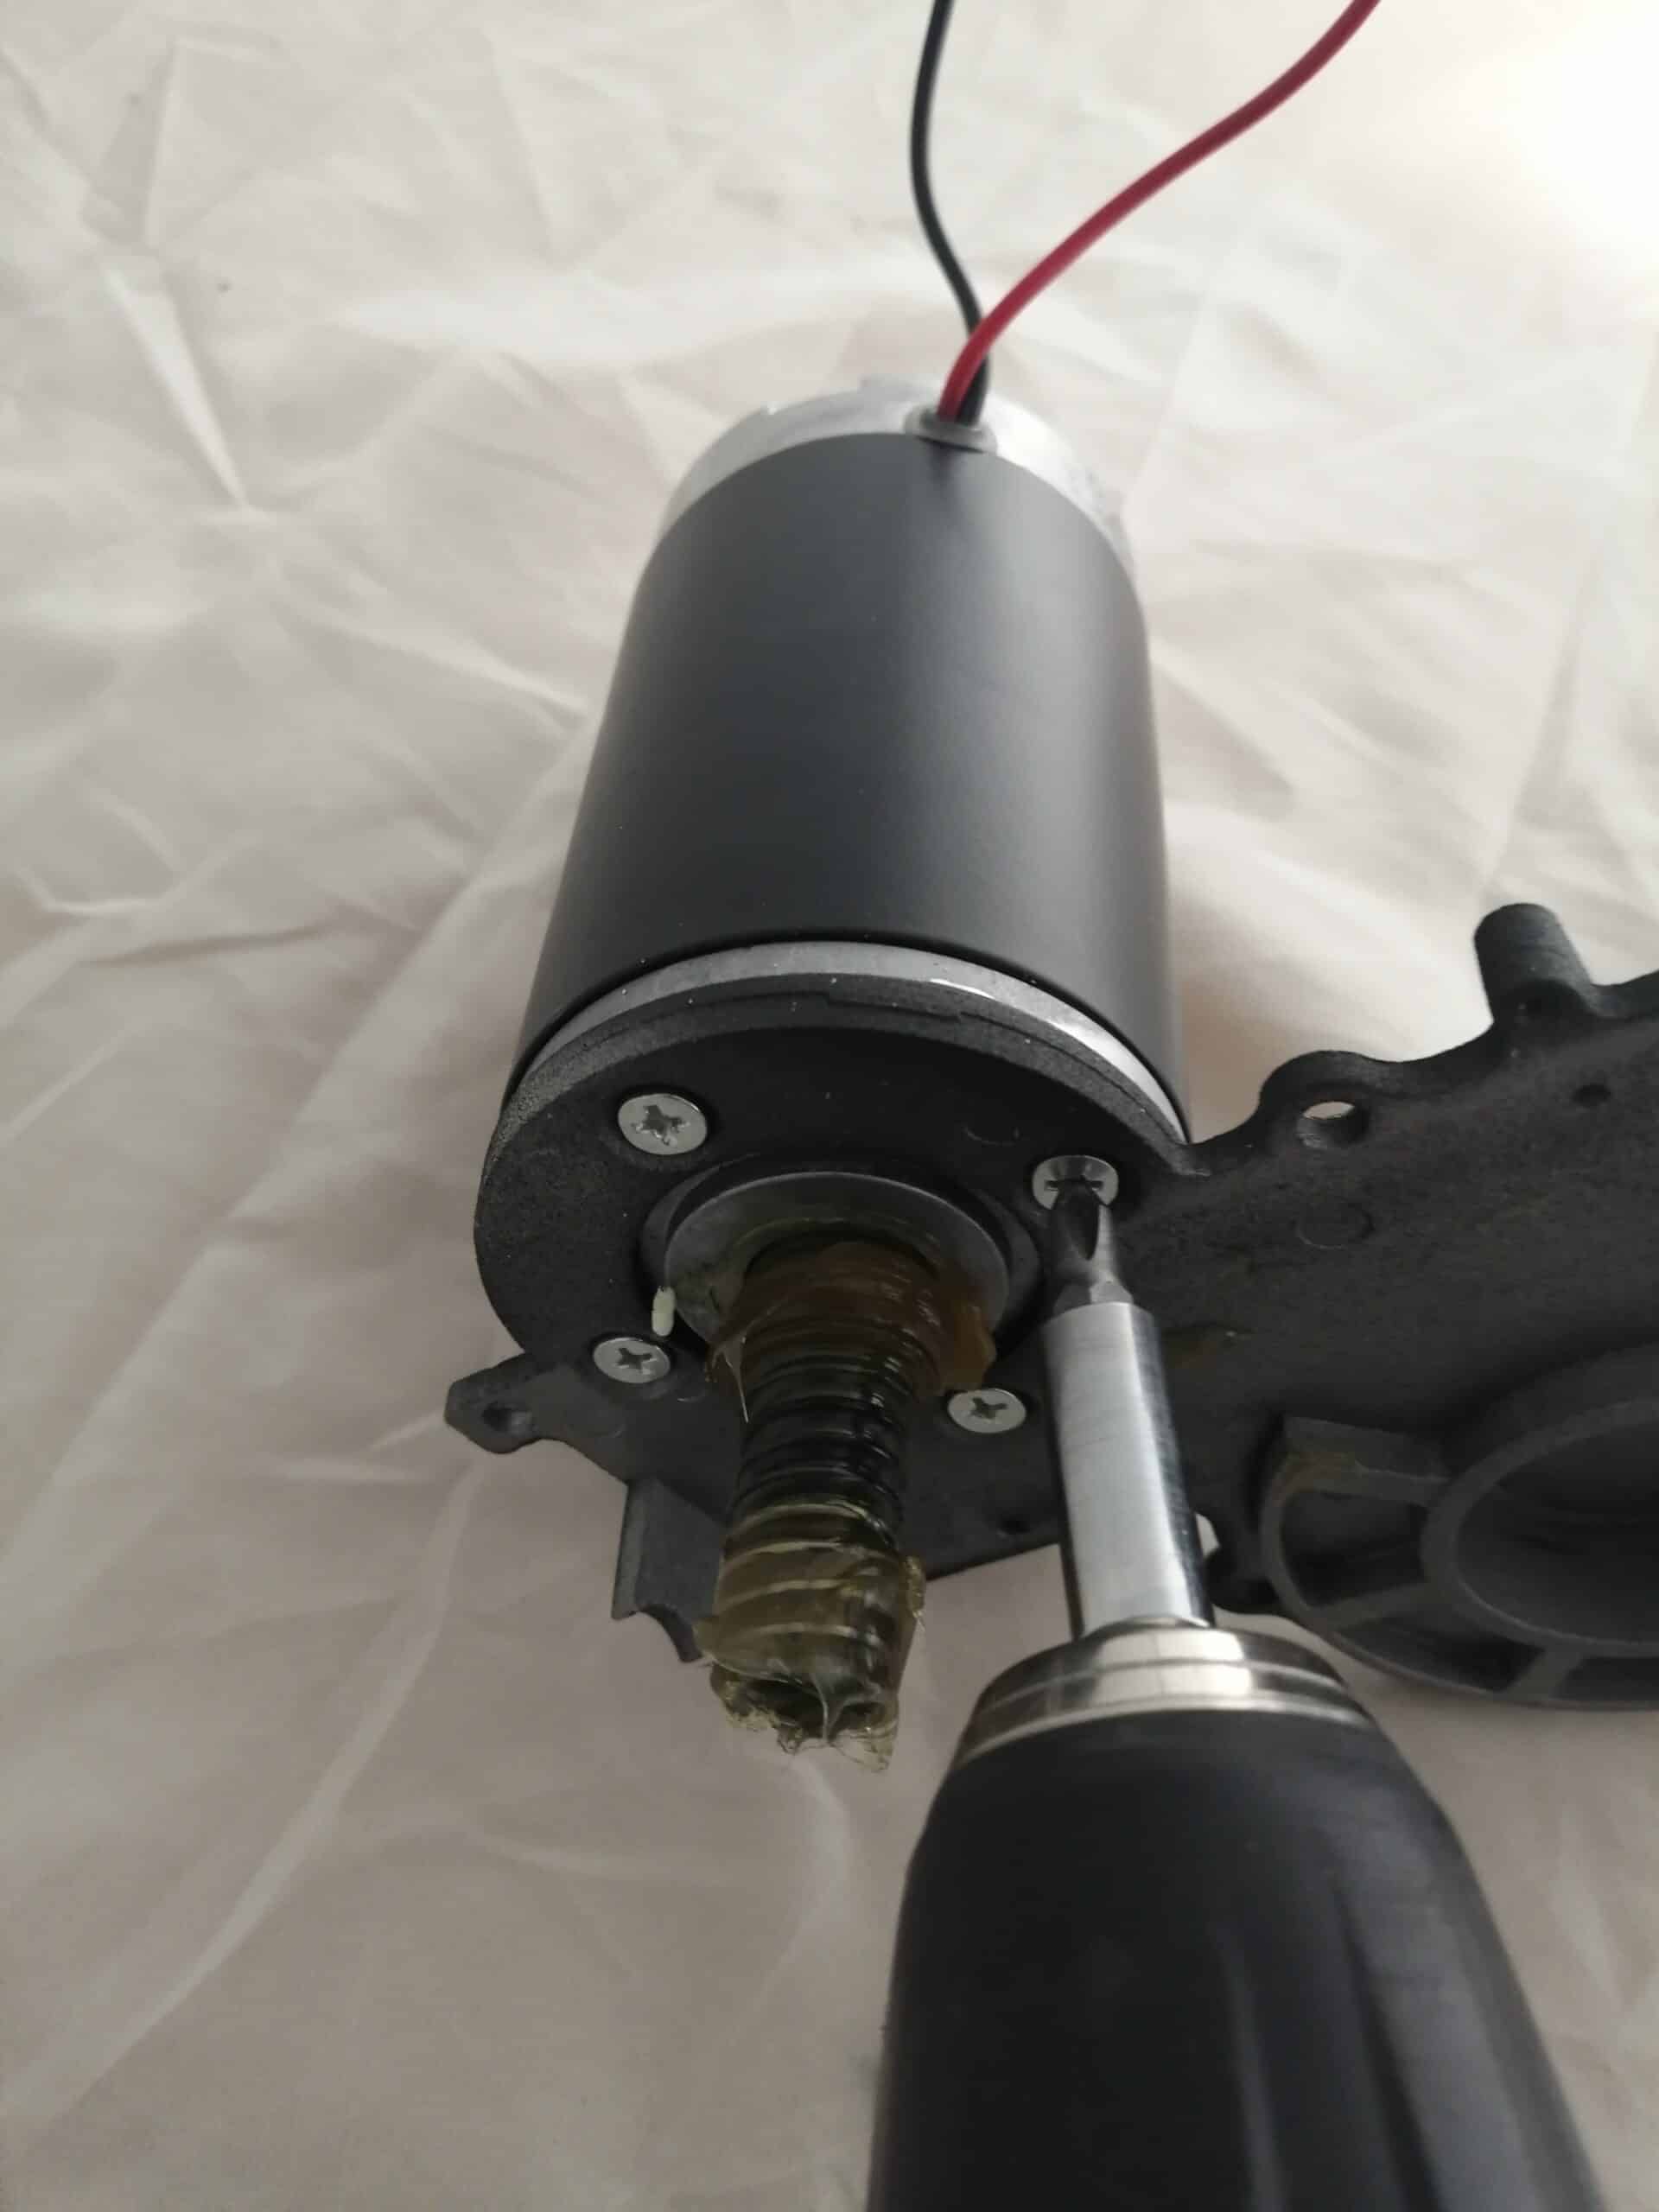
Step 6: Loosen the screws securing the motor to the bracket

Unscrew the 4 Phillips screws

Step 7: Separating the electric motor from the bracket

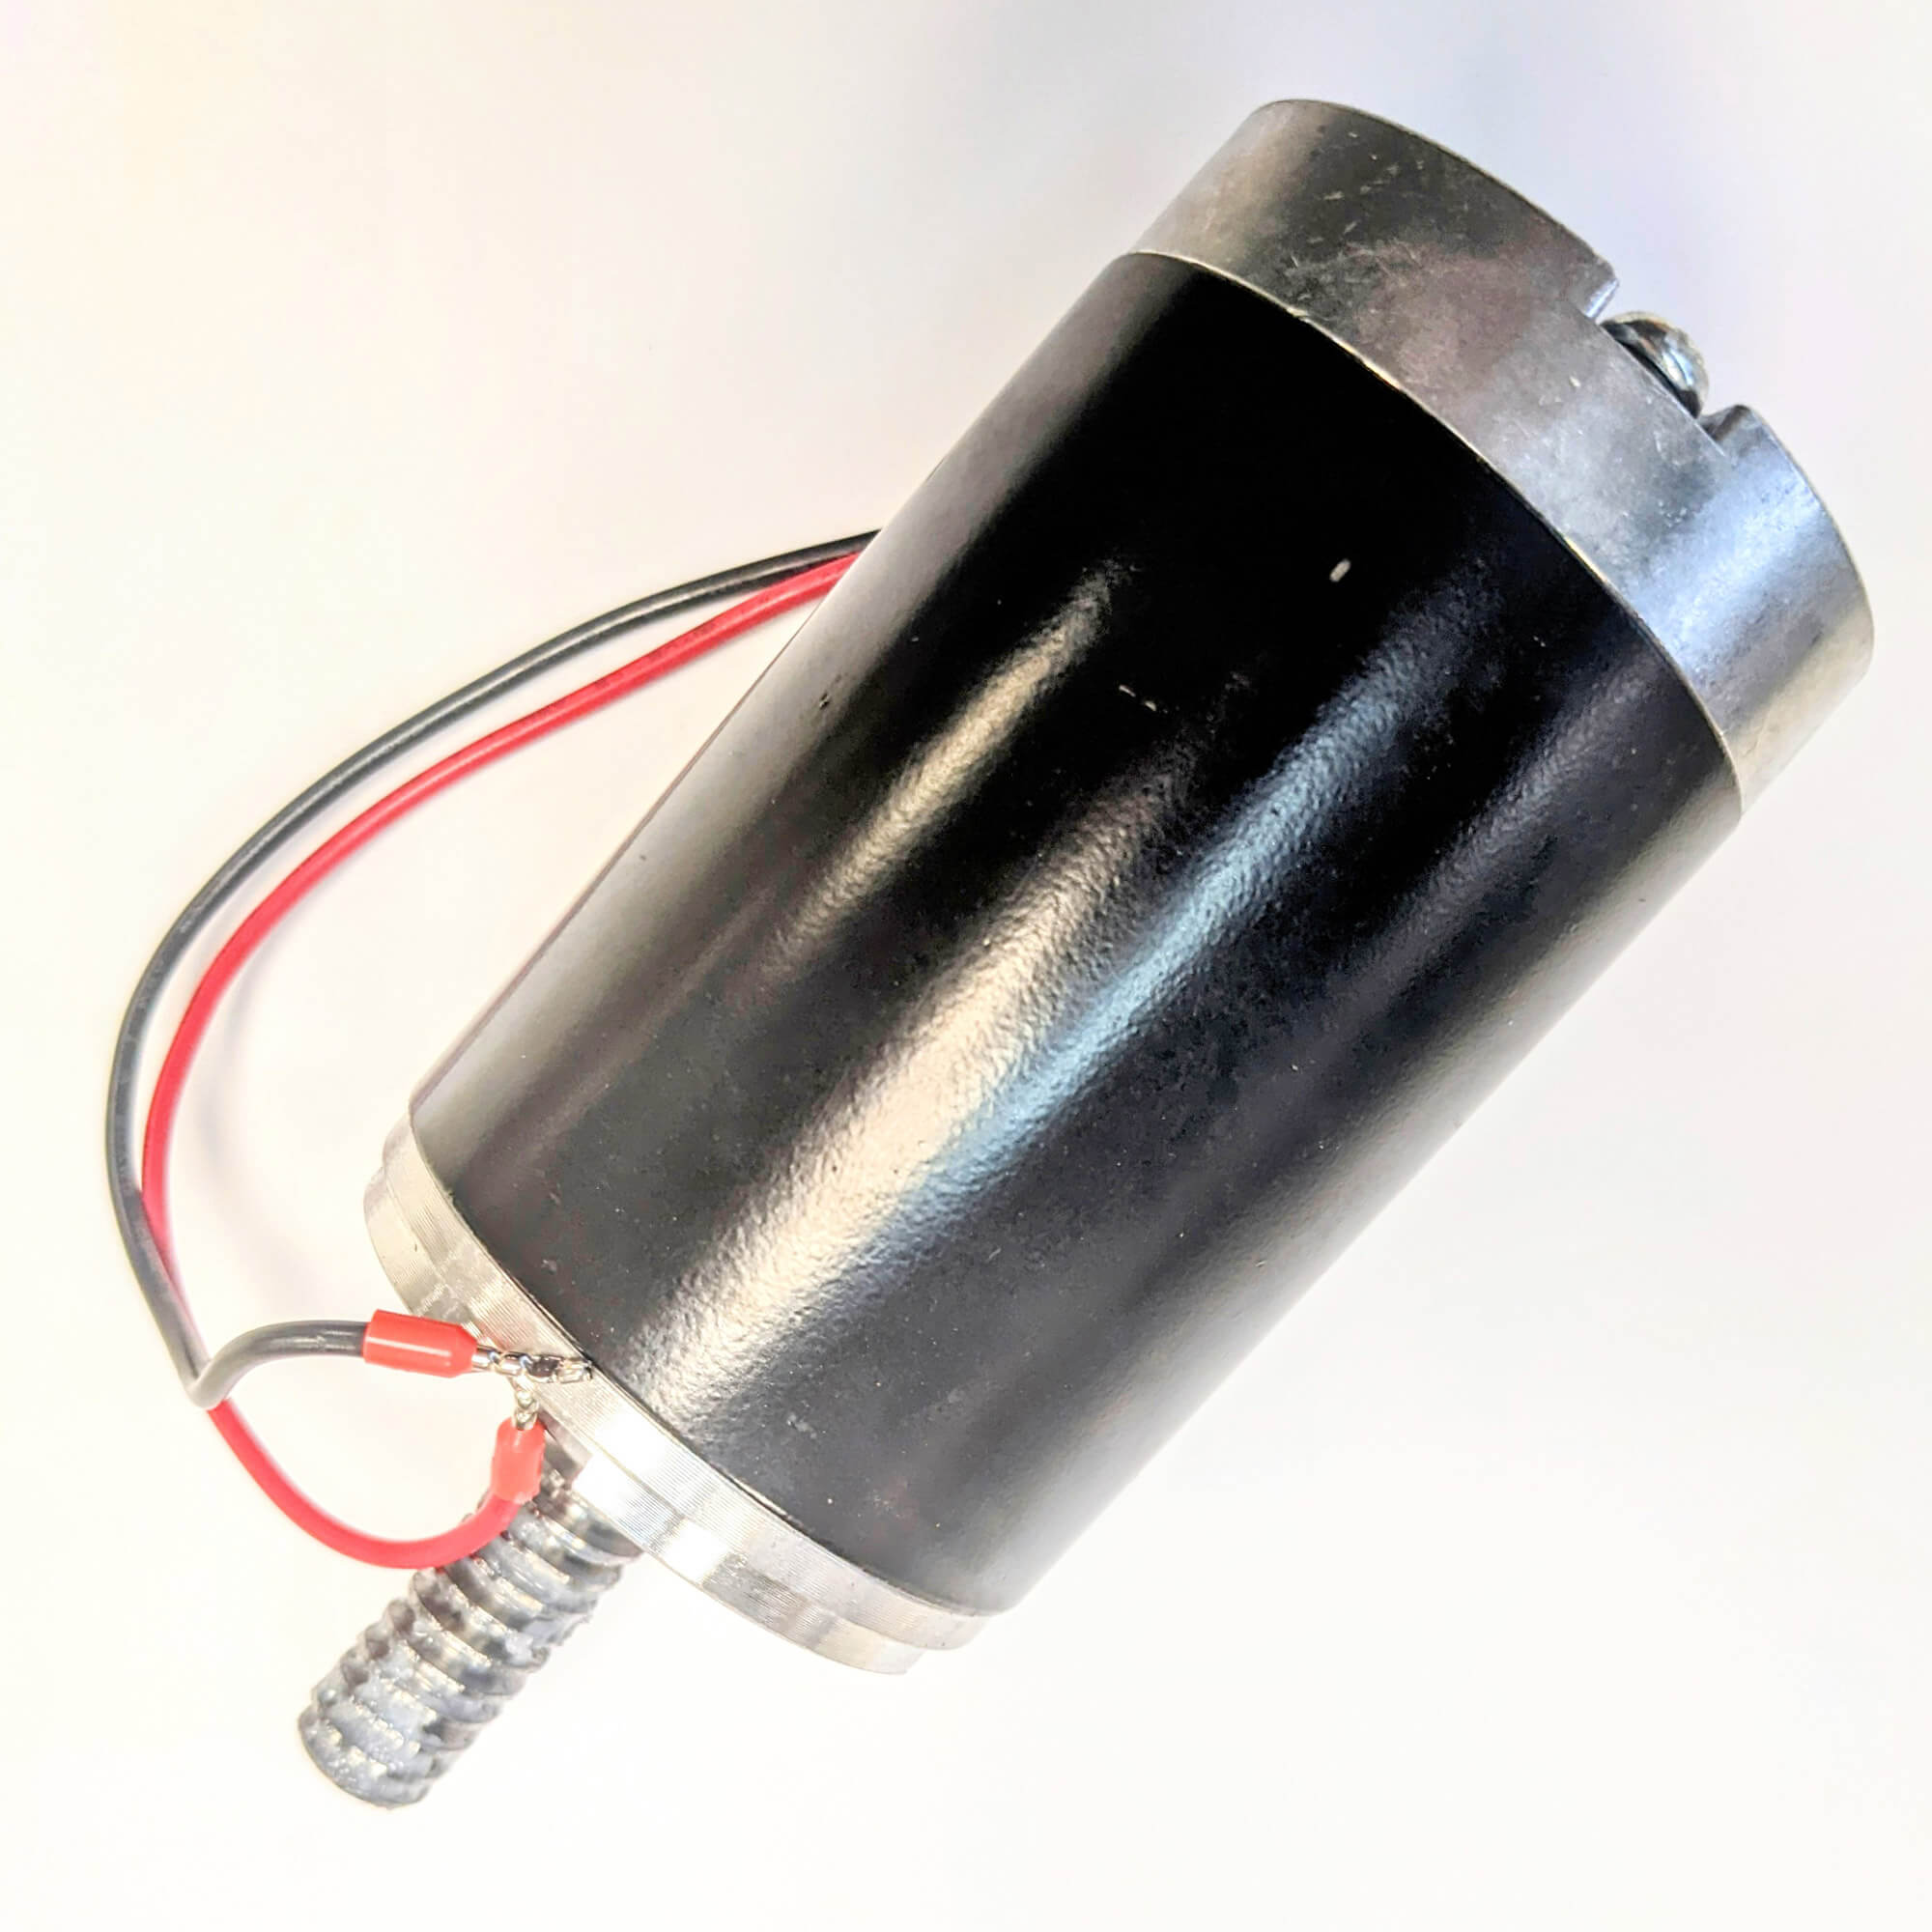
The motor is separated from its support. You can dispose of the defective electric motor.

Step 8: Positioning the new electric motor on the bracket

Take the new motor and reposition it on the bracket. Take care to position the notch of the electric motor over the screw holes.

Step 9: Mounting the electric motor on the bracket

Tighten the 4 Phillips screws to secure the motor to the bracket.

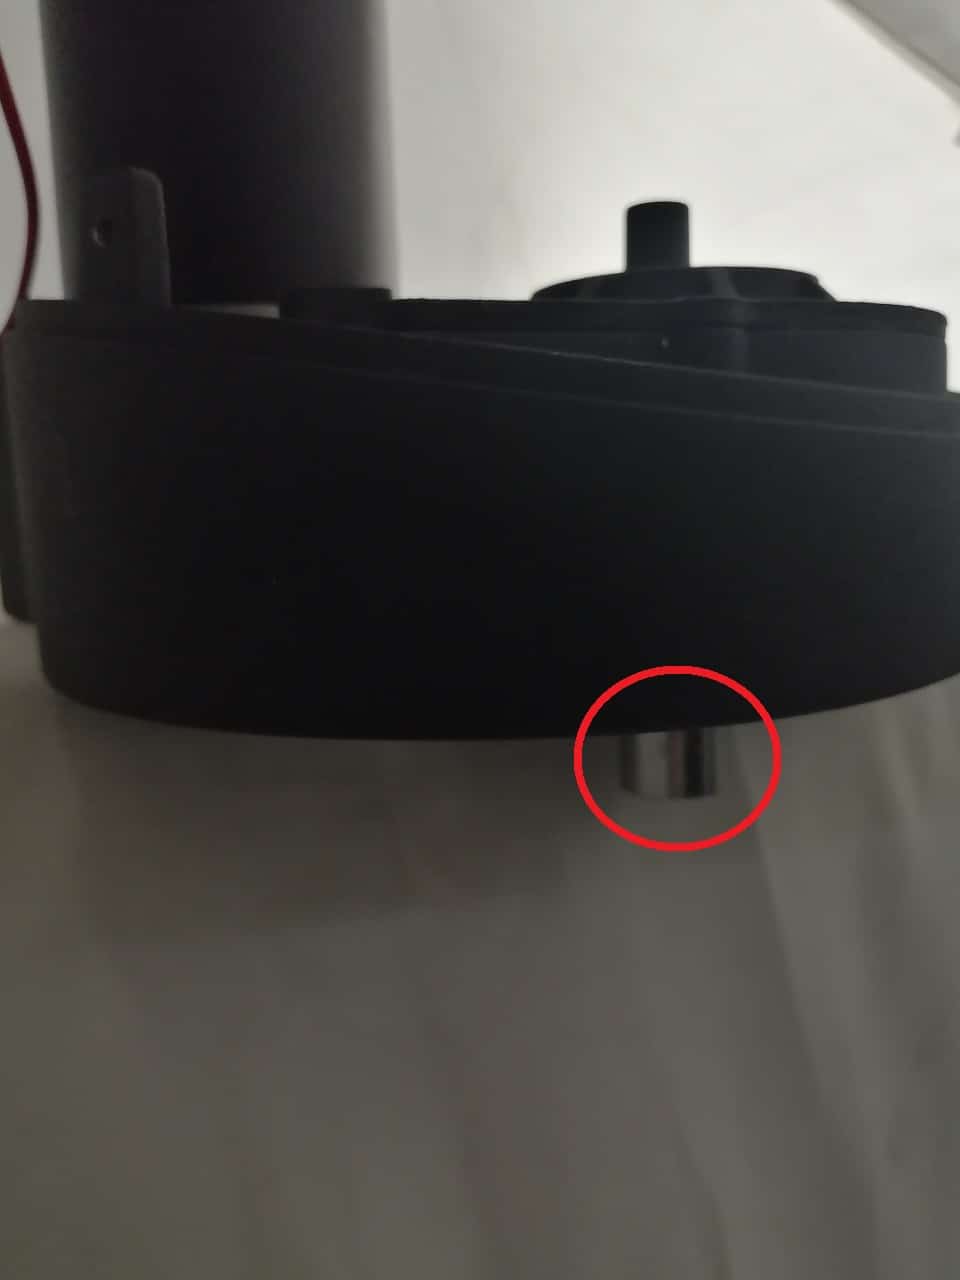
Tip: Positioning the motor unit on the work surface

In order to close the motor correctly, the motor shaft must be able to extend completely from below. Position your motor block on the work surface so that the motor shaft is free to emerge from underneath the motor block.

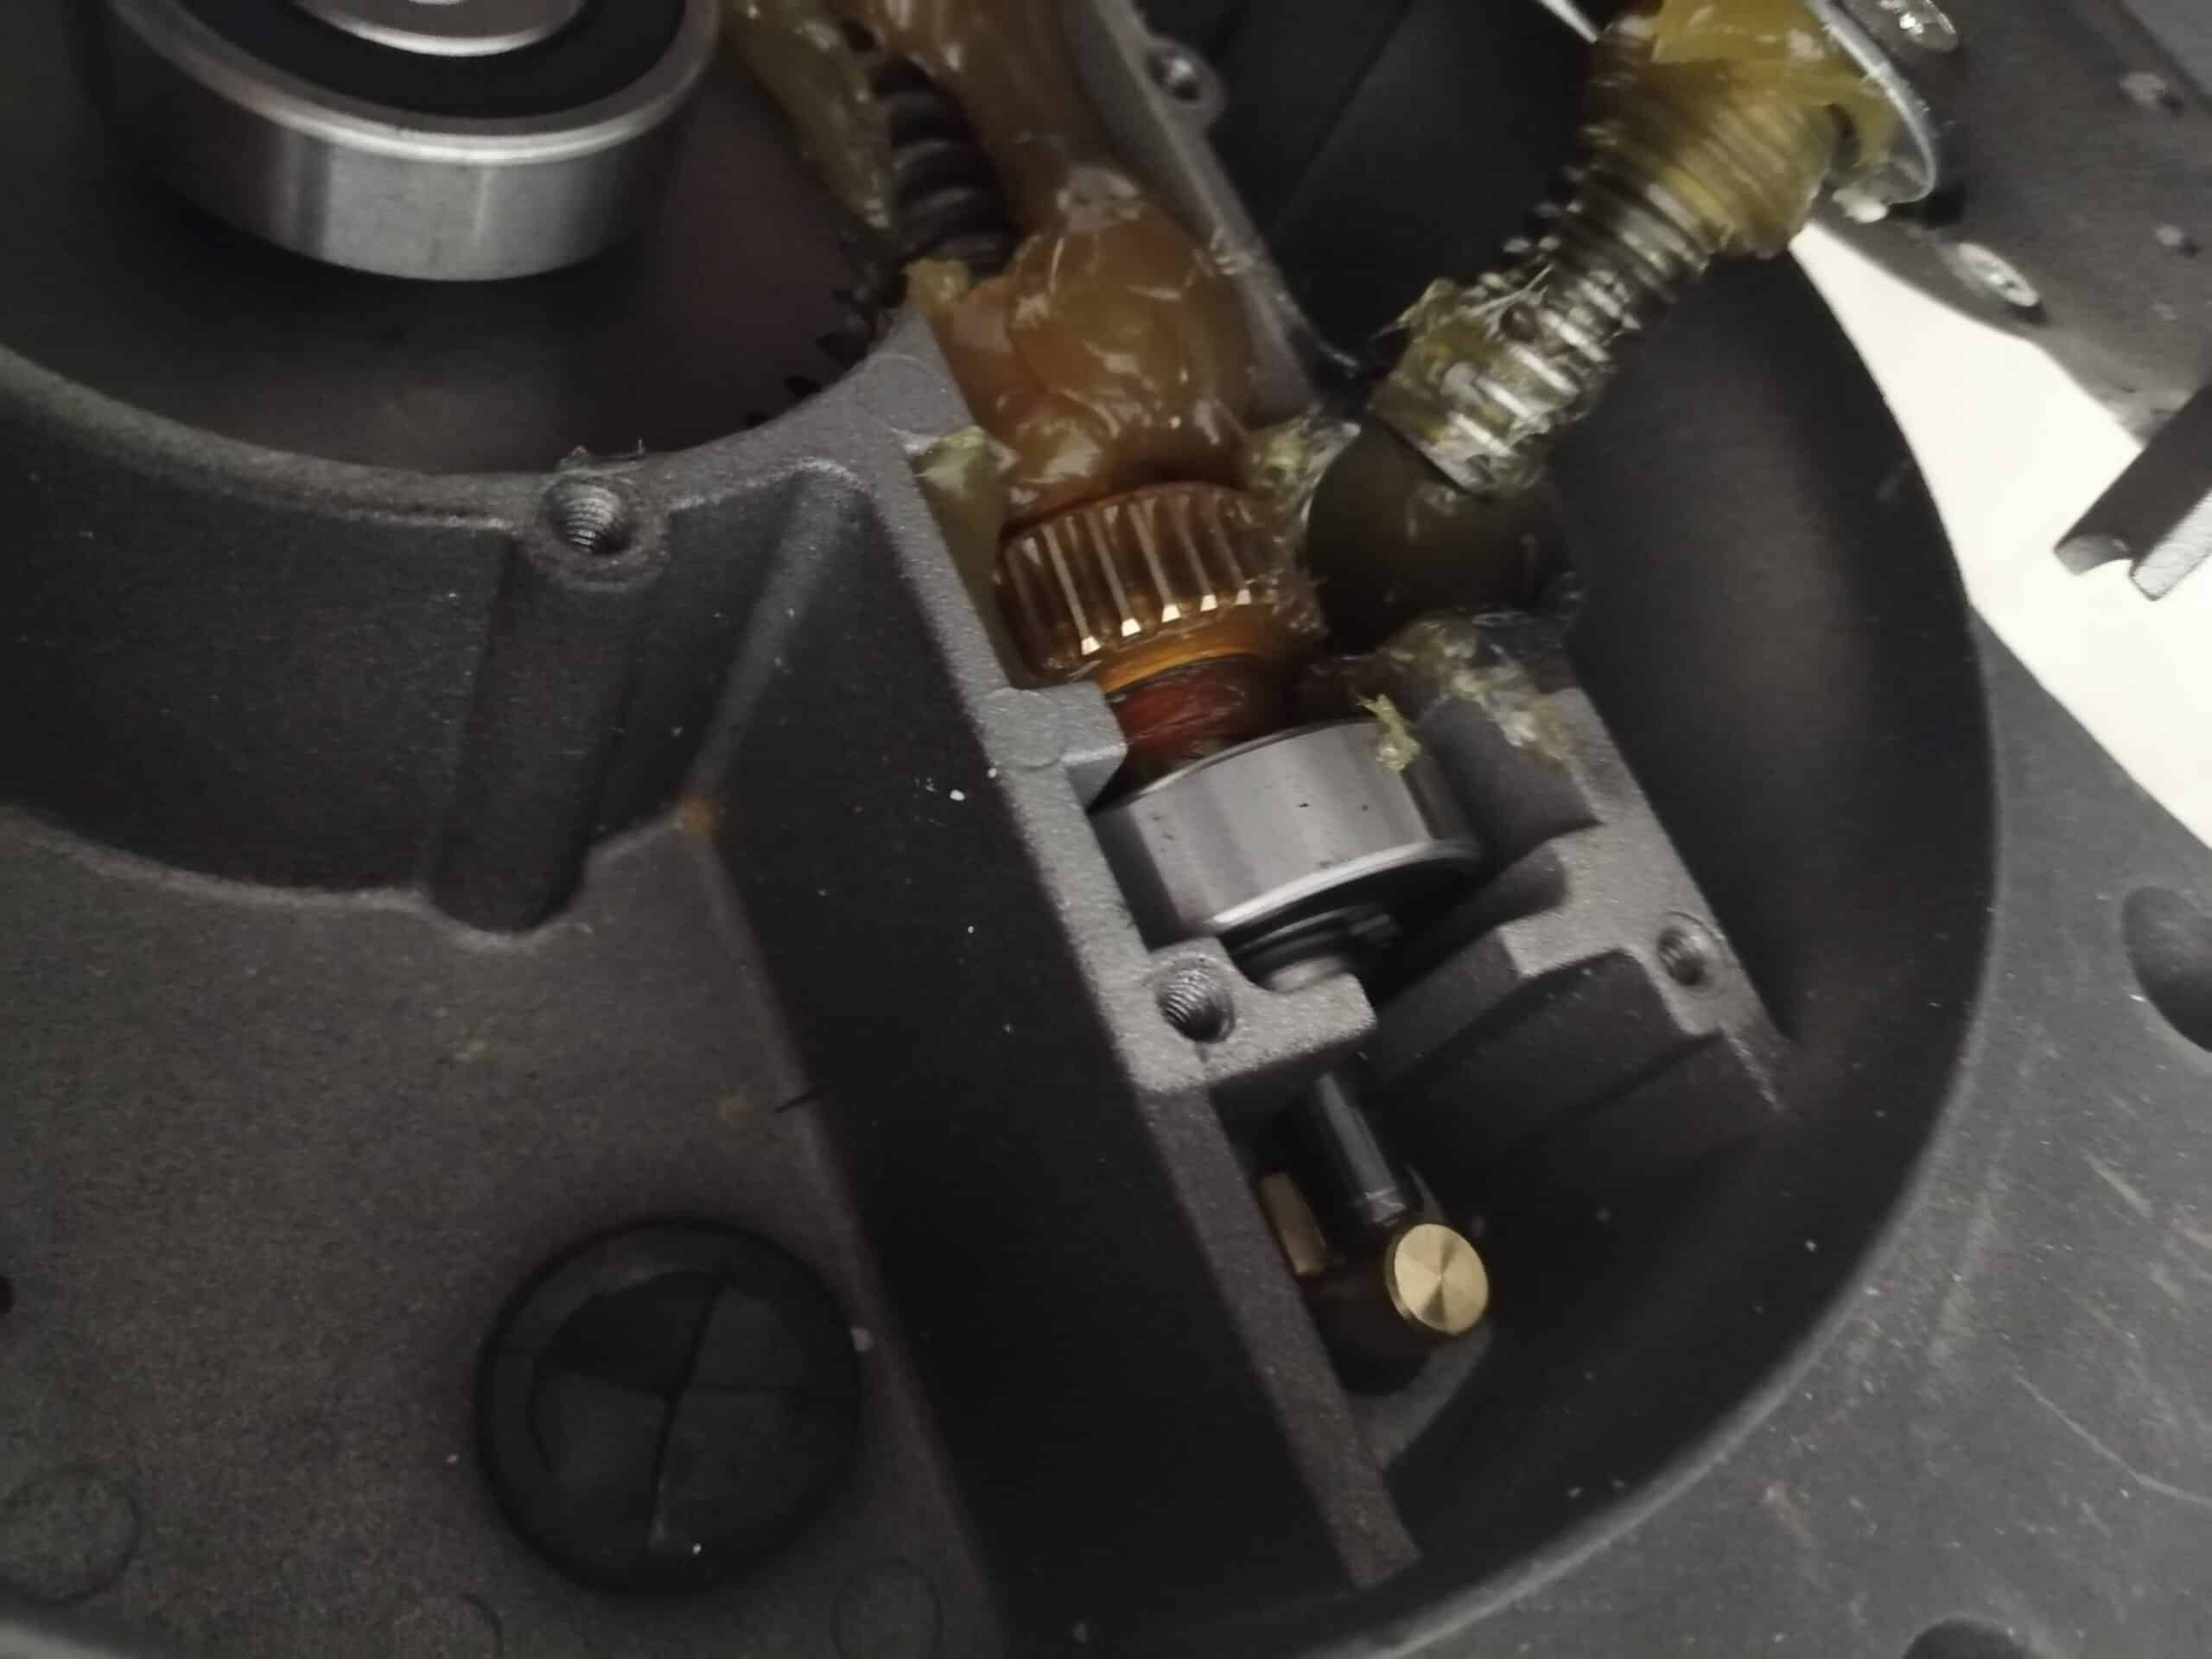
Step 10: Refitting the electric motor on the motor block

Reposition the worm screws electric motor in the engine block. Don’t hesitate to move the electric motor slightly from right to left, so that the thread of the worm screws passes the teeth of the gearwheel on the transmission bar. Remember to grease the motor’s worm screws with bearing grease, or with surplus grease from the mechanical system.

Step 11: Closing the engine block

Tighten the BTR screws to close the motor unit again.

The motor is now ready to be installed on your gate again.

Remember to perform a new self-learning operation so that the card can function correctly afterwards.

Keep in touch
Youtube Linkedin

Follow us on social networks

About Avidsen
  • Who are we?
  • Contact
  • Who are we?
  • Contact
Support
  • Avidsen Technical Support
  • Extel brand technical support
  • Philips technical support
  • Thomson Technical Support
  • Avidsen Technical Support
  • Extel brand technical support
  • Philips technical support
  • Thomson Technical Support
Avidsen group brand
  • Avidsen Brand
  • Extel Brand
  • Philips Brand
  • Thomson Brand
  • Avidsen Brand
  • Extel Brand
  • Philips Brand
  • Thomson Brand
Copyright 2025 © All rights reserved Avidsen
  • Legal Notice
  • Personal data protection policy
  • Terms and Conditions of Use
  • Legal Notice
  • Personal data protection policy
  • Terms and Conditions of Use
Thank you for your rating!
Thank you for your rating and comment!
This page was translated from: French
Please rate this translation:
Your rating:
Change
Please give some examples of errors and how would you improve them: