If you encounter a problem such as Black Screen, no more commands possible, no possibility of going to the device MENU, untimely ringing.... You may need to update your monitor:
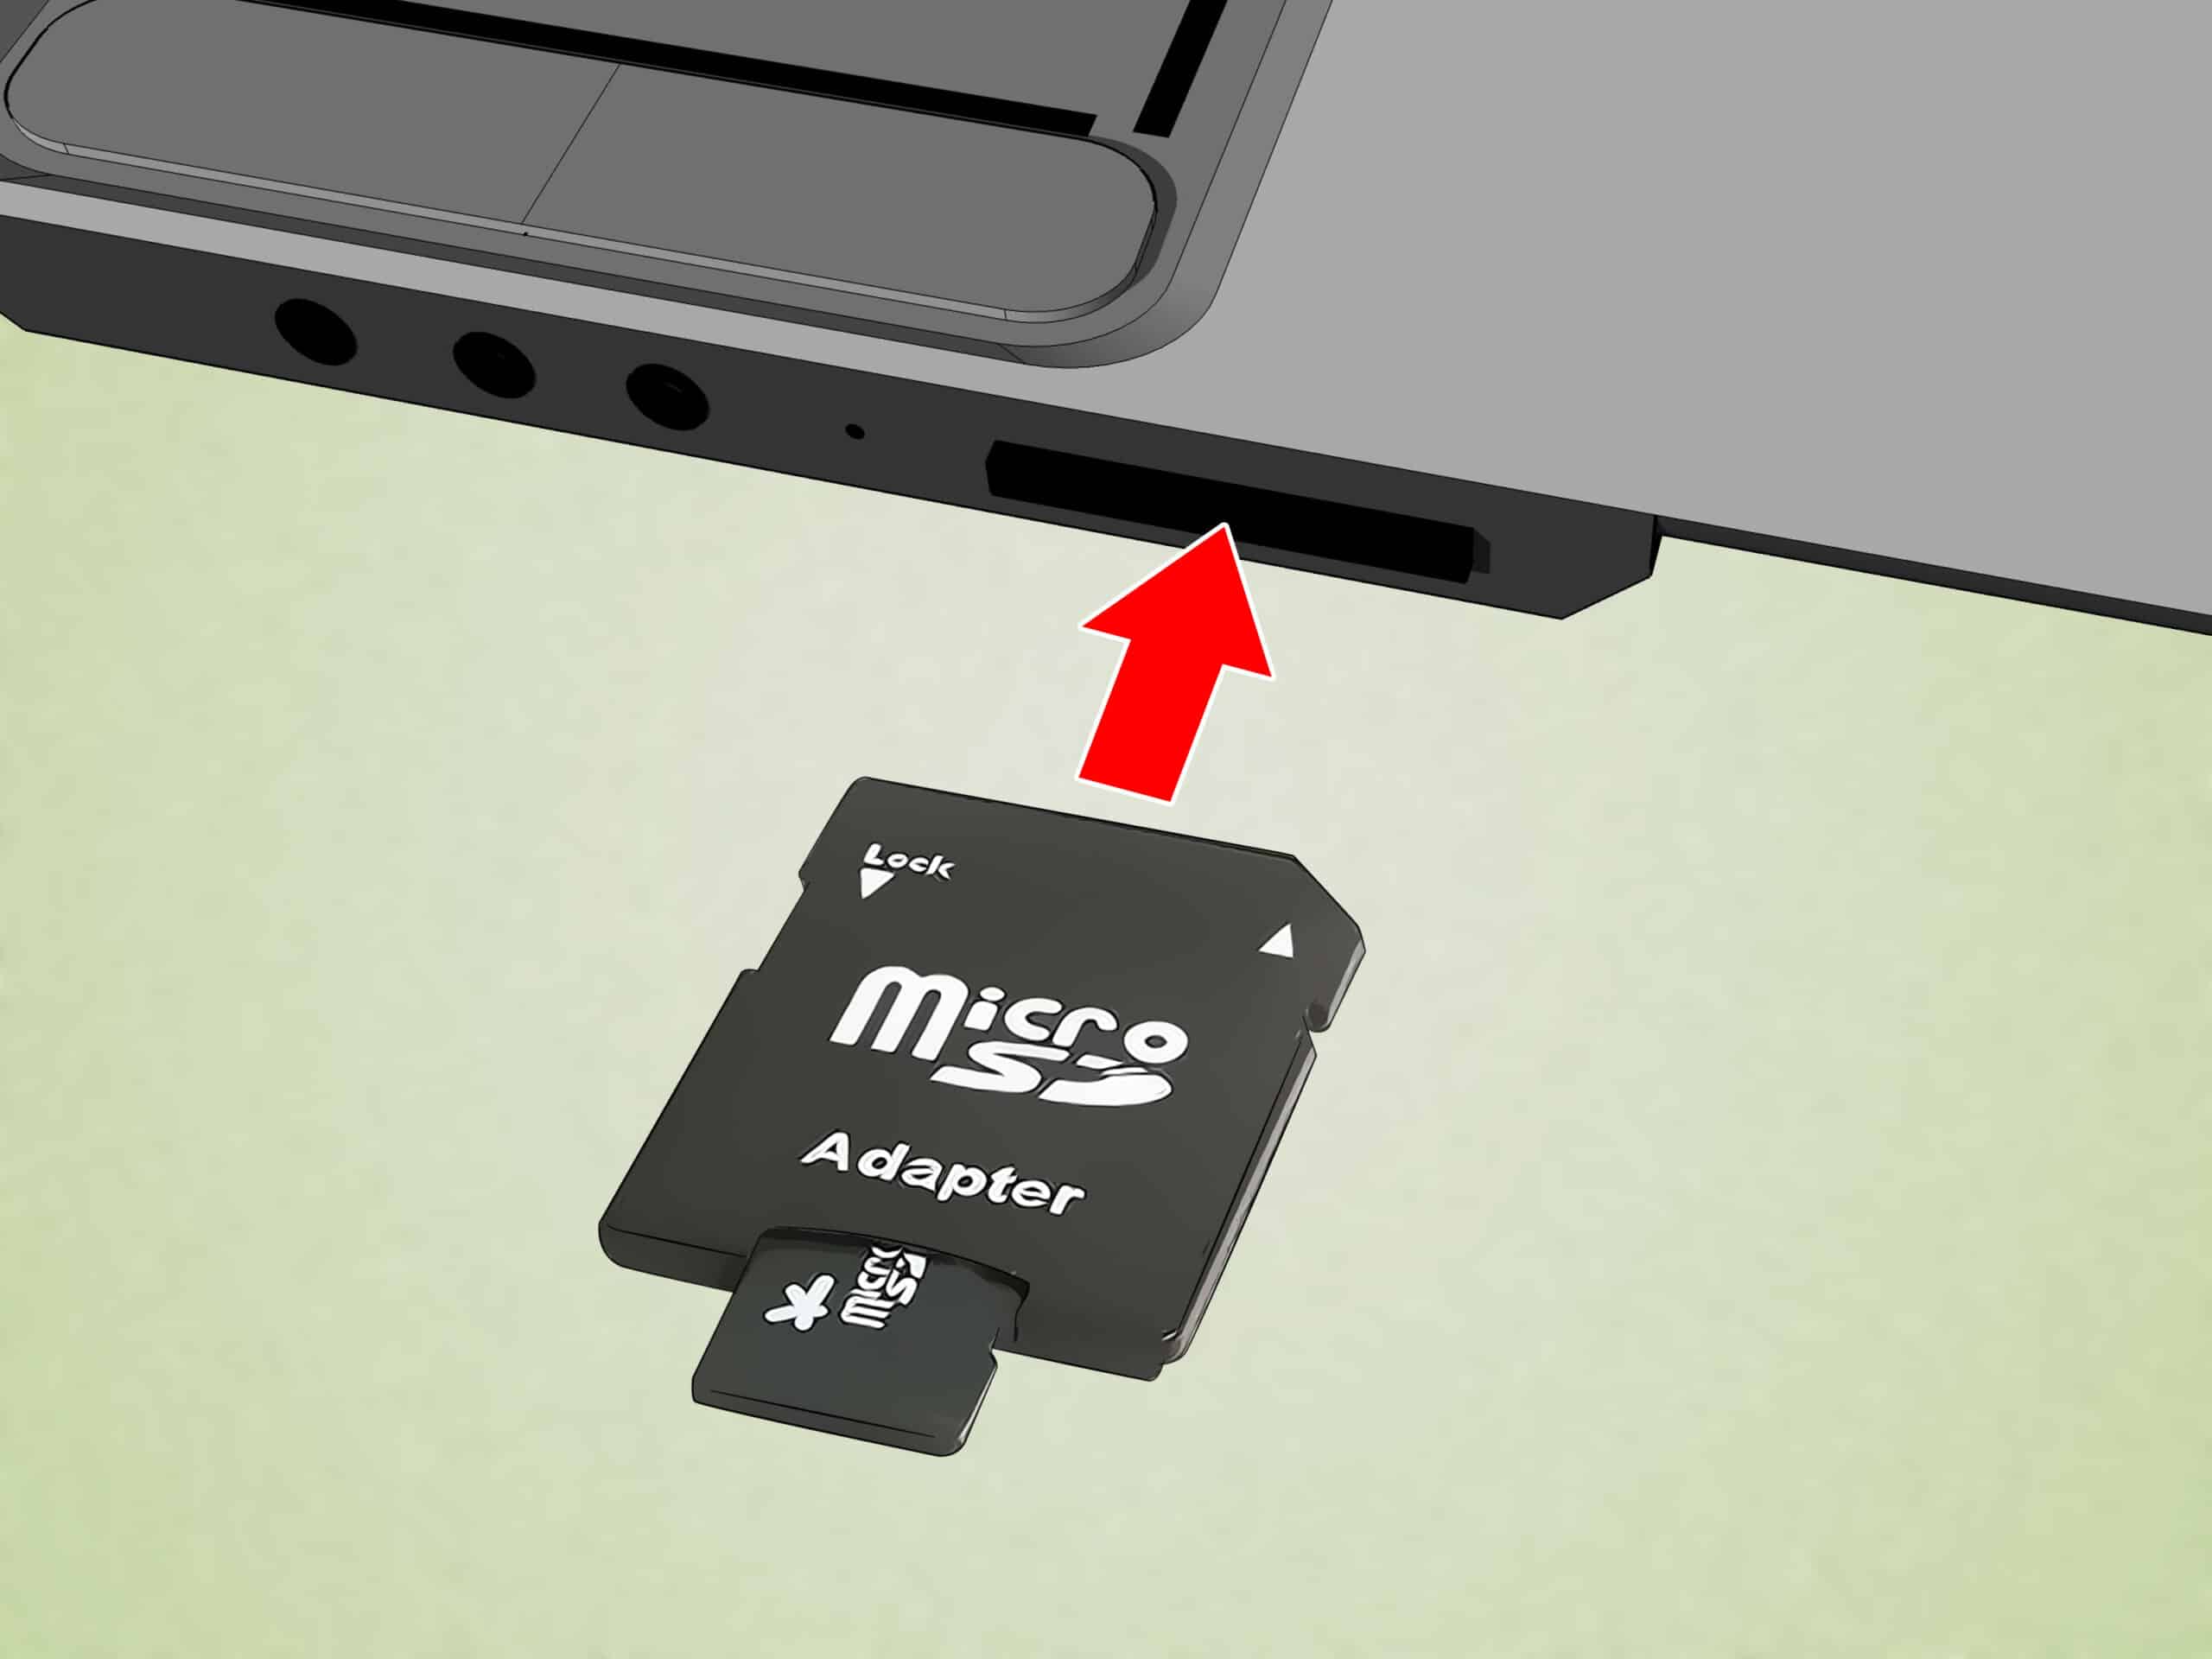
Before any intervention, please equip yourself with a standard SD card.
Avoid using a micro SD card with an adapter, which may create false contacts.
Step 1.1: Format SD card from a Windows PC
Insert the SD card into your computer.
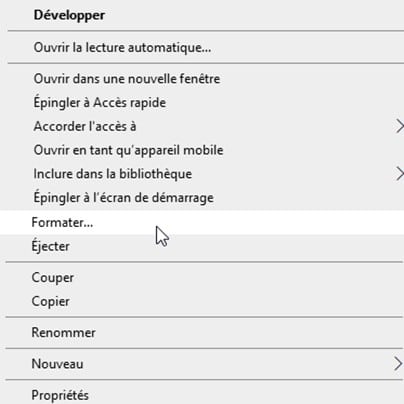
The SD card will appear as a USB key in your computer’s document explorer.
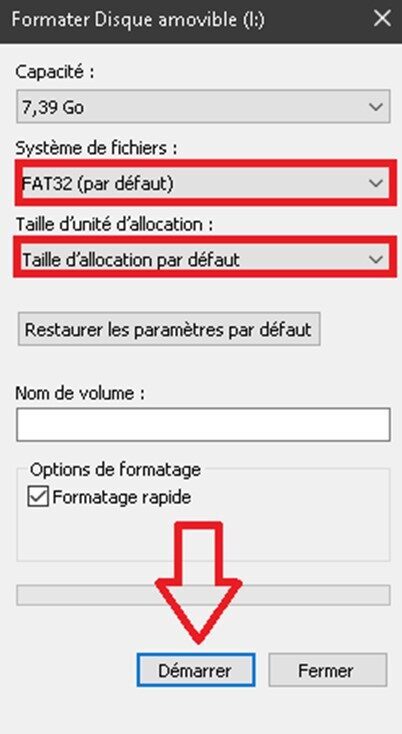
Right-click on the USB drive corresponding to your SD card, then Format…
Select FAT32 format, then click on Start
Select Default allocation size.
Wait a few moments for formatting to finish.
Step 1.2: Formatting an SD card from a MAC
Insert the SD card into your computer.
The SD card will appear as a USB key in your computer’s document explorer.
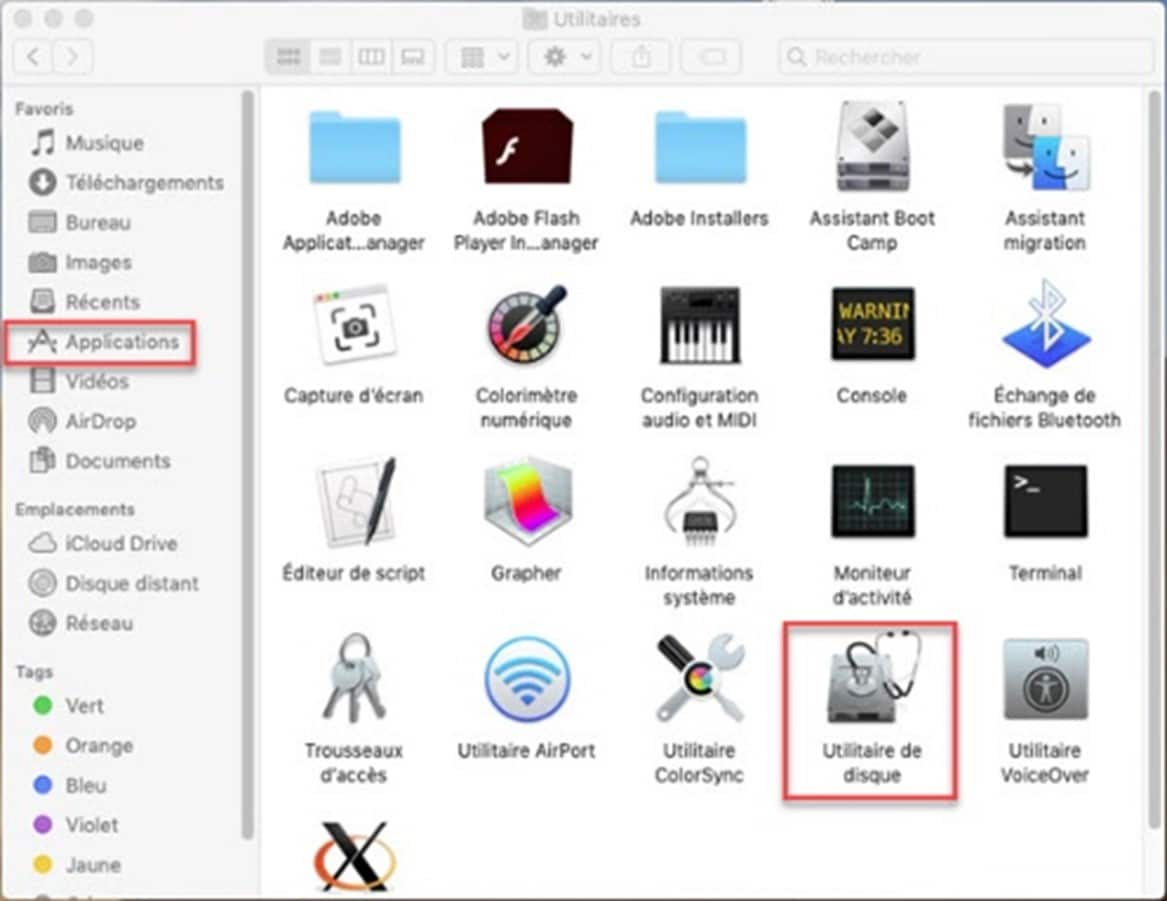
Go to the Applications folder.
Click on Disk Utility in the Utilities folder.
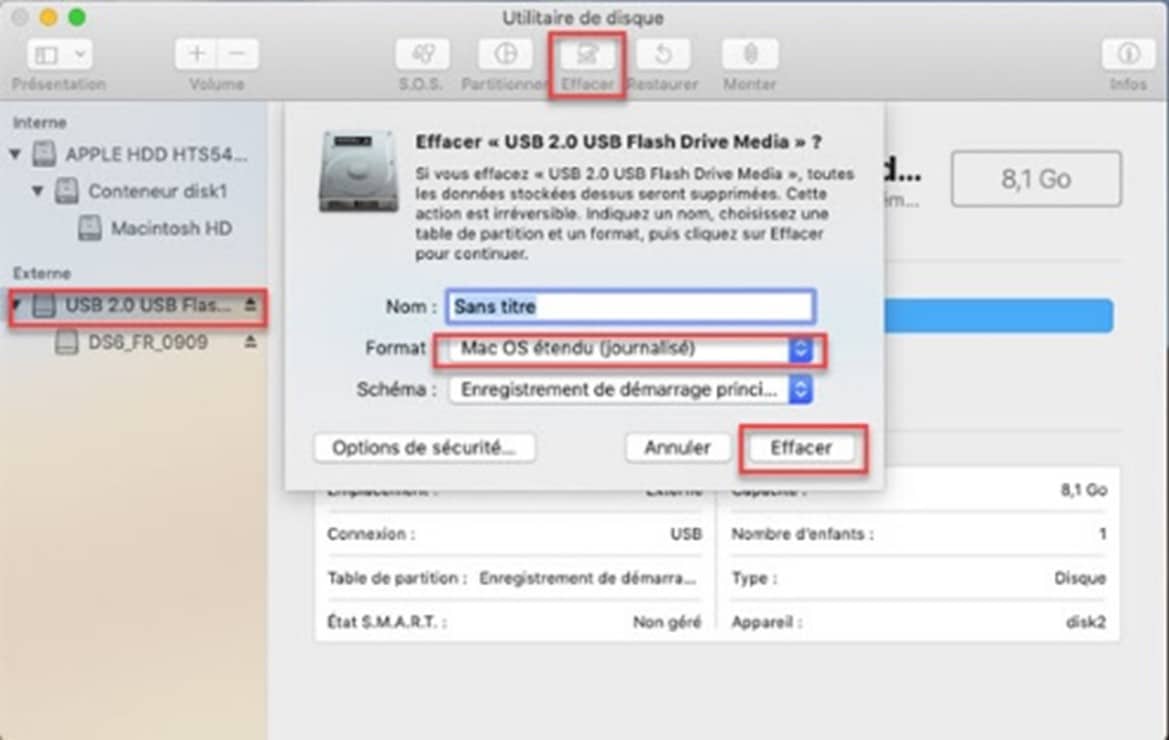
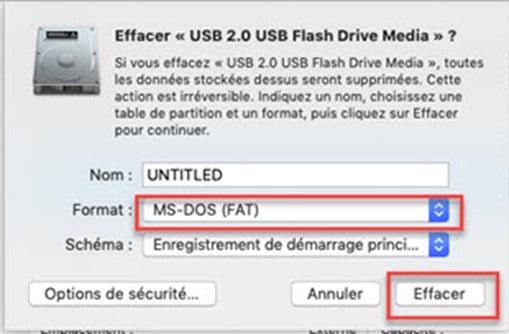
In the outer left-hand corner, you should see your SD card.
In the top menu, click on Delete, and a new window will appear.
Select MS-DOS (FAT ) in Format
Click on Delete
Wait a few moments for formatting to finish
Step 2: Download the 1st system files
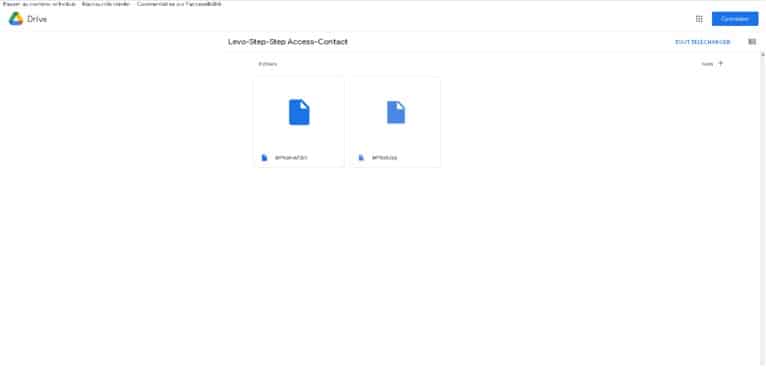
Download the 4 system files by clicking on the following link: CONTACT1
A web page will open
The files will have to be downloaded one by one
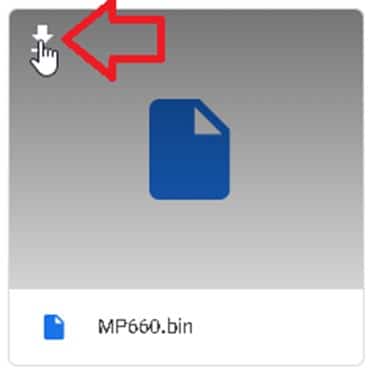
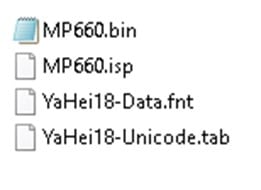
Download the MP660.bin file by clicking on arrow and save it in the root directory of your SD card. without renaming it.
The file size is 2.14MB.
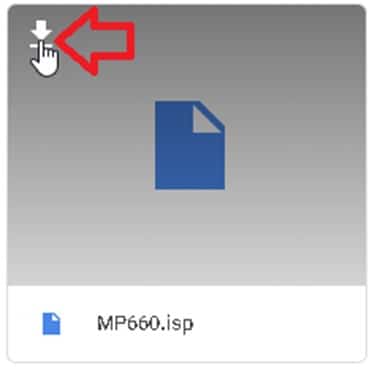
Download the MP660.isp file by clicking on arrow and save it in the root directory of your SD card. without renaming it.
The file size is 2.61MB.
This file may be considered dangerous by your browser. Please validate the download.
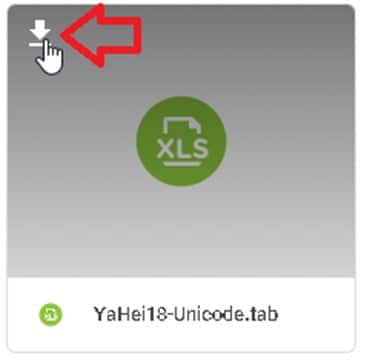
Download the YaHei18-Data.fnt file by clicking on arrow and save it in the root directory of your SD card without renaming it.
The file size is 5.52MB.
Download the YaHei18-Data.fnt file by clicking on arrow and save it in the root directory of your SD card without renaming it.
The file will be 281Kb
Check that the SD card contains all 4 files.
Safely remove the SD card from the device.
Step 3: Software installation
Remove the AC adapter from the monitor or switch off the power supply.
Make sure the monitor’s orange LED is no longer lit.
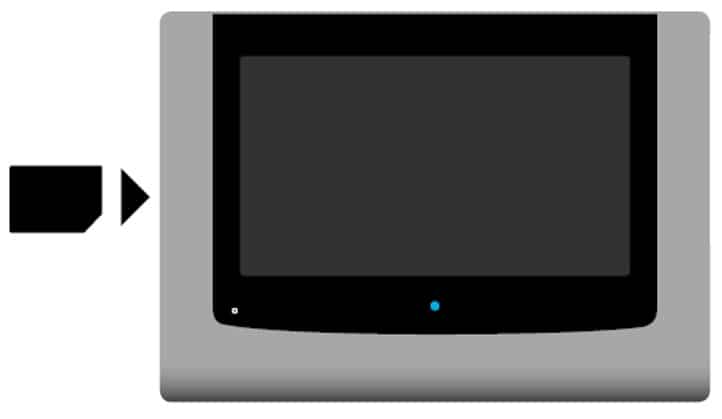
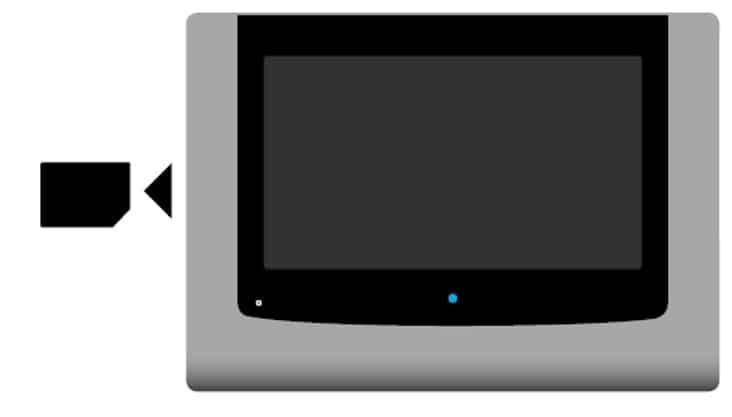
Insert the SD card into the monitor.
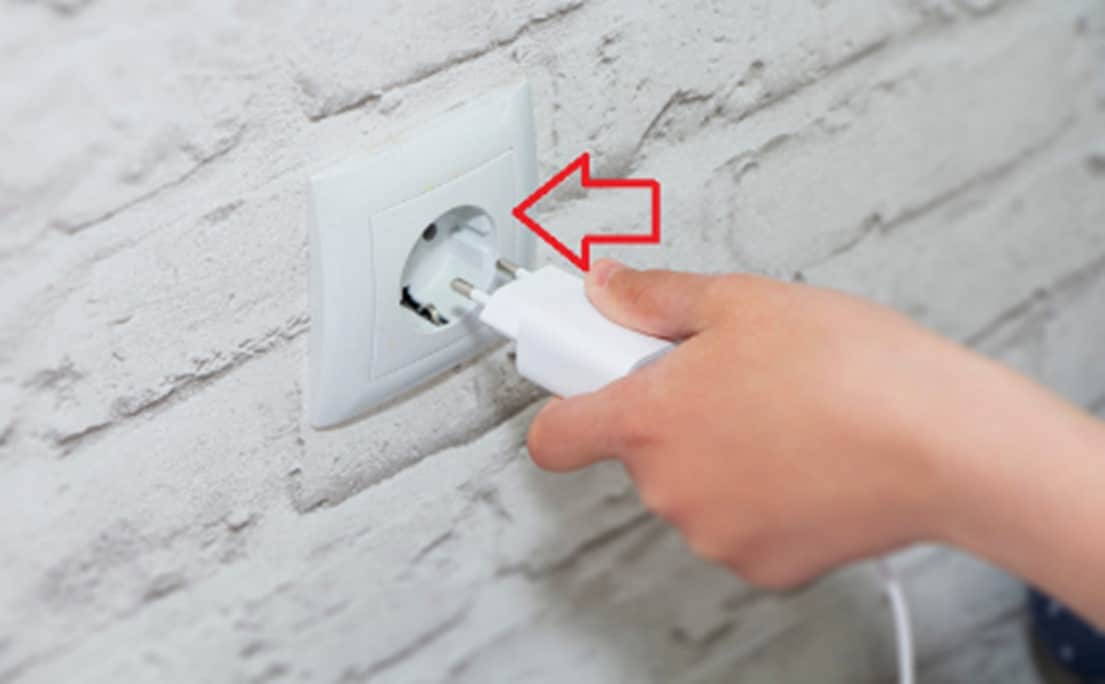
Reconnect the monitor’s AC adapter or restore its power supply.
The screen will restart
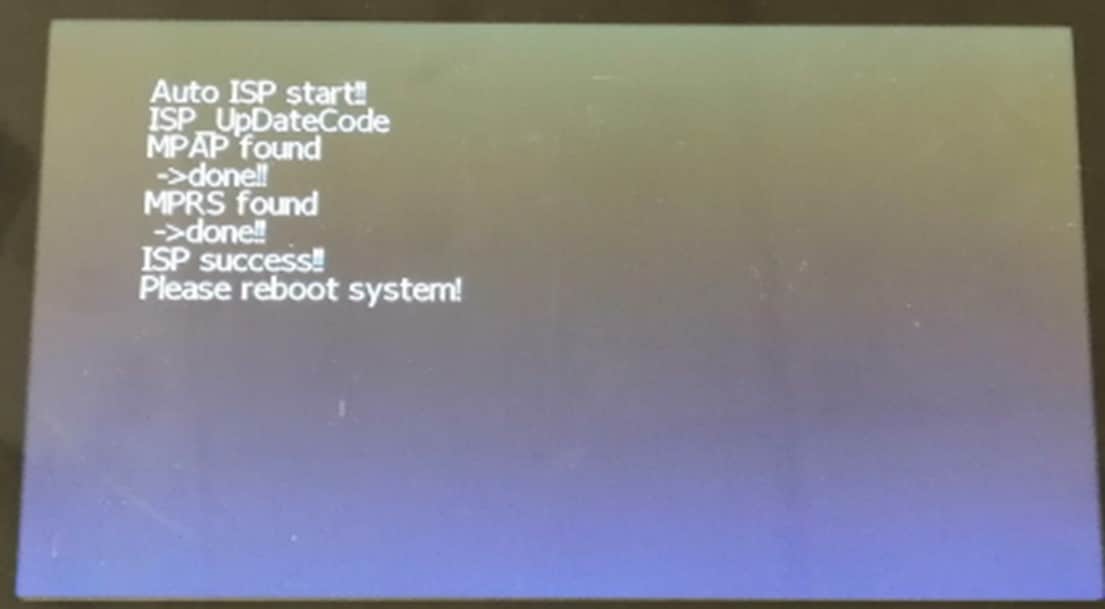
Wait for the installation to finish until you see the message please reboot system
Remove the AC adapter from the monitor or switch off the power supply.
Make sure the monitor’s blue LED is no longer lit.
Remove the SD card from the monitor
Reconnect the monitor’s AC adapter or restore its power supply.
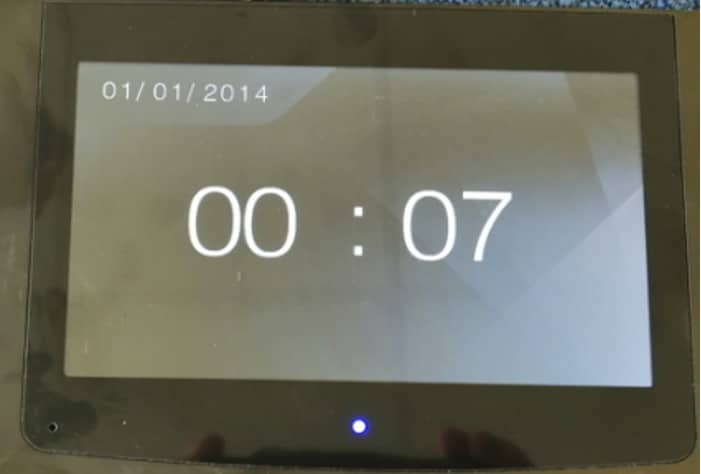
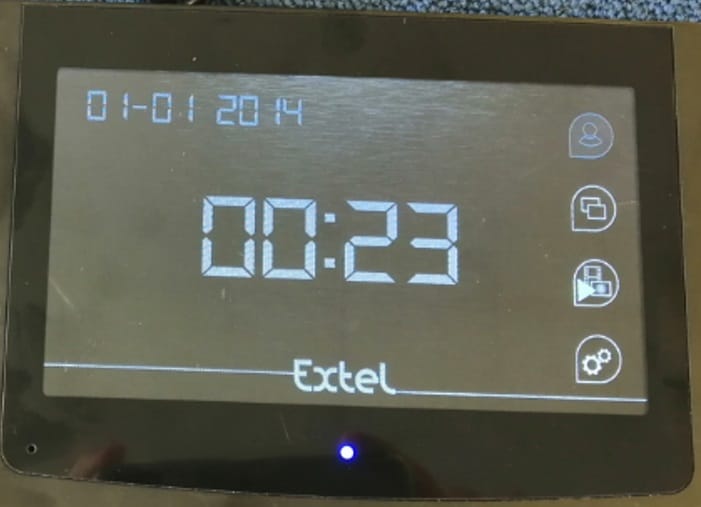
The monitor should switch back on with the time.
If this is not the case, the installation files have not been downloaded correctly or the SD card has failed. Please repeat Step 2 Download the 1ᵉʳˢ system files
Step 4: Format SD card
Format the SD card again by following Step 1: Format SD card
Step 5: Download the 2nd system files
Download the 2 system files by clicking on the following link: CONTACT2
A web page will open
The files will have to be downloaded one by one
Download the MP660.bin file by clicking on arrow and save it in the root directory of your SD card. without renaming it.
The file size is 1.7MB.
Download the MP660.isp file by clicking on arrow and save it in the root directory of your SD card without renaming it.
The file size is 2MB.
This file may be considered dangerous by your browser. Please validate the download.
Check that the contents of the SD card include both files.
Safely remove the SD card from the device.
Step 6: Software installation
Remove the AC adapter from the monitor or switch off the power supply.
Make sure the monitor’s blue LED is no longer lit.
Insert the SD card into the monitor.
Reconnect the monitor’s AC adapter or restore its power supply.
The screen will restart
Wait for the installation to finish until you see the message please reboot system
Remove the AC adapter from the monitor or switch off the power supply.
Make sure the monitor’s blue LED is no longer lit.
Remove the SD card from the monitor
Reconnect the monitor’s AC adapter or restore its power supply.
End
The monitor should switch back on with the time and control buttons on the side.
If this is not the case, the installation files have not been downloaded correctly or the SD card is defective. Please repeat Step 5: Download the 2nd system files.