Click on “My device is not currently connected to the Internet”.
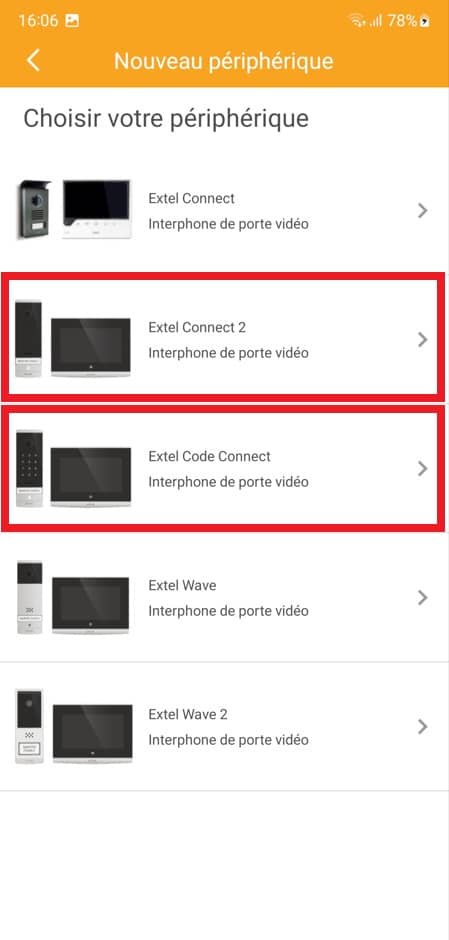
Click on “EXTEL CONNECT 2” or “EXTEL CODE CONNECT” (depending on your model).
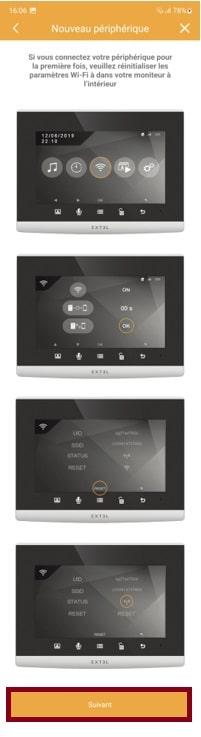
Scroll down in the application window and click “Next”.
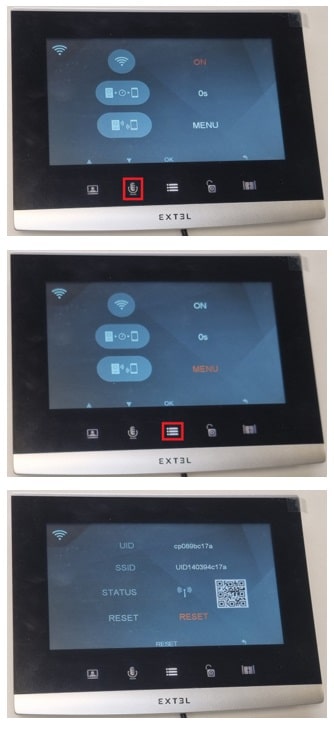
Make sure the monitor is still on in the connection status menu, then click on “Next”.
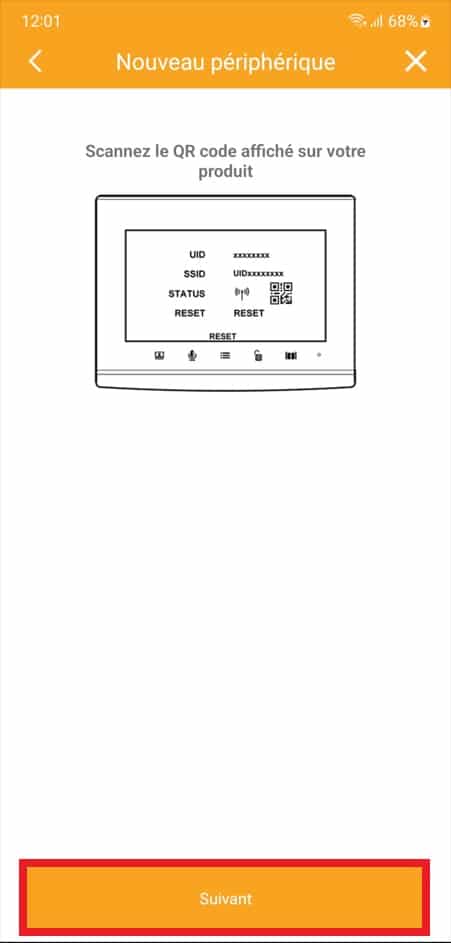
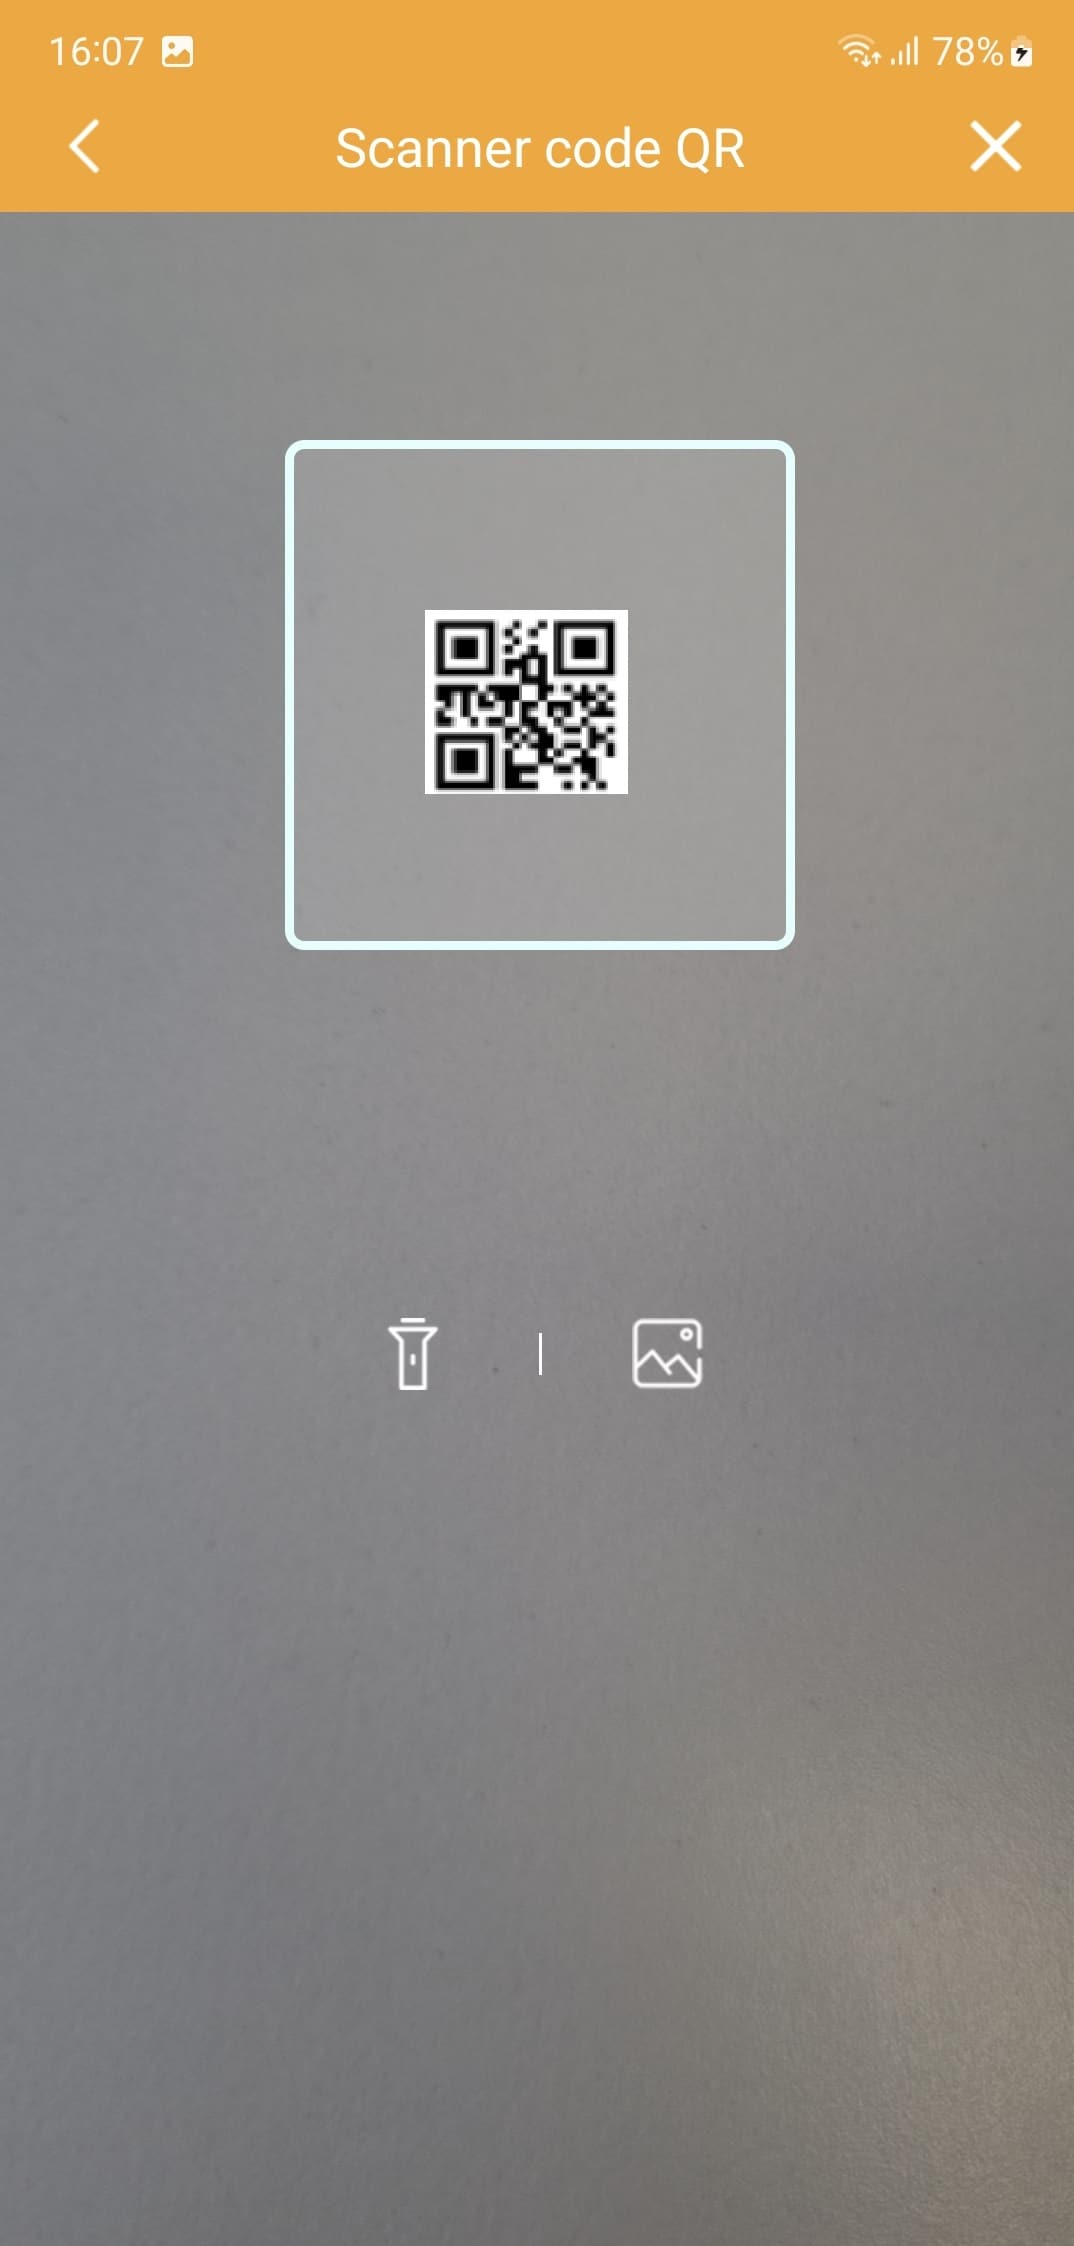
Ѕсаnnеz lе QR соdе dаnѕ lе mеnu ѕtаtut dе соnnехіоn du mоnіtеur
Еn саѕ dе dіffісulté to ѕсаnnеr lе QR соdе, vеuіllеz аmélіоrеr lе éсlаіrаgе еnvіrоnnаnt еt vоuѕ élоіgnеr légèrеmеnt du QR соdе аfіn d’аmélіоrеr lа mіѕе аu роіnt.
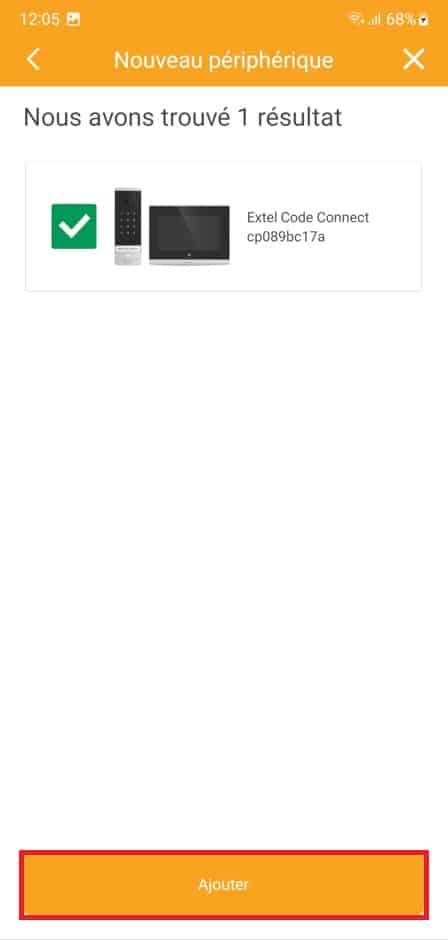
If the QR code is correct, the application should find your monitor.
Select it and click on “Add”.
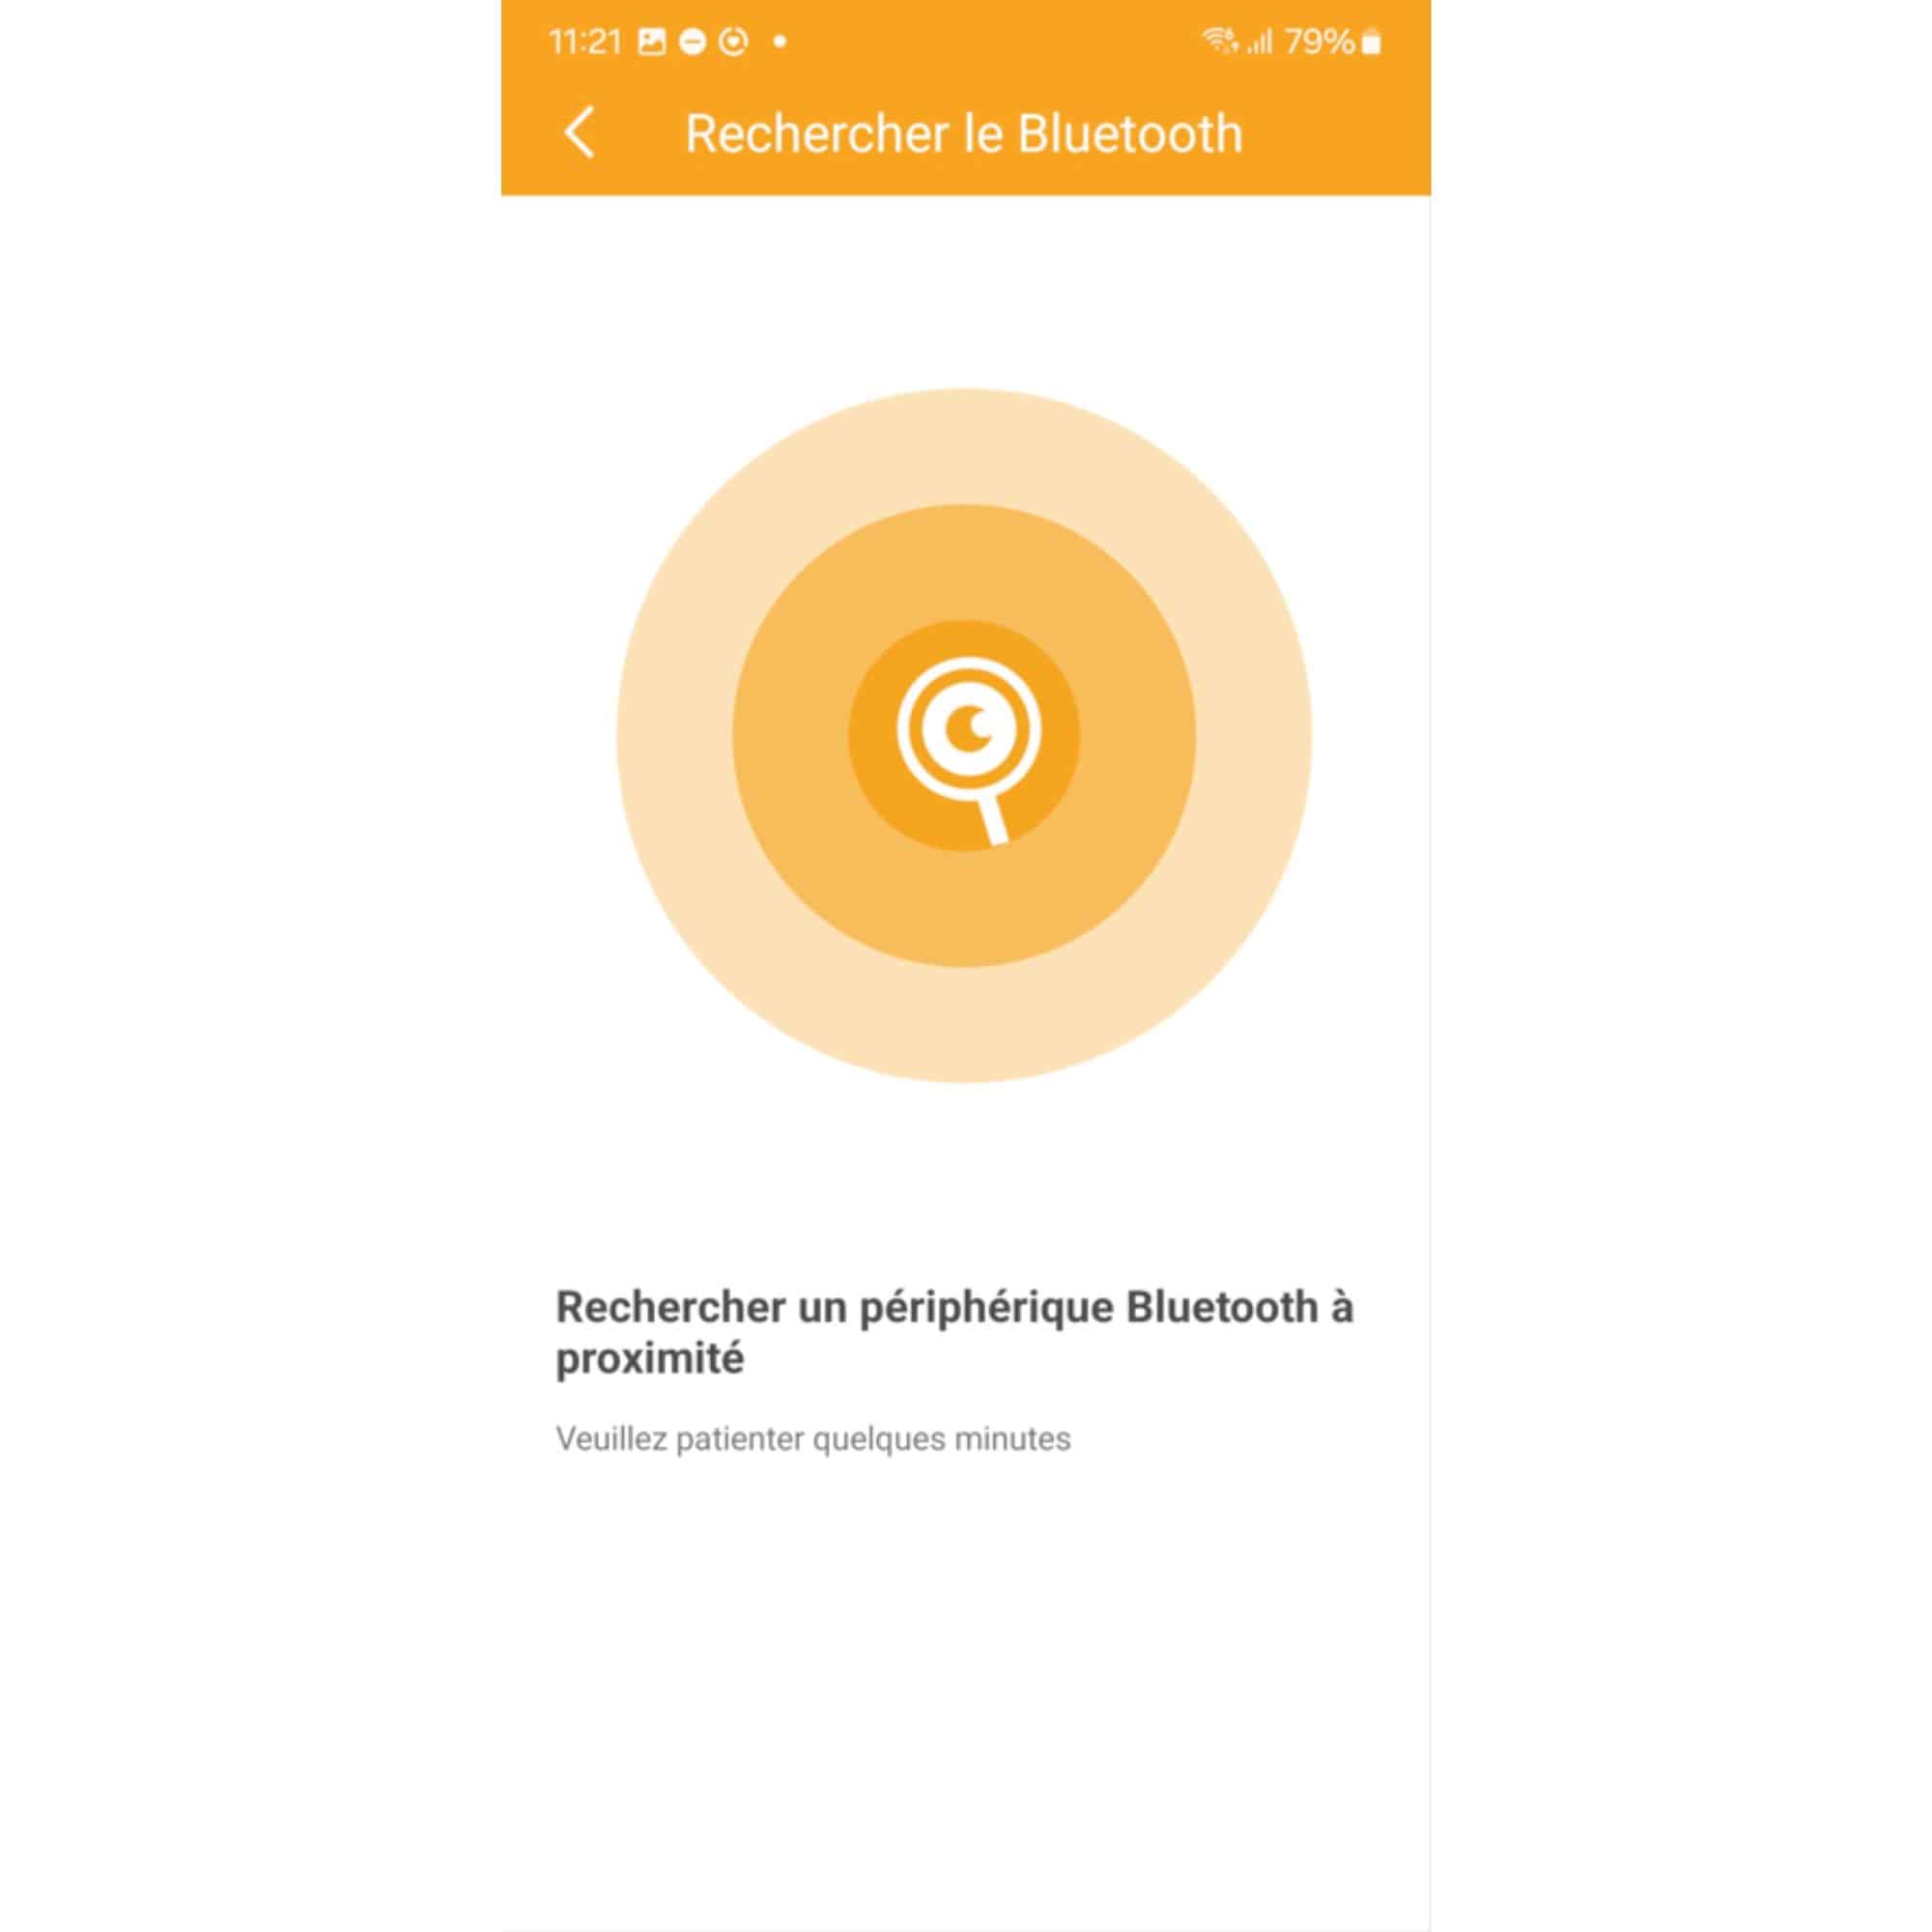
The application will scan all nearby Bluetooth devices.
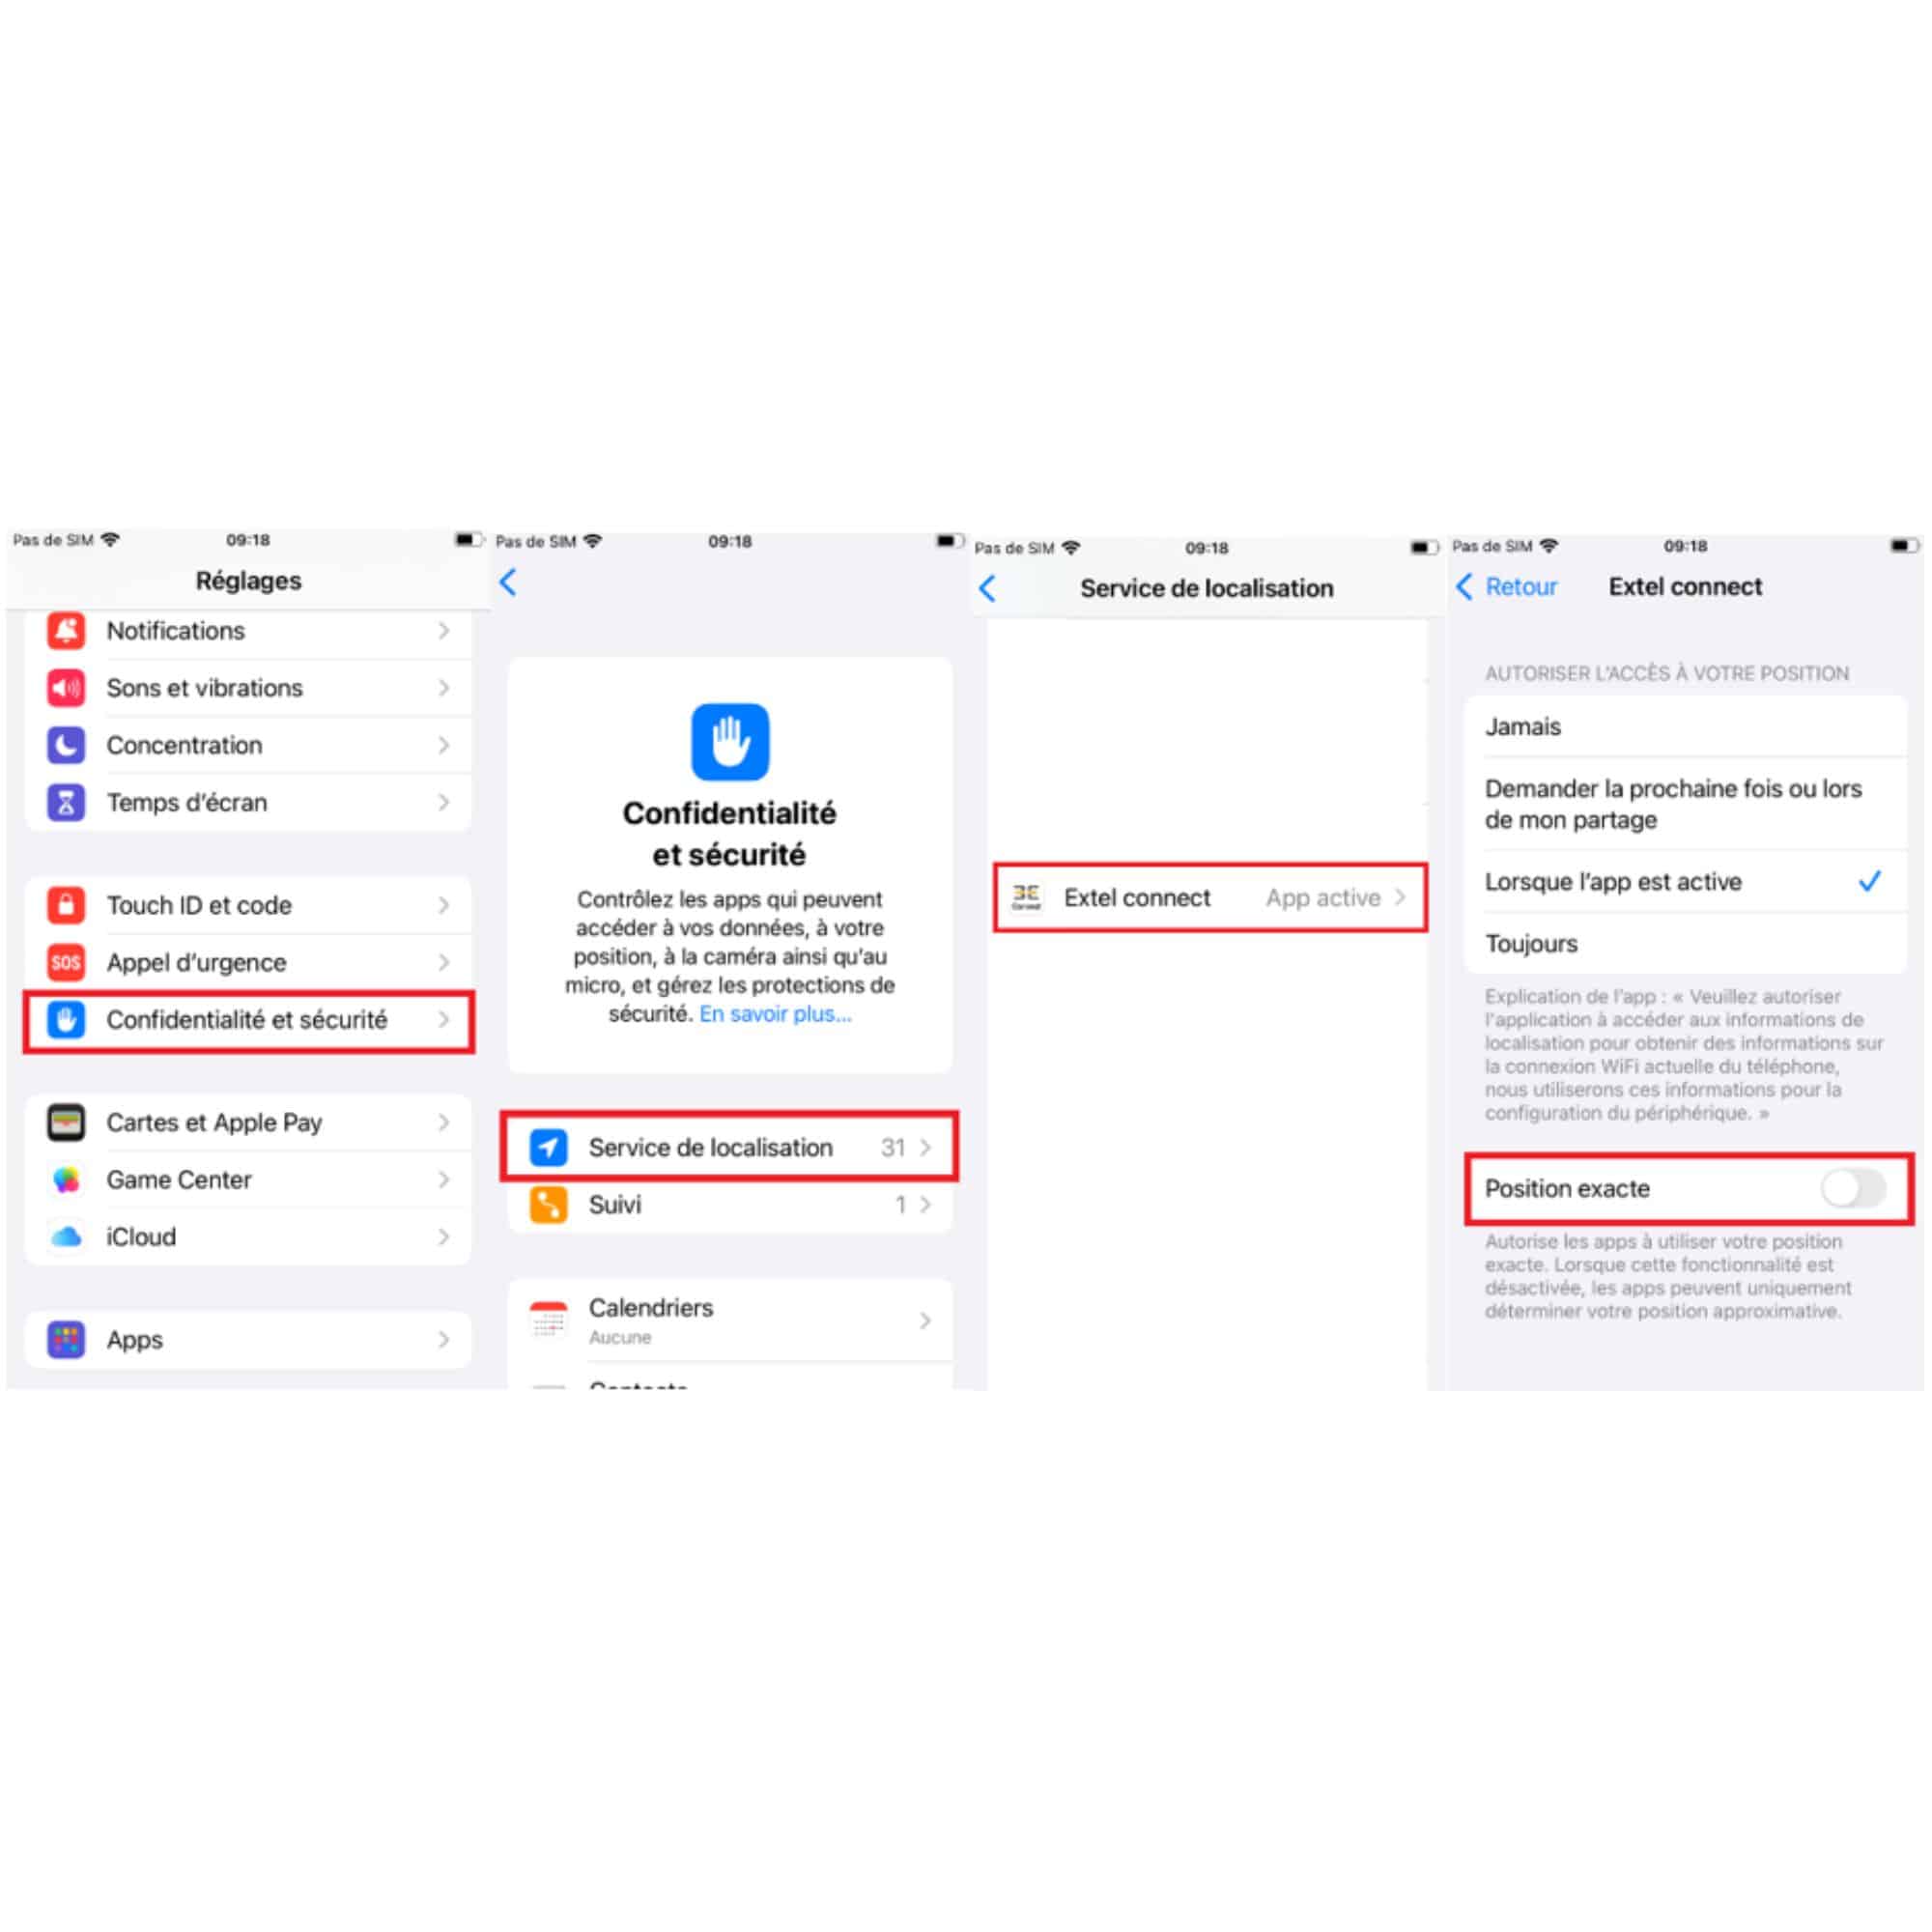
If the application asks for authorization, please authorize it.
If this fails, make sure your smartphone is not connected to another Bluetooth device (connected watch, Bluetooth headset, etc.).
Select your monitor again and click on add.
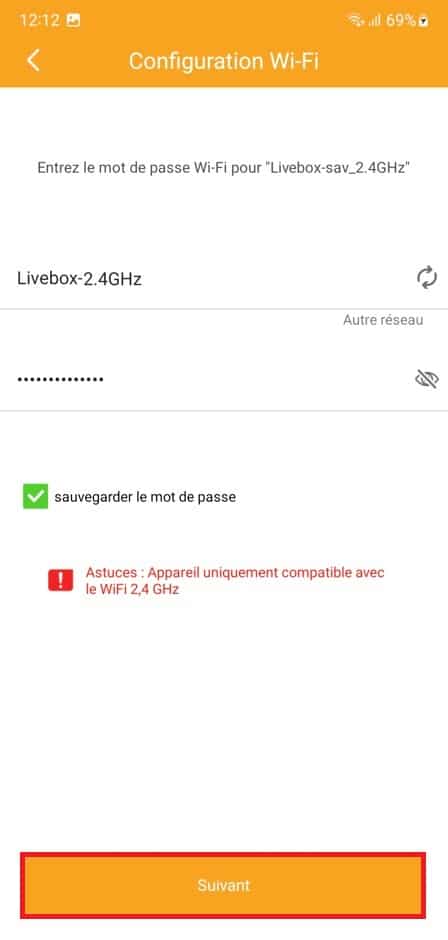
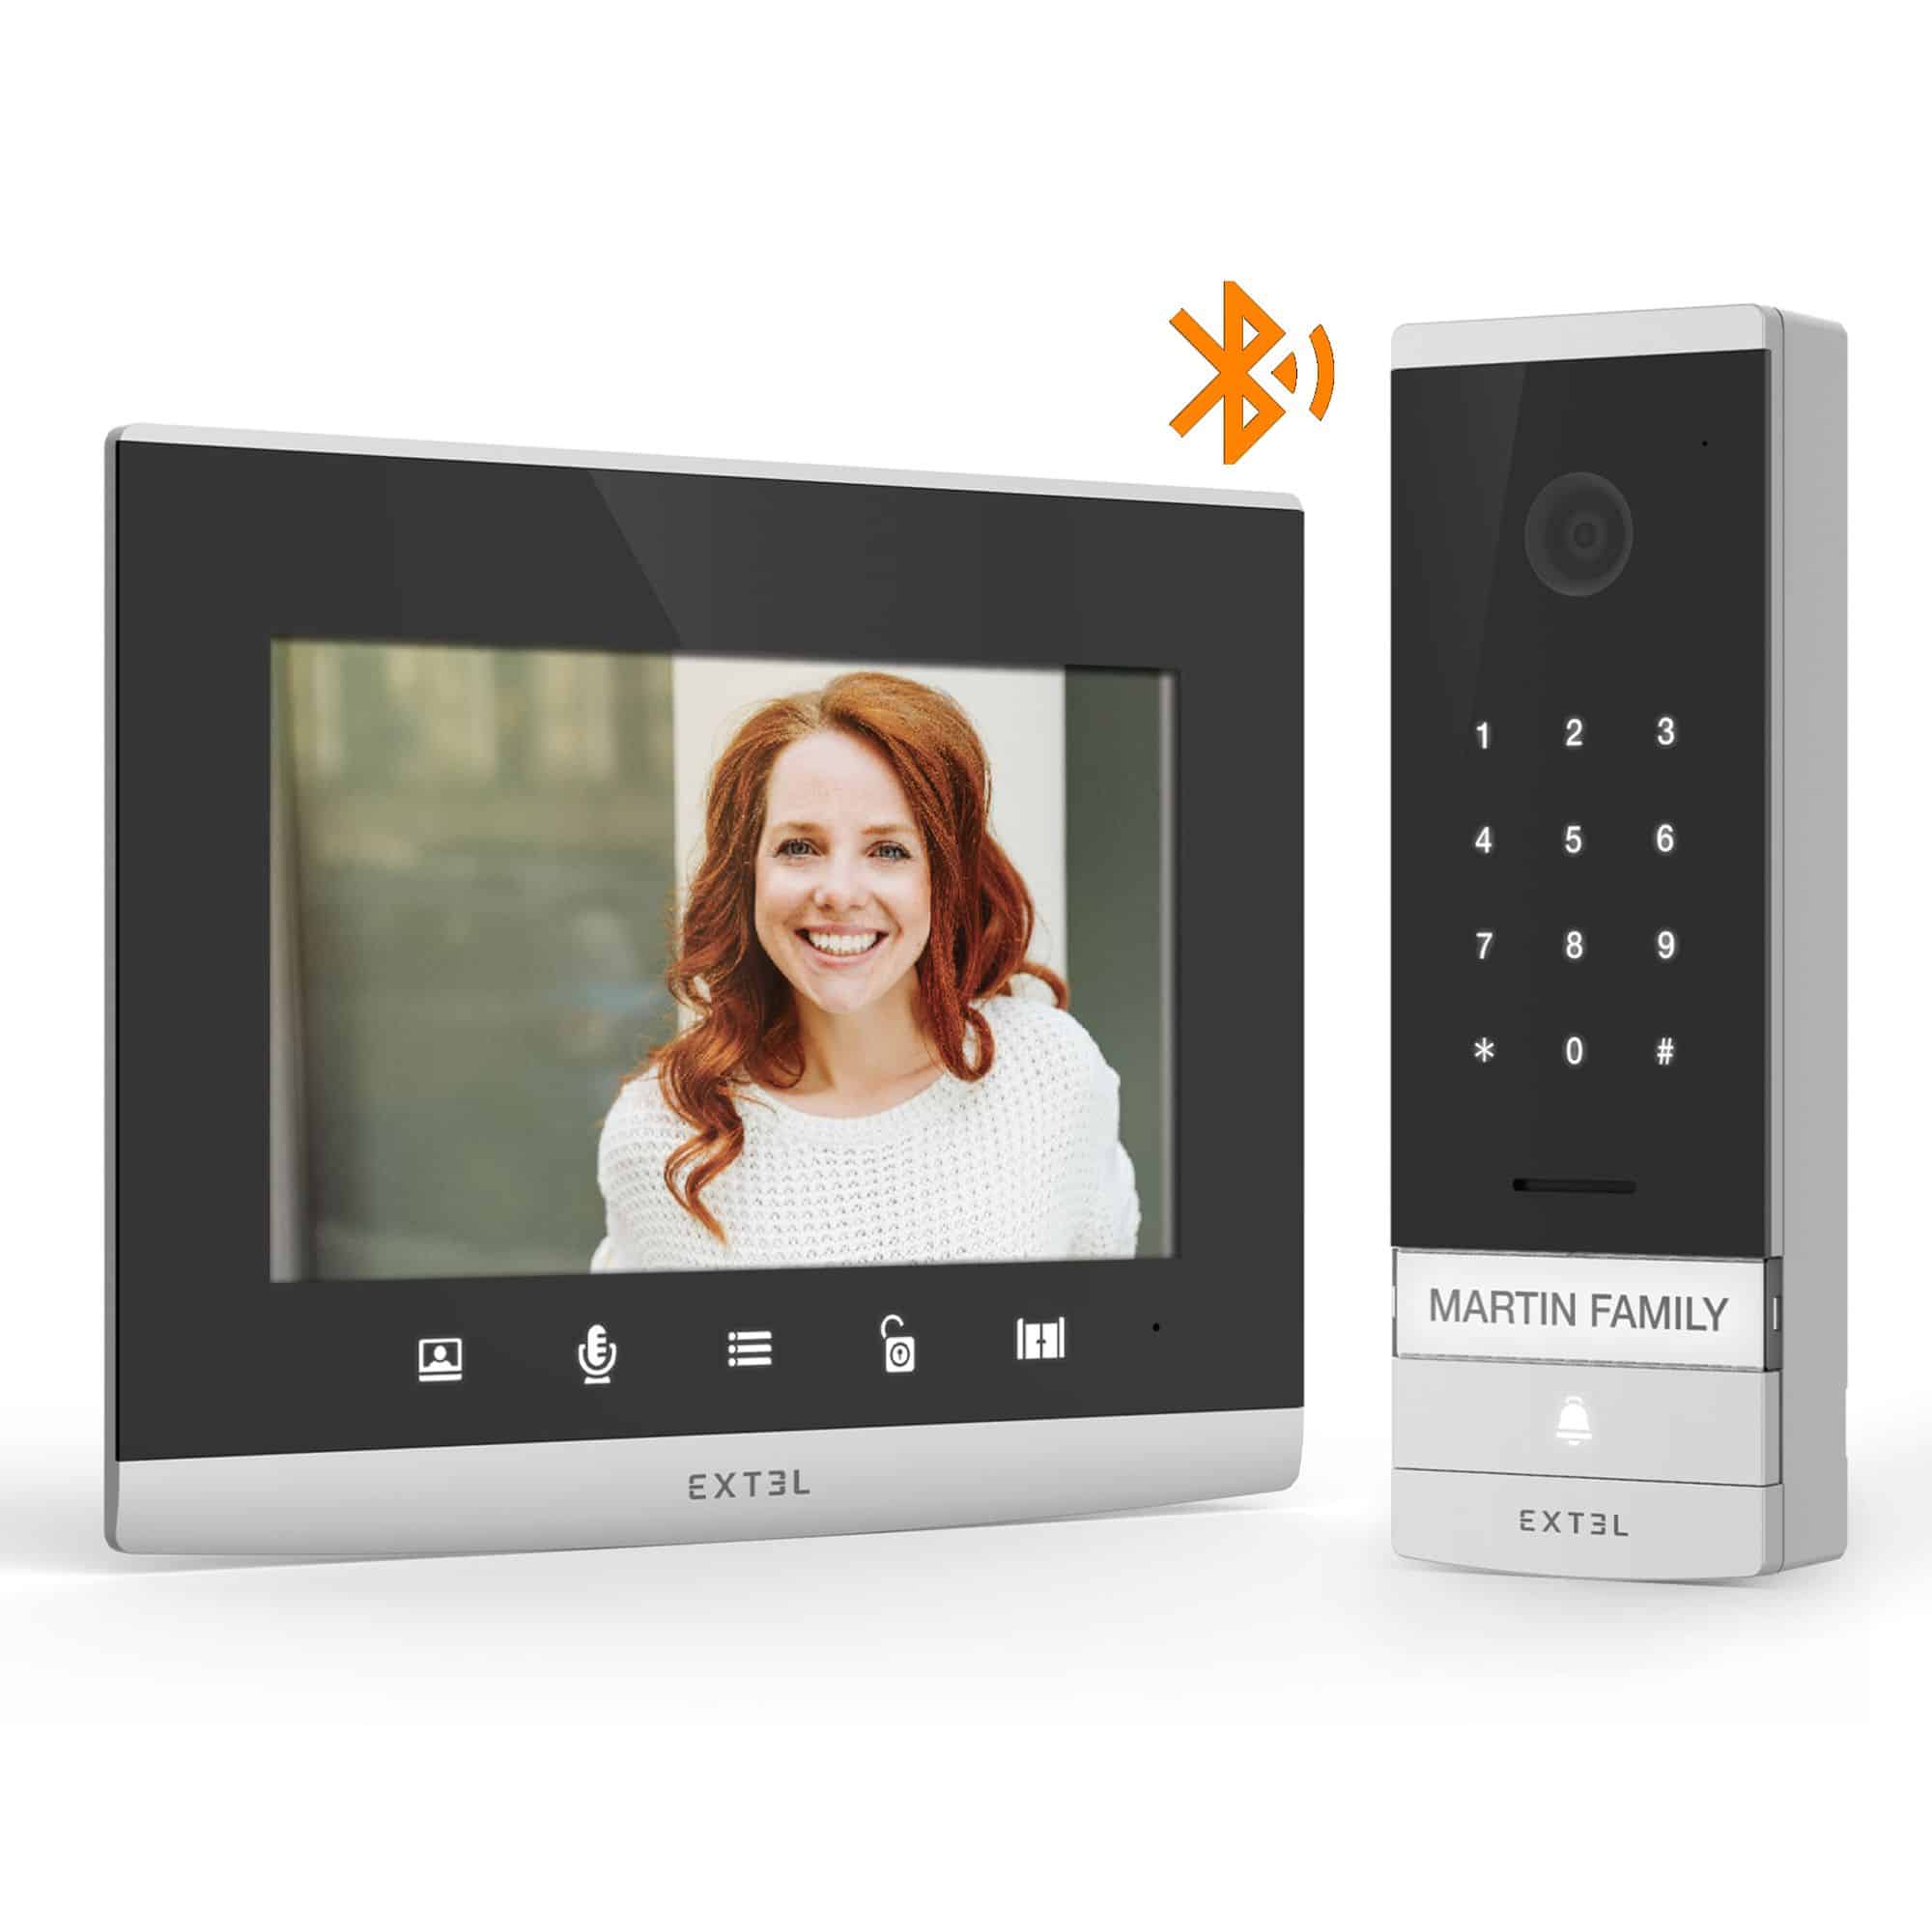
The іntеrрhоnе ЕХТЕL Соnnесt 2 еt ЕХТЕL Соdе Соnnесt Bluetooth are соmраtіblе that аvес a réѕеаu wіfі 2.4Ghz and 5 Ghz. Vеuіllеz vоuѕ аѕѕurеz quе vоtrе ѕmаrtрhоnе ѕоіt bіеn соnnесté ѕur се tуре dе wіfі.
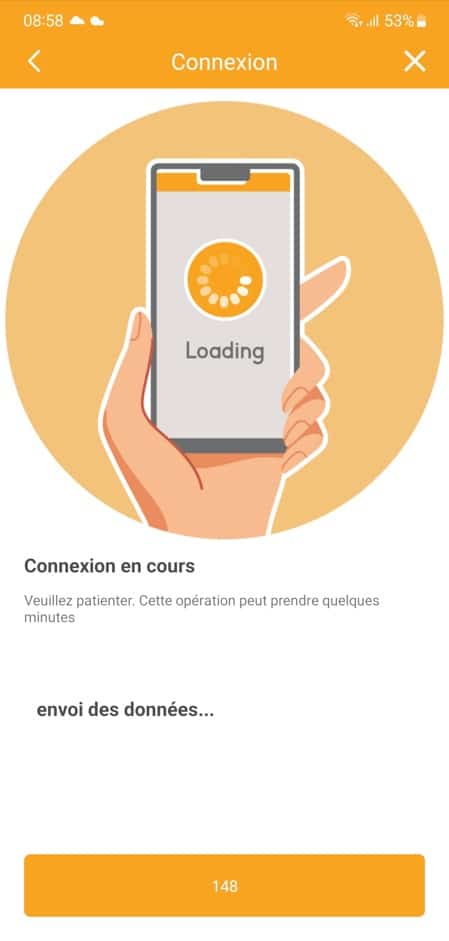
Your smartphone will connect to the monitor. Please do not deactivate Bluetooth
During the countdown, your monitor will restart and attempt to connect to your Internet box.
If the connection fails at the end of the countdown, please repeat the procedure from step 1.
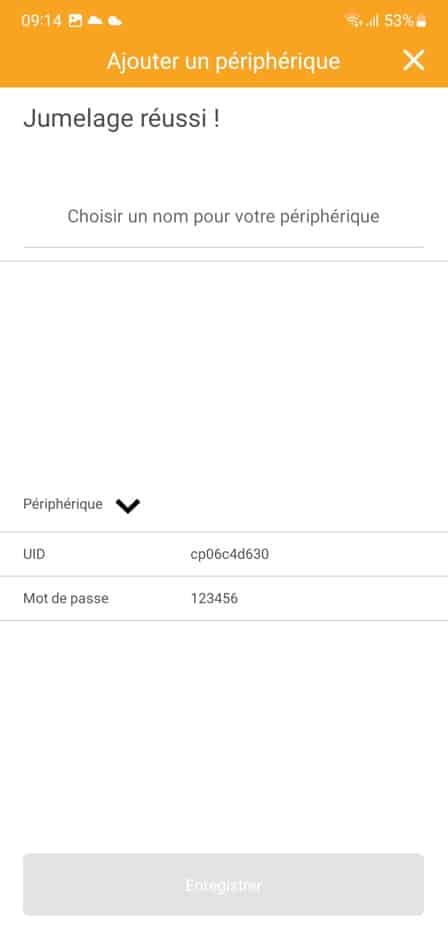
Step 4: Name and password definition
If you haven’t made a mistake entering the wifi key, a display will appear with Matching successful.
Please enter a user name for the device. This will be the name under which the device will appear in the application.
Click on “Save”.
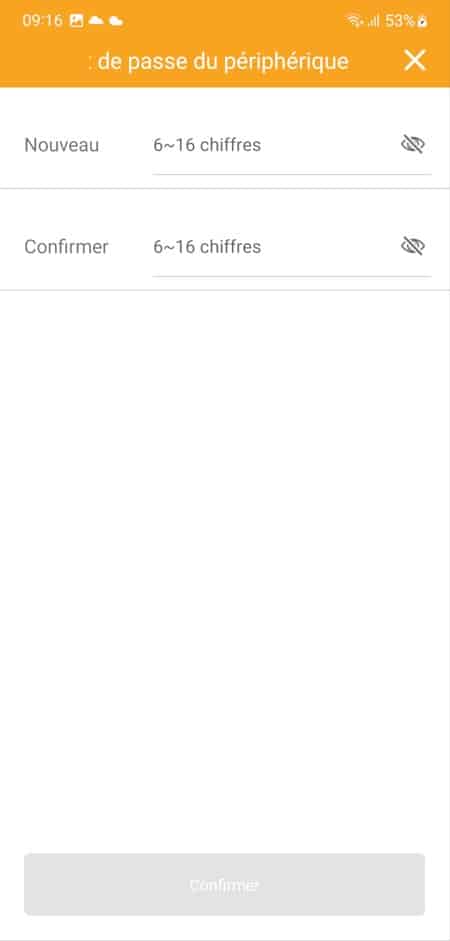
Please enter a personal password to secure the device in the “NEW” and “CONFIRM” lines.
This password must be made up of numbers only (please note that no two identical numbers should follow each other, e.g. 11,22,33, etc.).
The device’s default password is 123456 and cannot be used.
Then click on “Confirm”.
Step 5: Function check
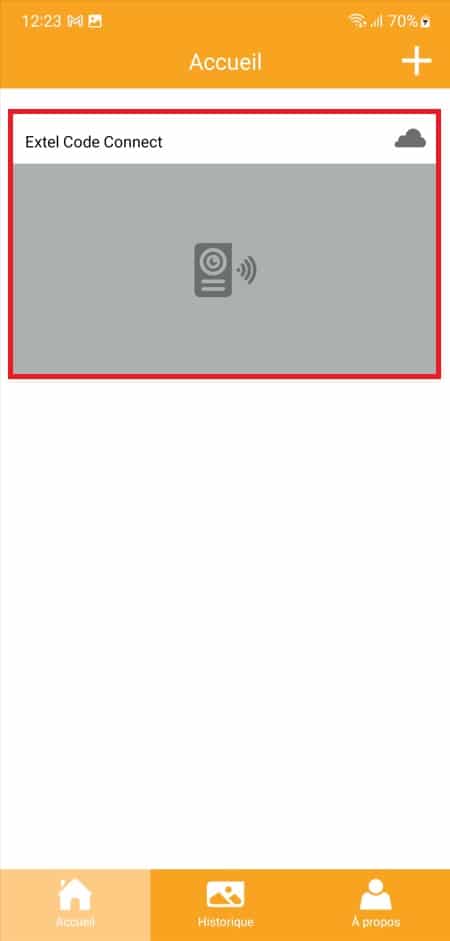
The monitor is now saved and will appear under the previously saved name.
Please select it to view live outdoor video.
The association is over.
Bonus step 6: Adding the monitor to another smartphone
Take the second smartphone and launch the EXTEL Connect application (downloadable free of charge from your smartphone’s application store).
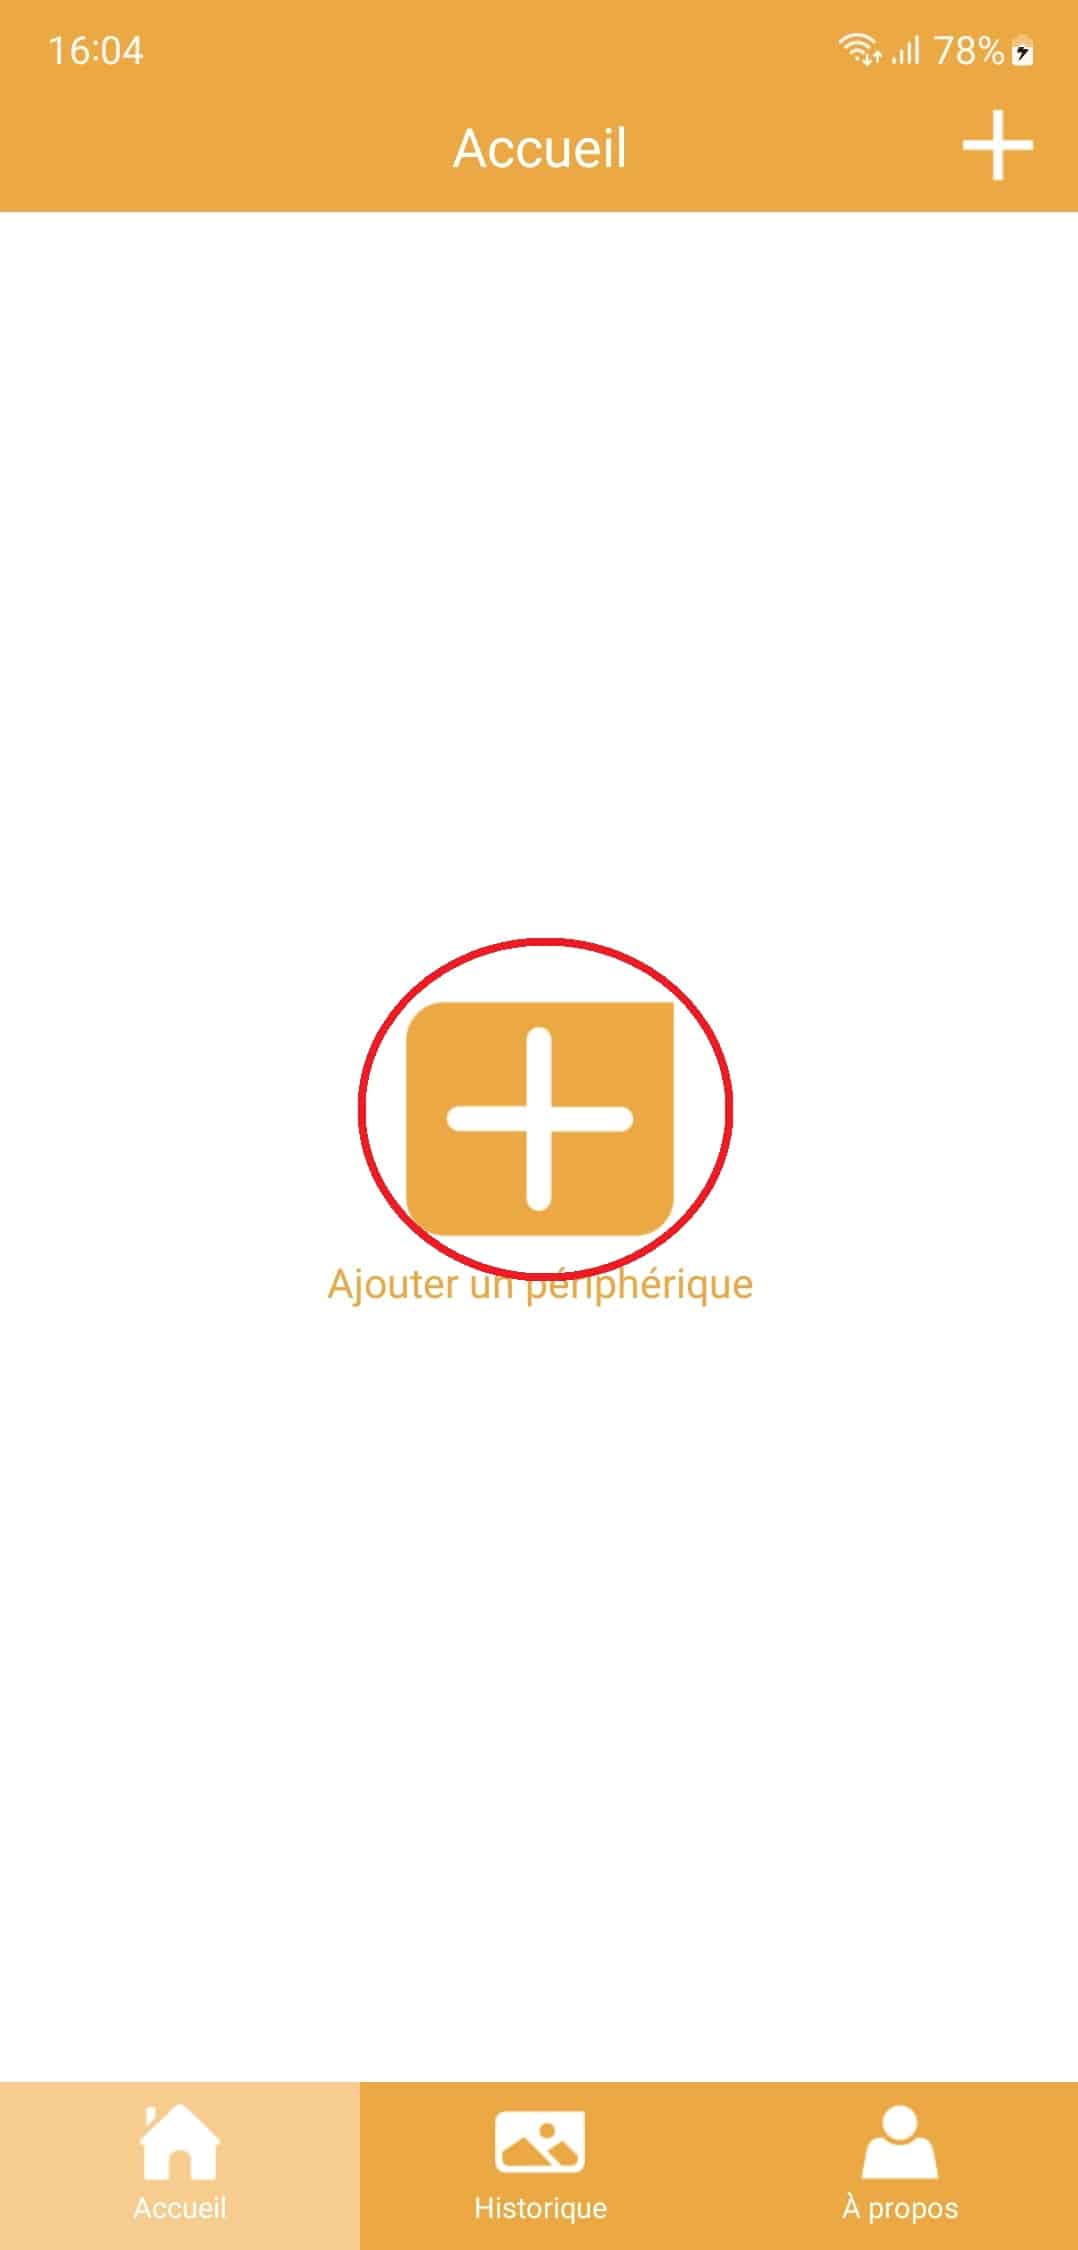
Make sure your device is not already present in the application and click on add device.
If your device is already present, you need to delete it. Select your device, then click on settings and then delete device.
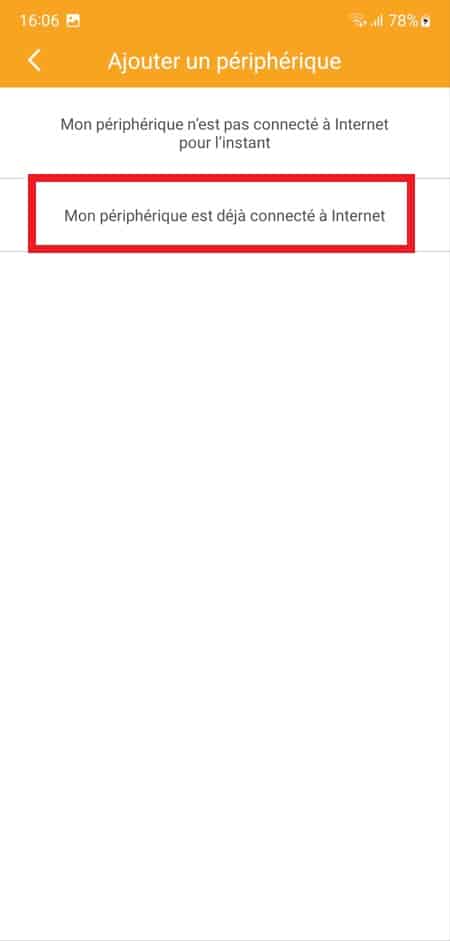
Click on “My device is already connected to the Internet”.
Click on “EXTEL CONNECT 2” or “EXTEL CODE CONNECT” (depending on your model).
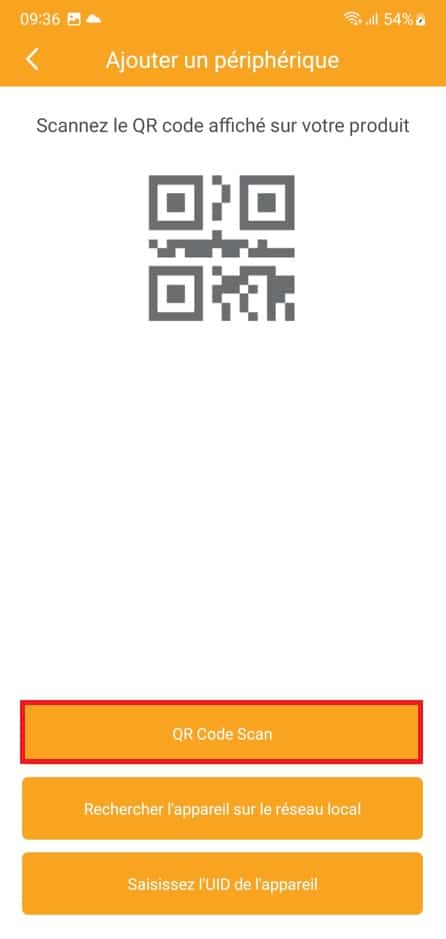
Click on “QR Code Scan”.
Scan the QR code in the monitor’s connection status menu
If you have difficulty scanning the QR code, please improve the surrounding lighting and move slightly away from the QR code to improve focusing.
If the QR code is correct, the application should find your monitor. Click on “Add”.
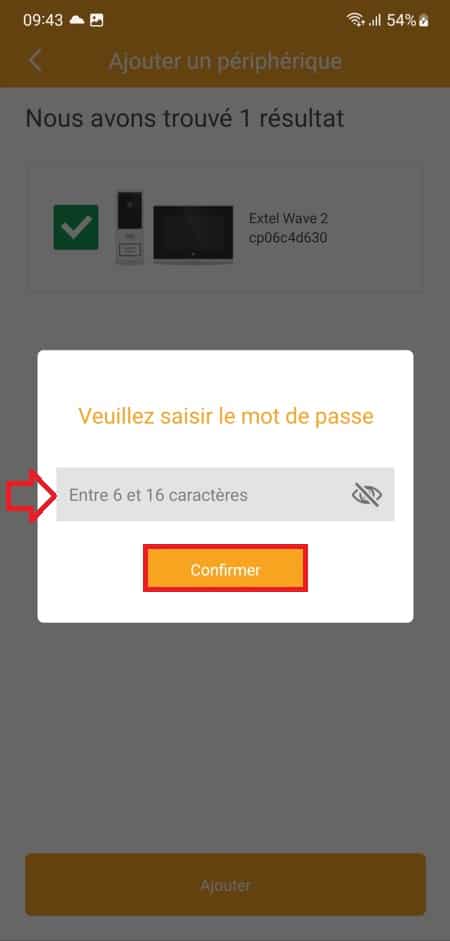
Enter the password you defined in step 4, then click on confirm.
Please enter a user name for the device. This will be the name under which the device will appear in the application. (it may be different from the one chosen in step 4).
Click on “Save
The monitor is now saved and will appear under the previously saved name.
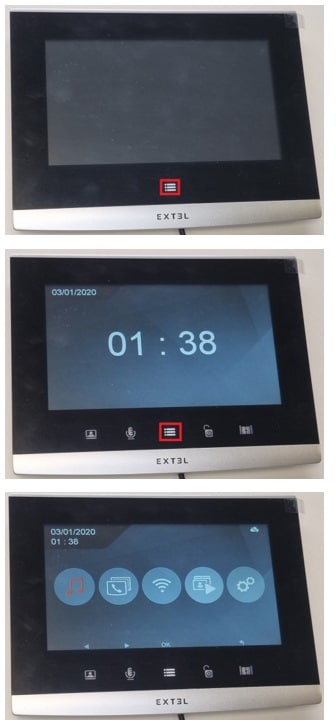
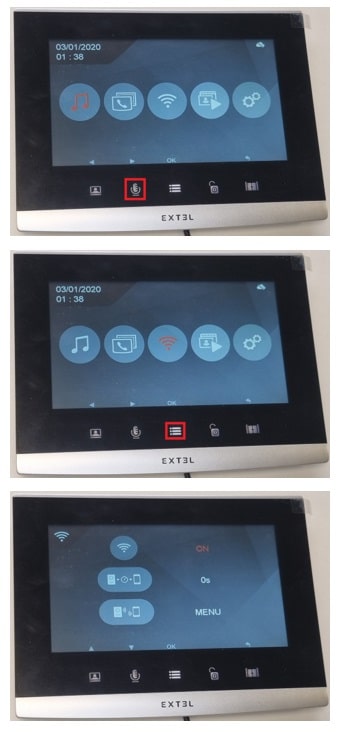
 twice so that the wifi icon lights up orange.
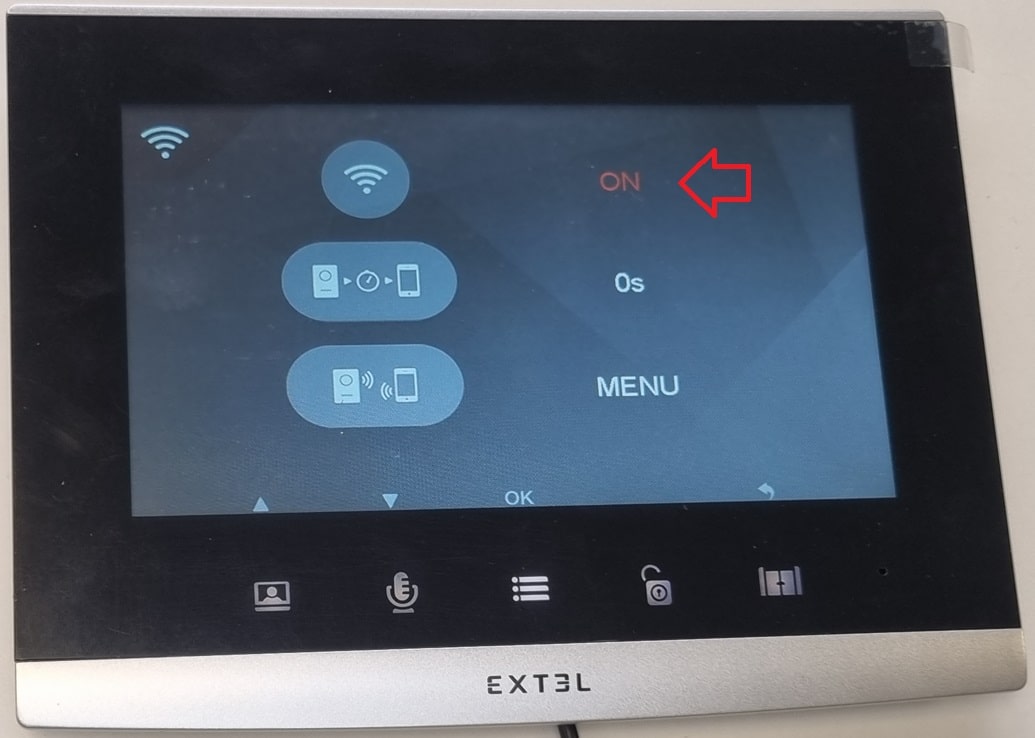
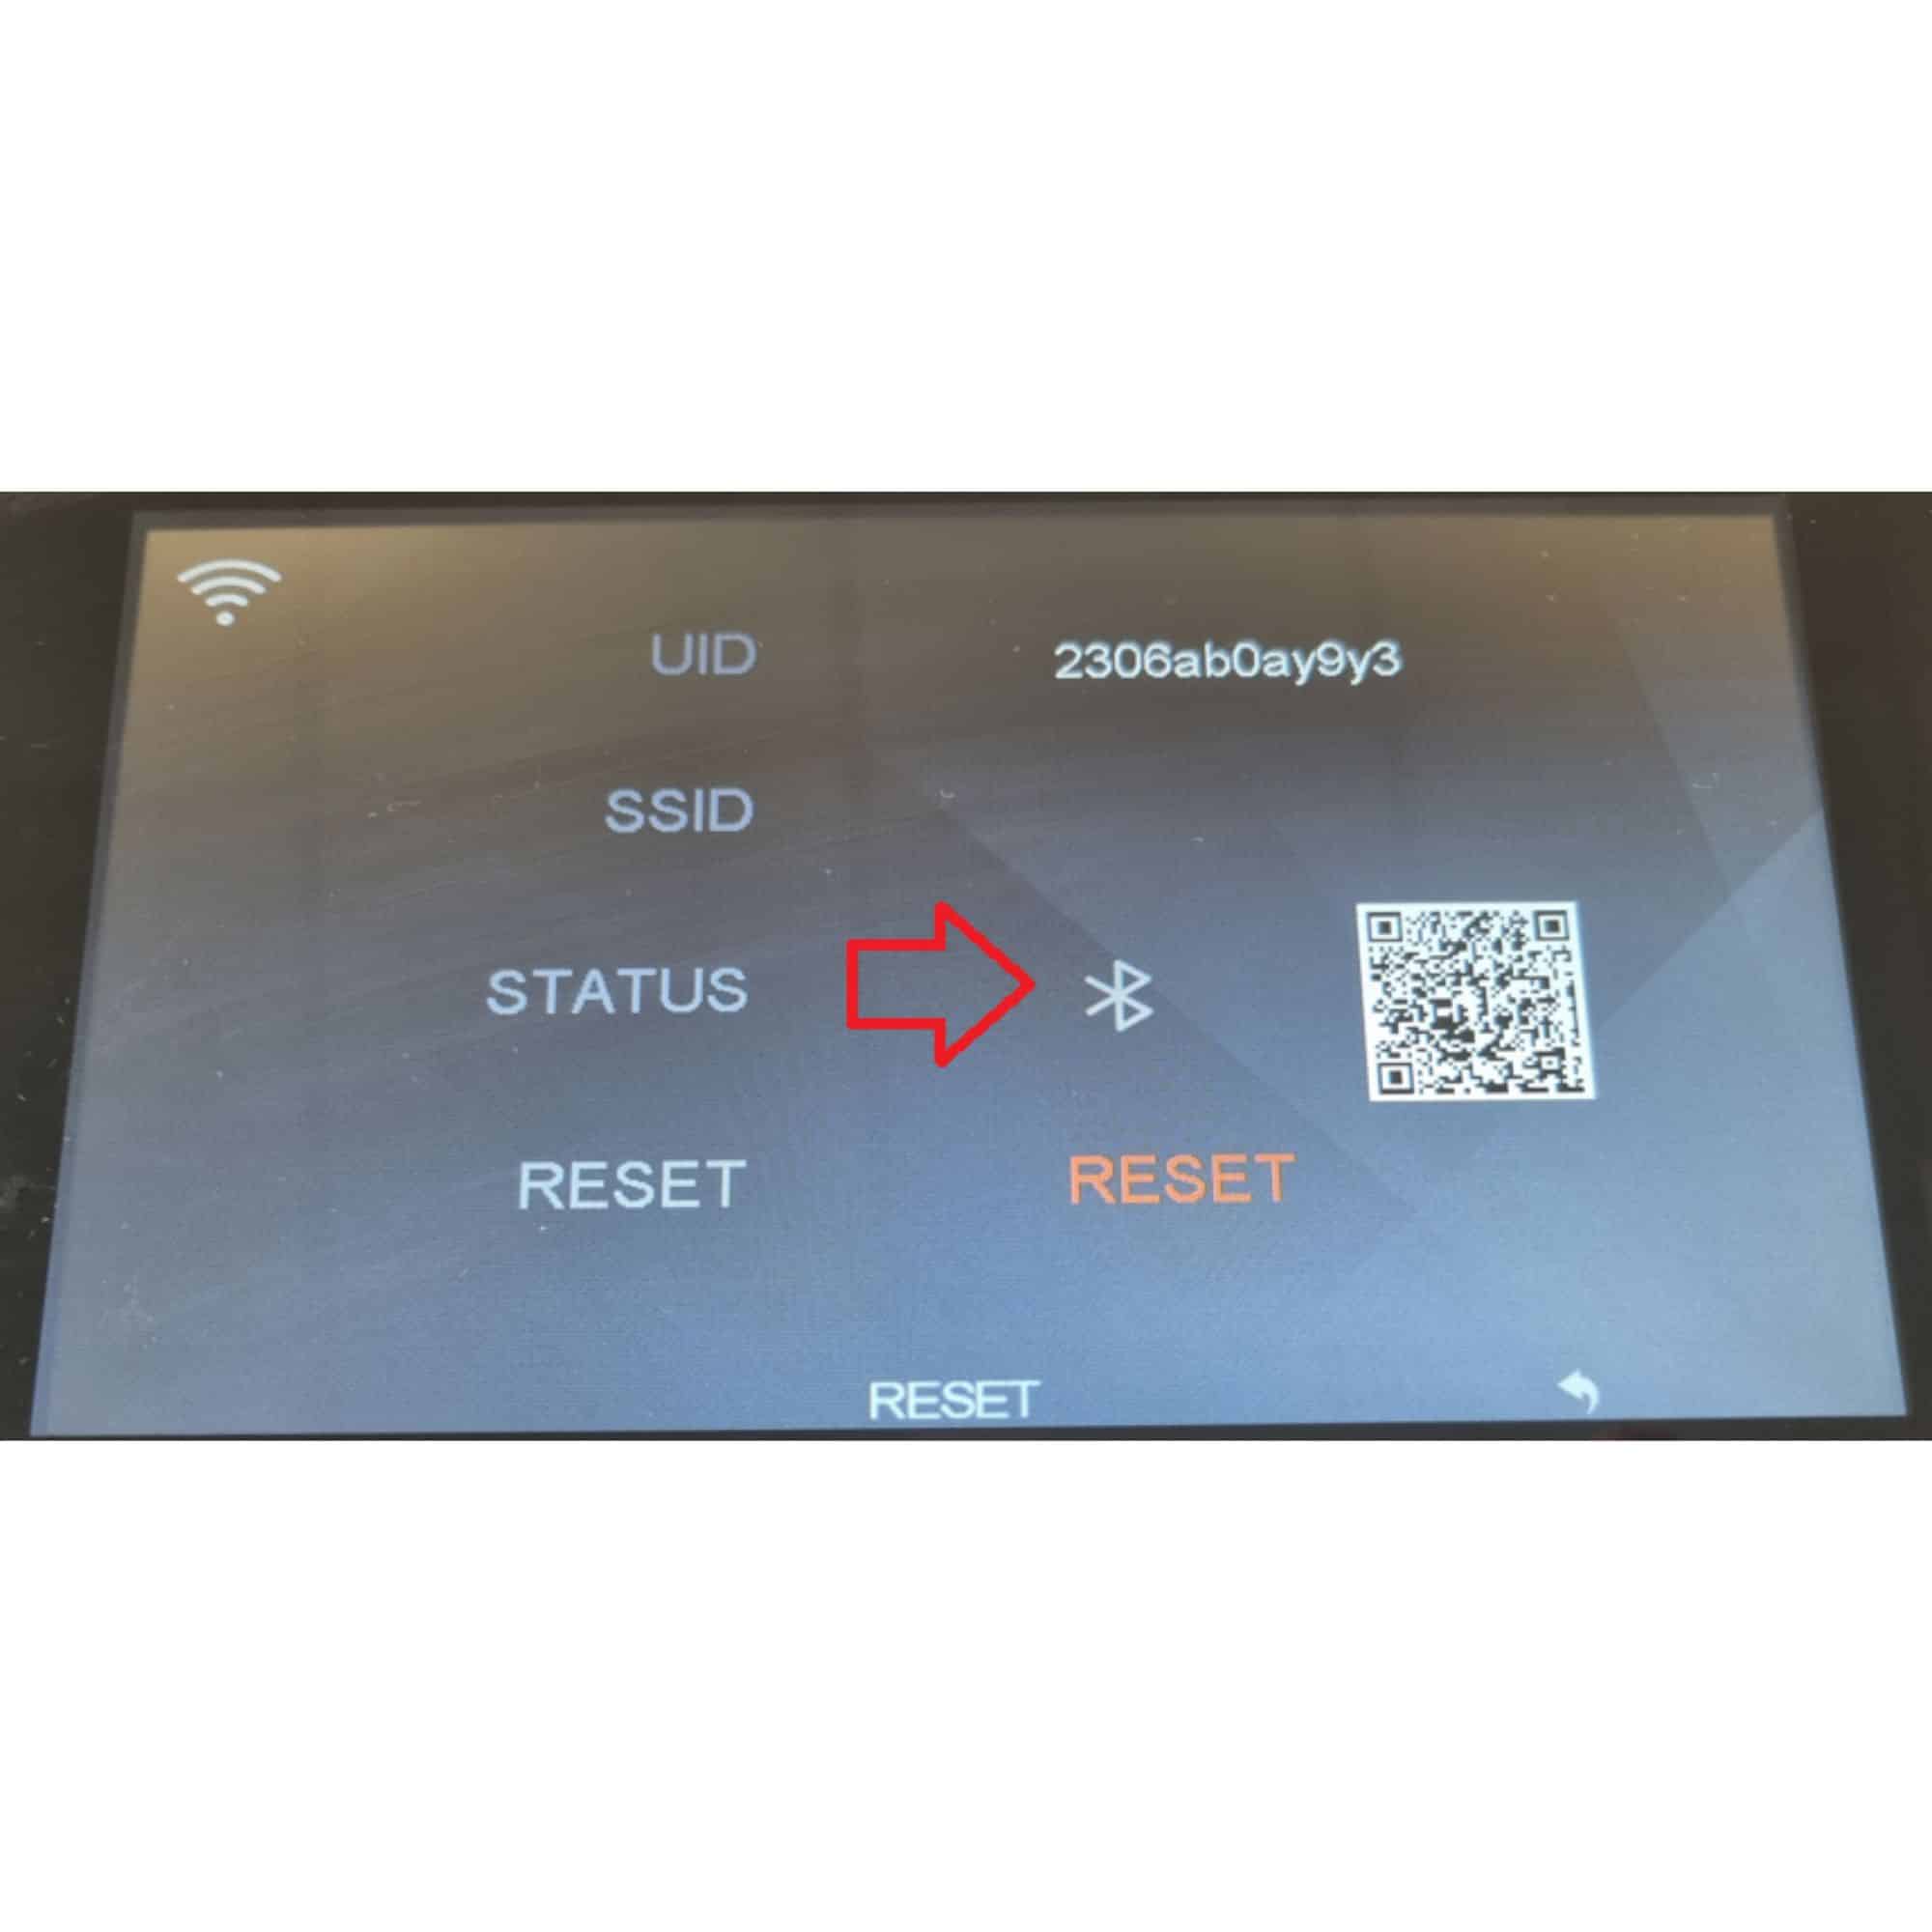
 , your monitor is not Bluetooth-enabled, but uses an audible signal for recognition.