Skip to content
  • English
    • French
    • Italian
    • Spanish
    • German
    • Dutch
    • Portuguese (Portugal)
    • Greek
    • Polish
  • English
    • French
    • Italian
    • Spanish
    • German
    • Dutch
    • Portuguese (Portugal)
    • Greek
    • Polish
Logo Avidsen
  • Products
    • Products
    • Avidsen Brand
    • Extel Brand
    • Philips Brand
    • Thomson Brand
  • Support
    • Support
    • Tutorials on repair and use
    • Avidsen Technical Support
    • Extel brand technical support
    • Philips technical support
    • Thomson Technical Support
  • The Group
    • The Group
    • Contact
    • Avidsen’s CSR commitments
  • Plug and play solar panels
  • Where to buy ?
\

Creation of a heating program – 127062

  1. Home
  2. Creation of a heating program – 127062

Creation of a heating program – 127062

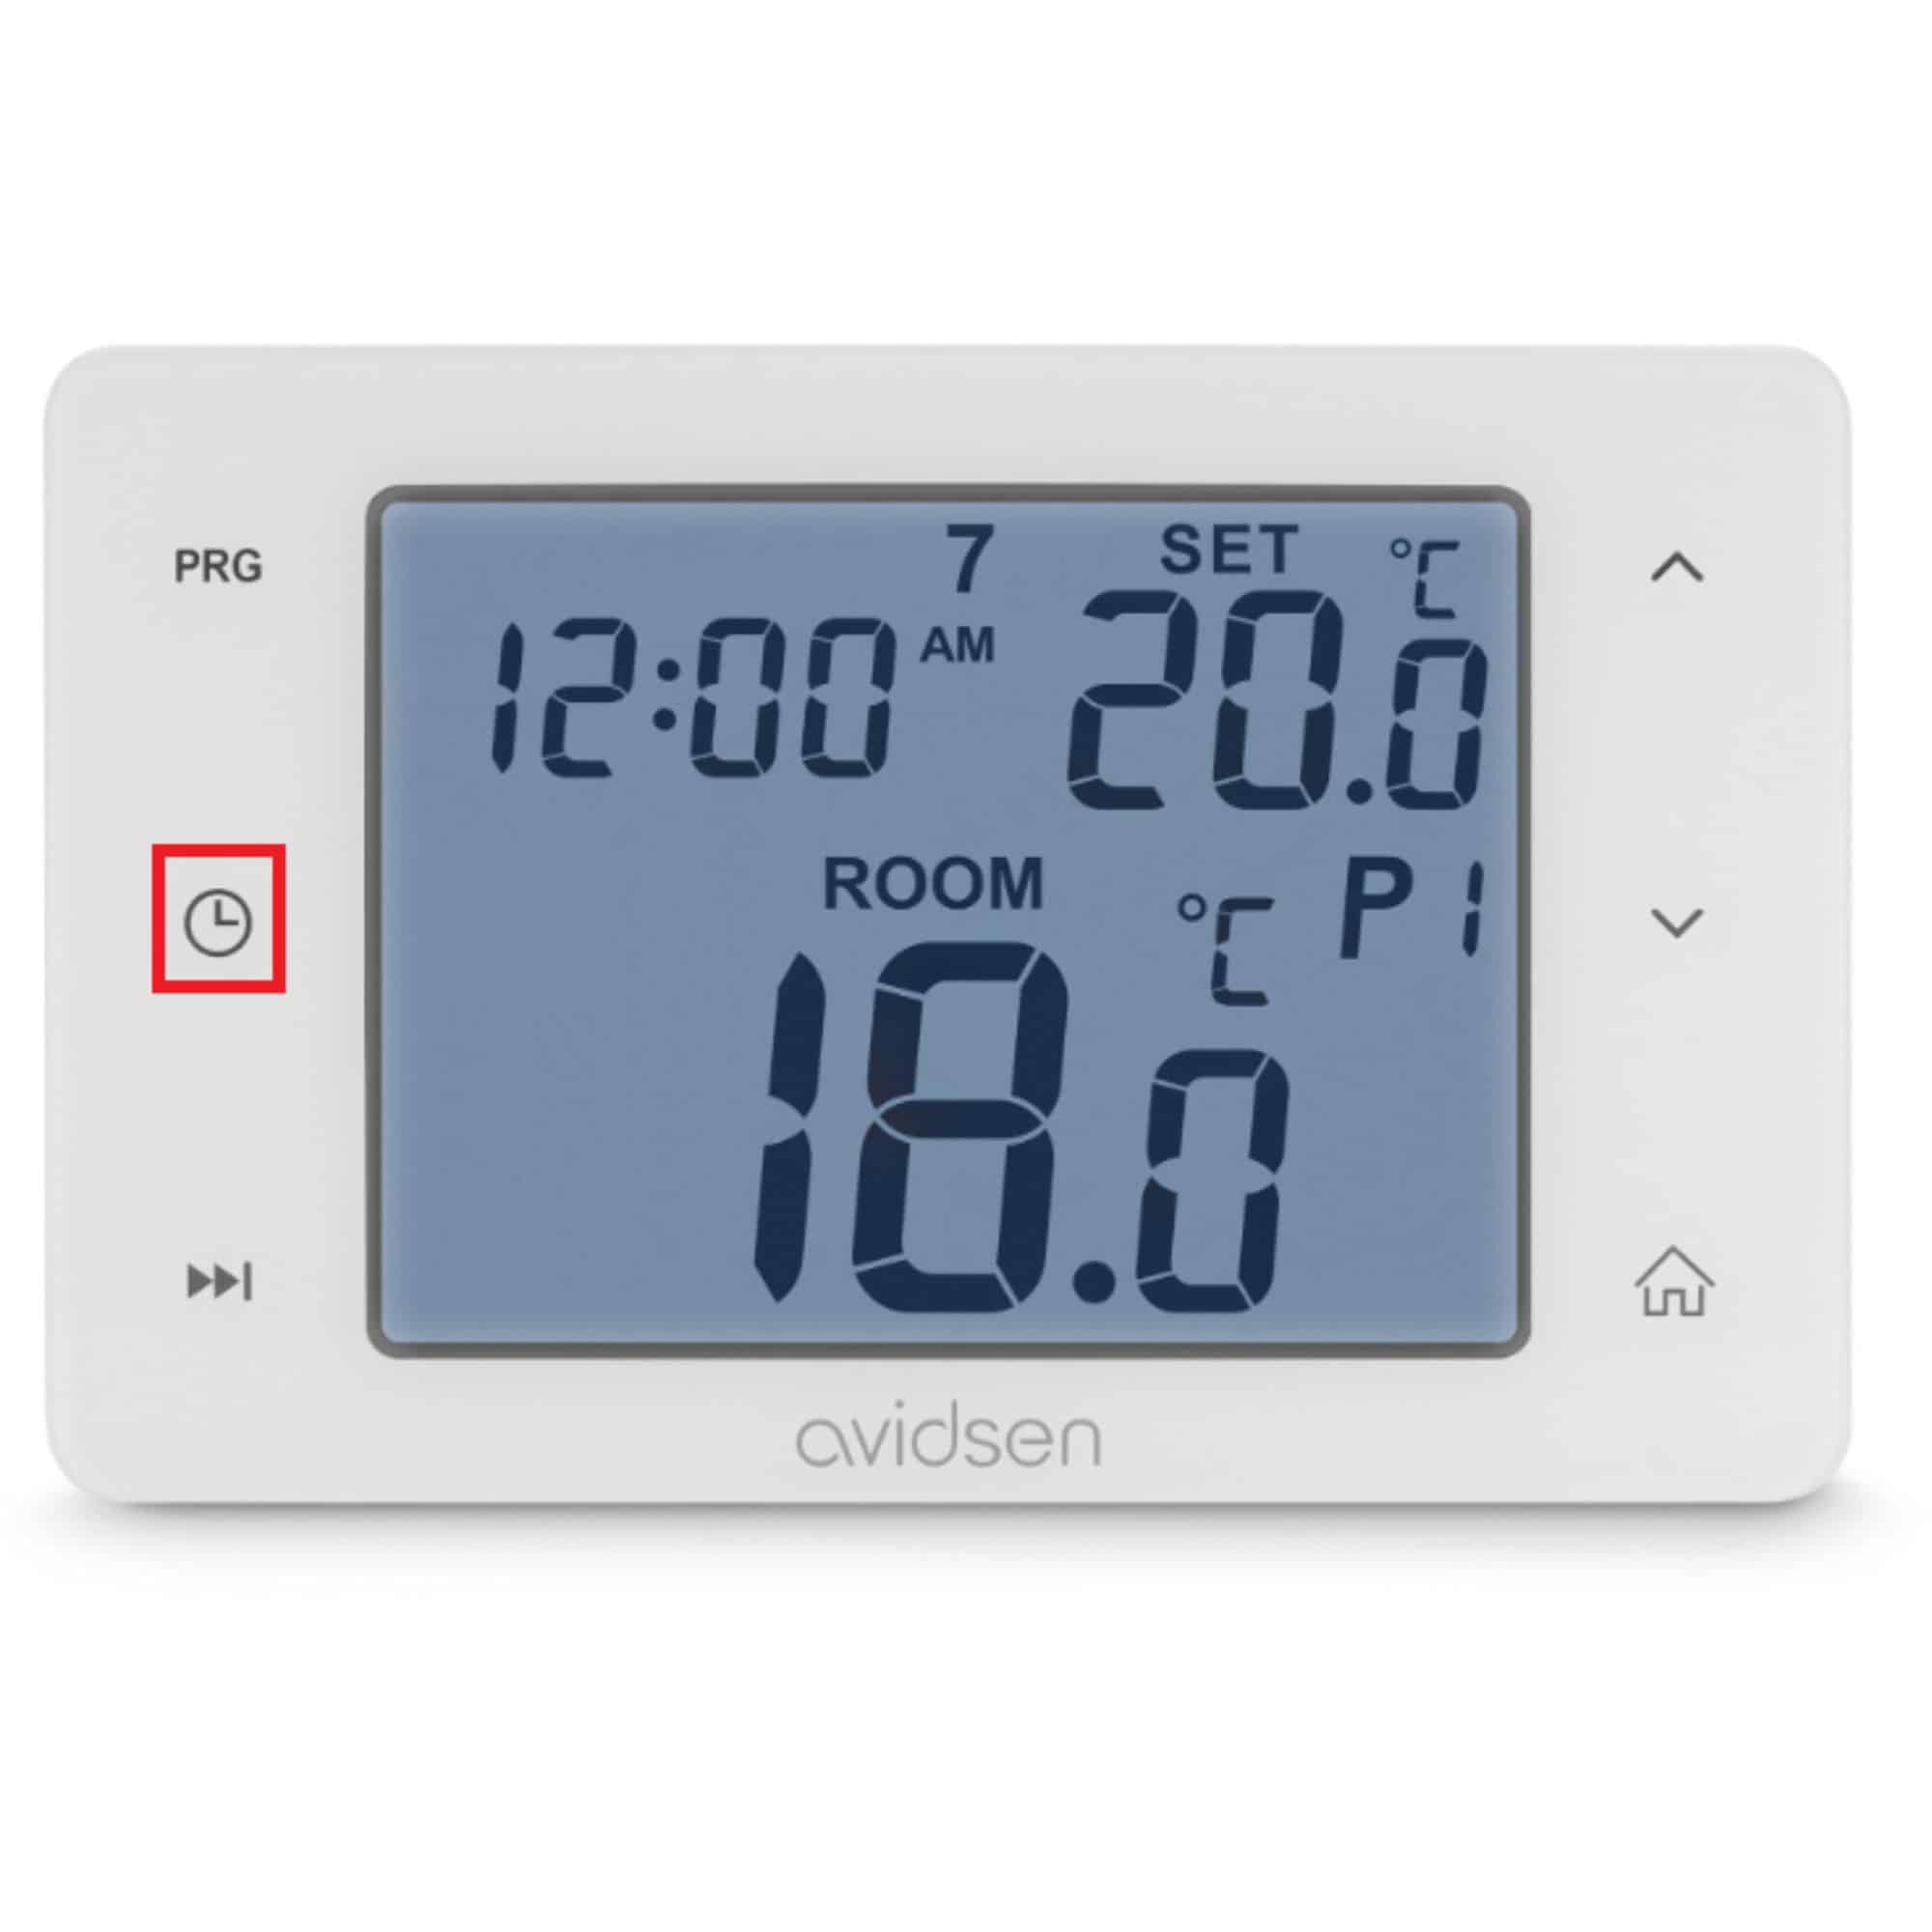
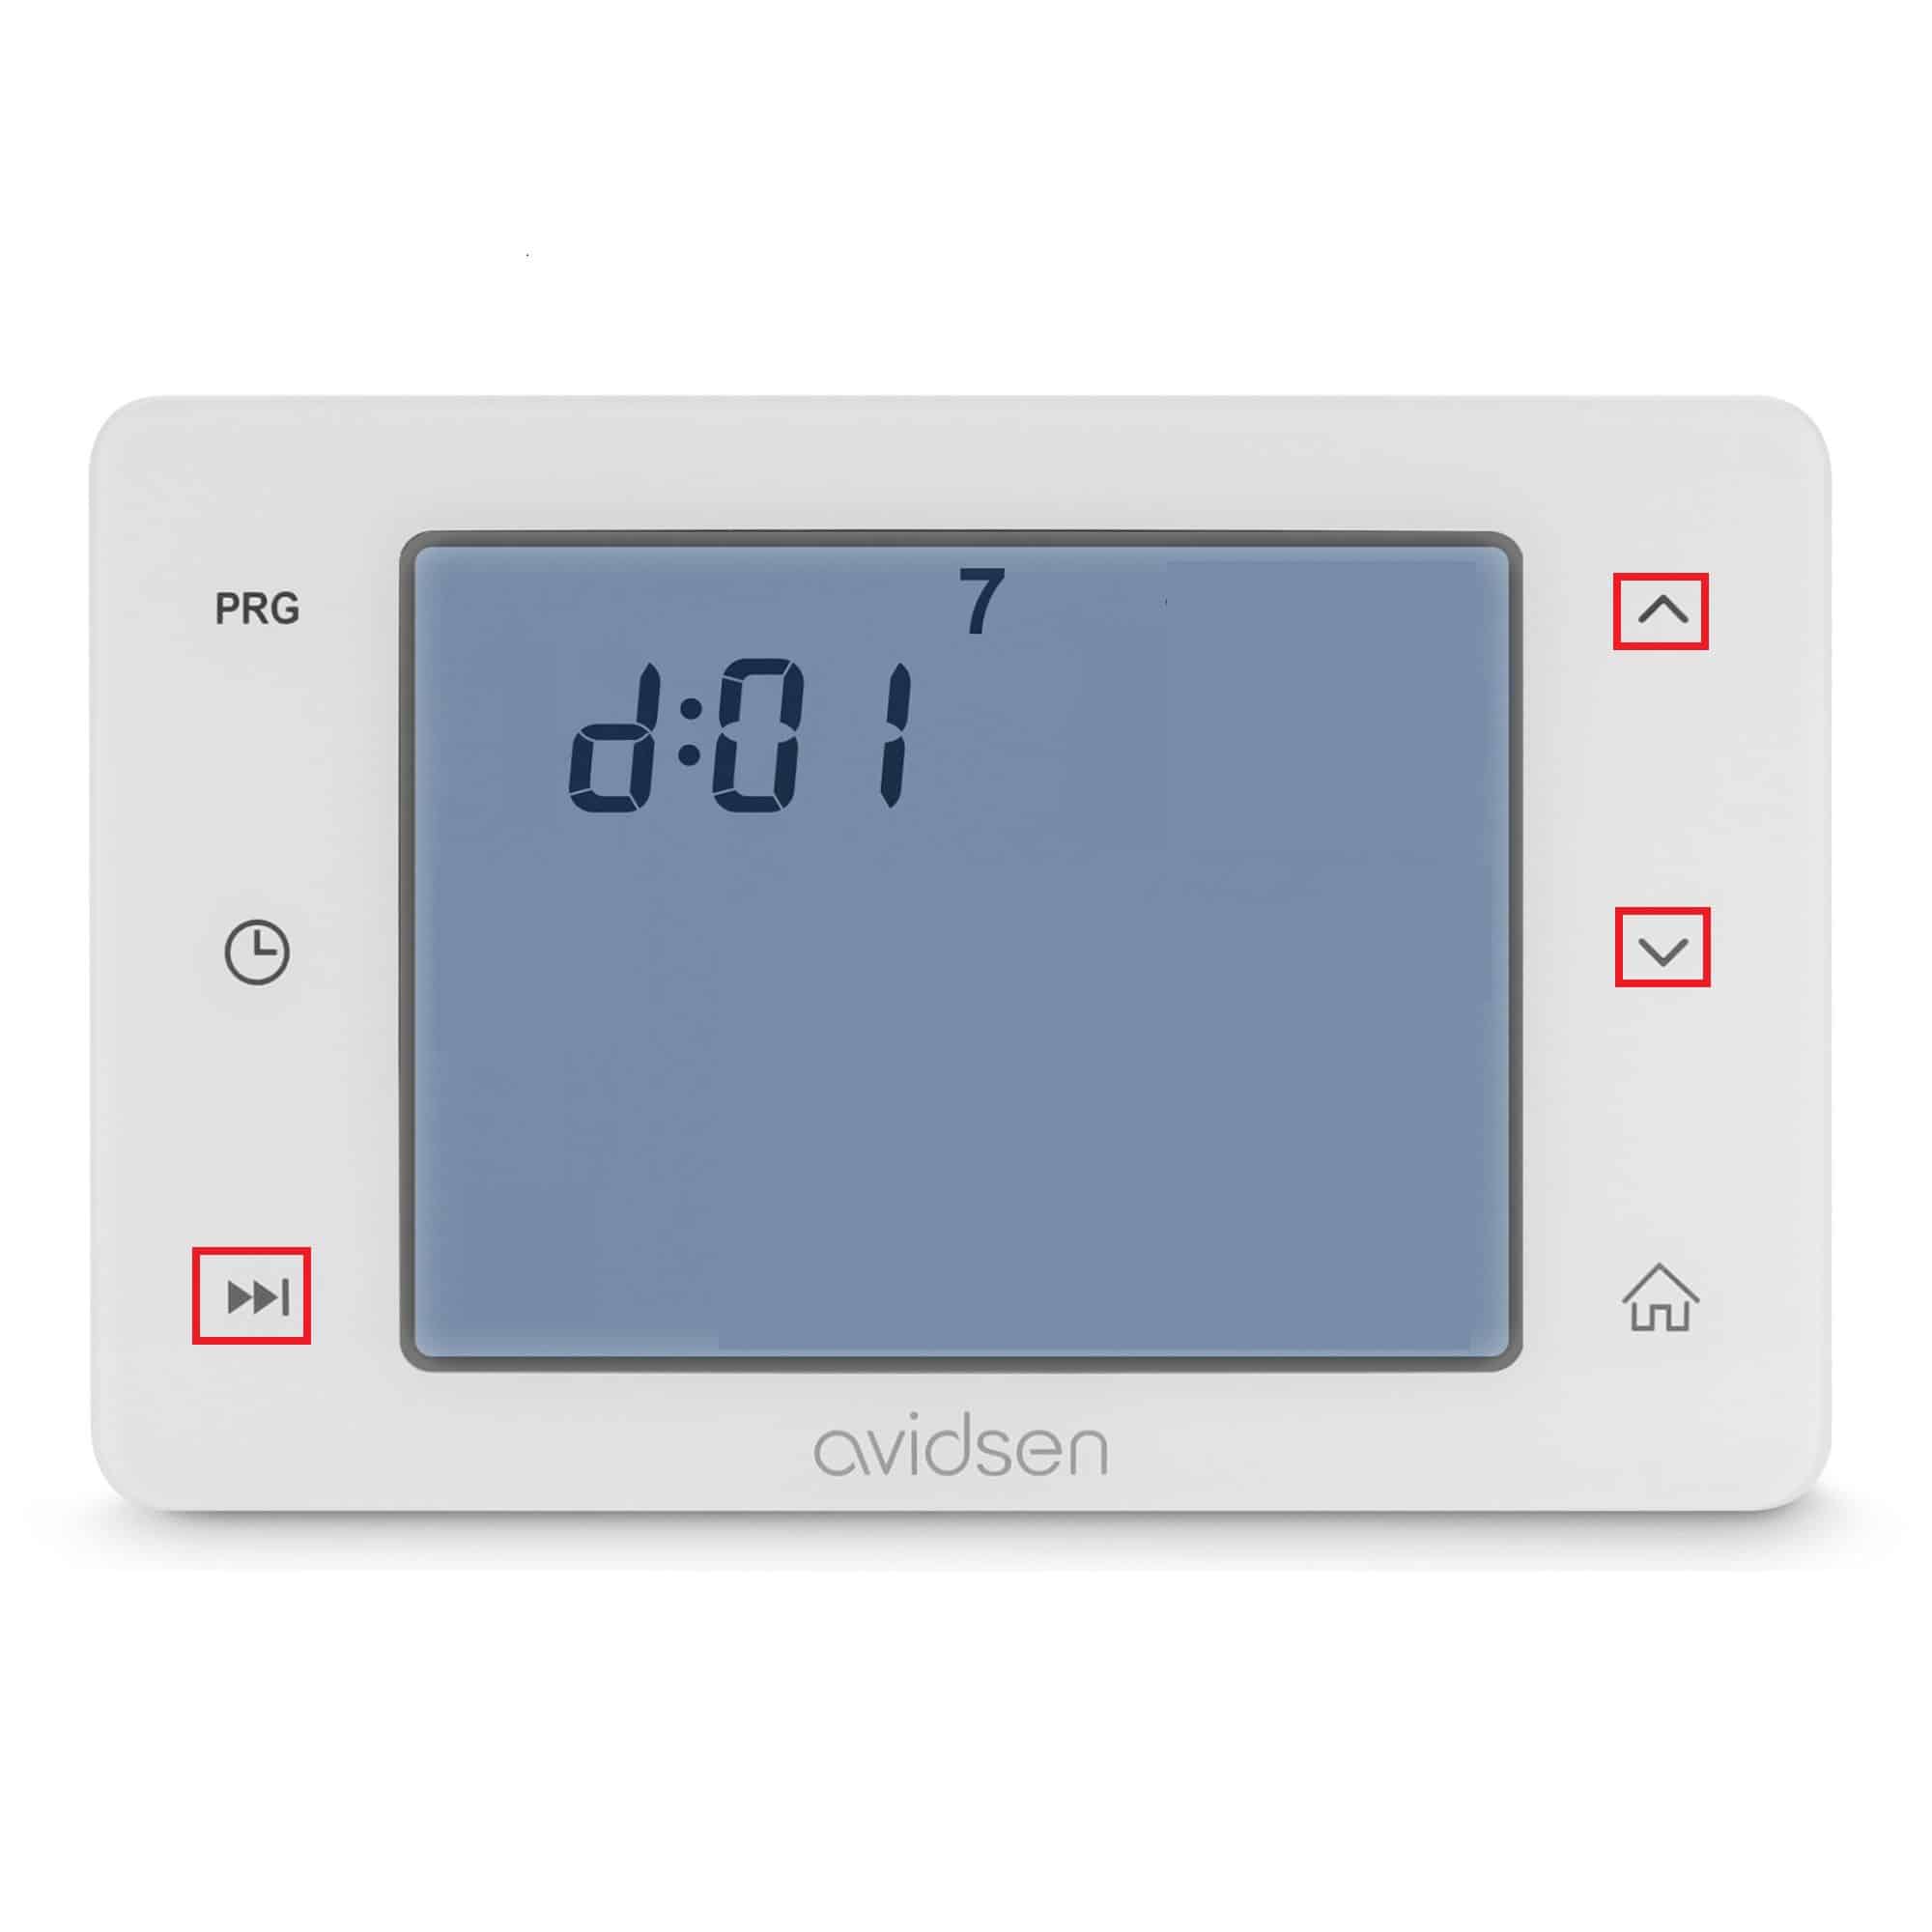
You're having trouble setting a heating program. Here's a quick and easy way to do it

This tutorial is applicable for:

Difficulté : Easy
Temps nécessaire : 10 minutes
Nombre d’étapes : 3
Mise à jour : October 2025

Tutorial steps:

Step 1: Understanding the programs

  • Periods can be programmed from the thermostat or the application
  • It is possible to create 7 daily programs of 6 periods each.
  • The setting will define the start of the period.

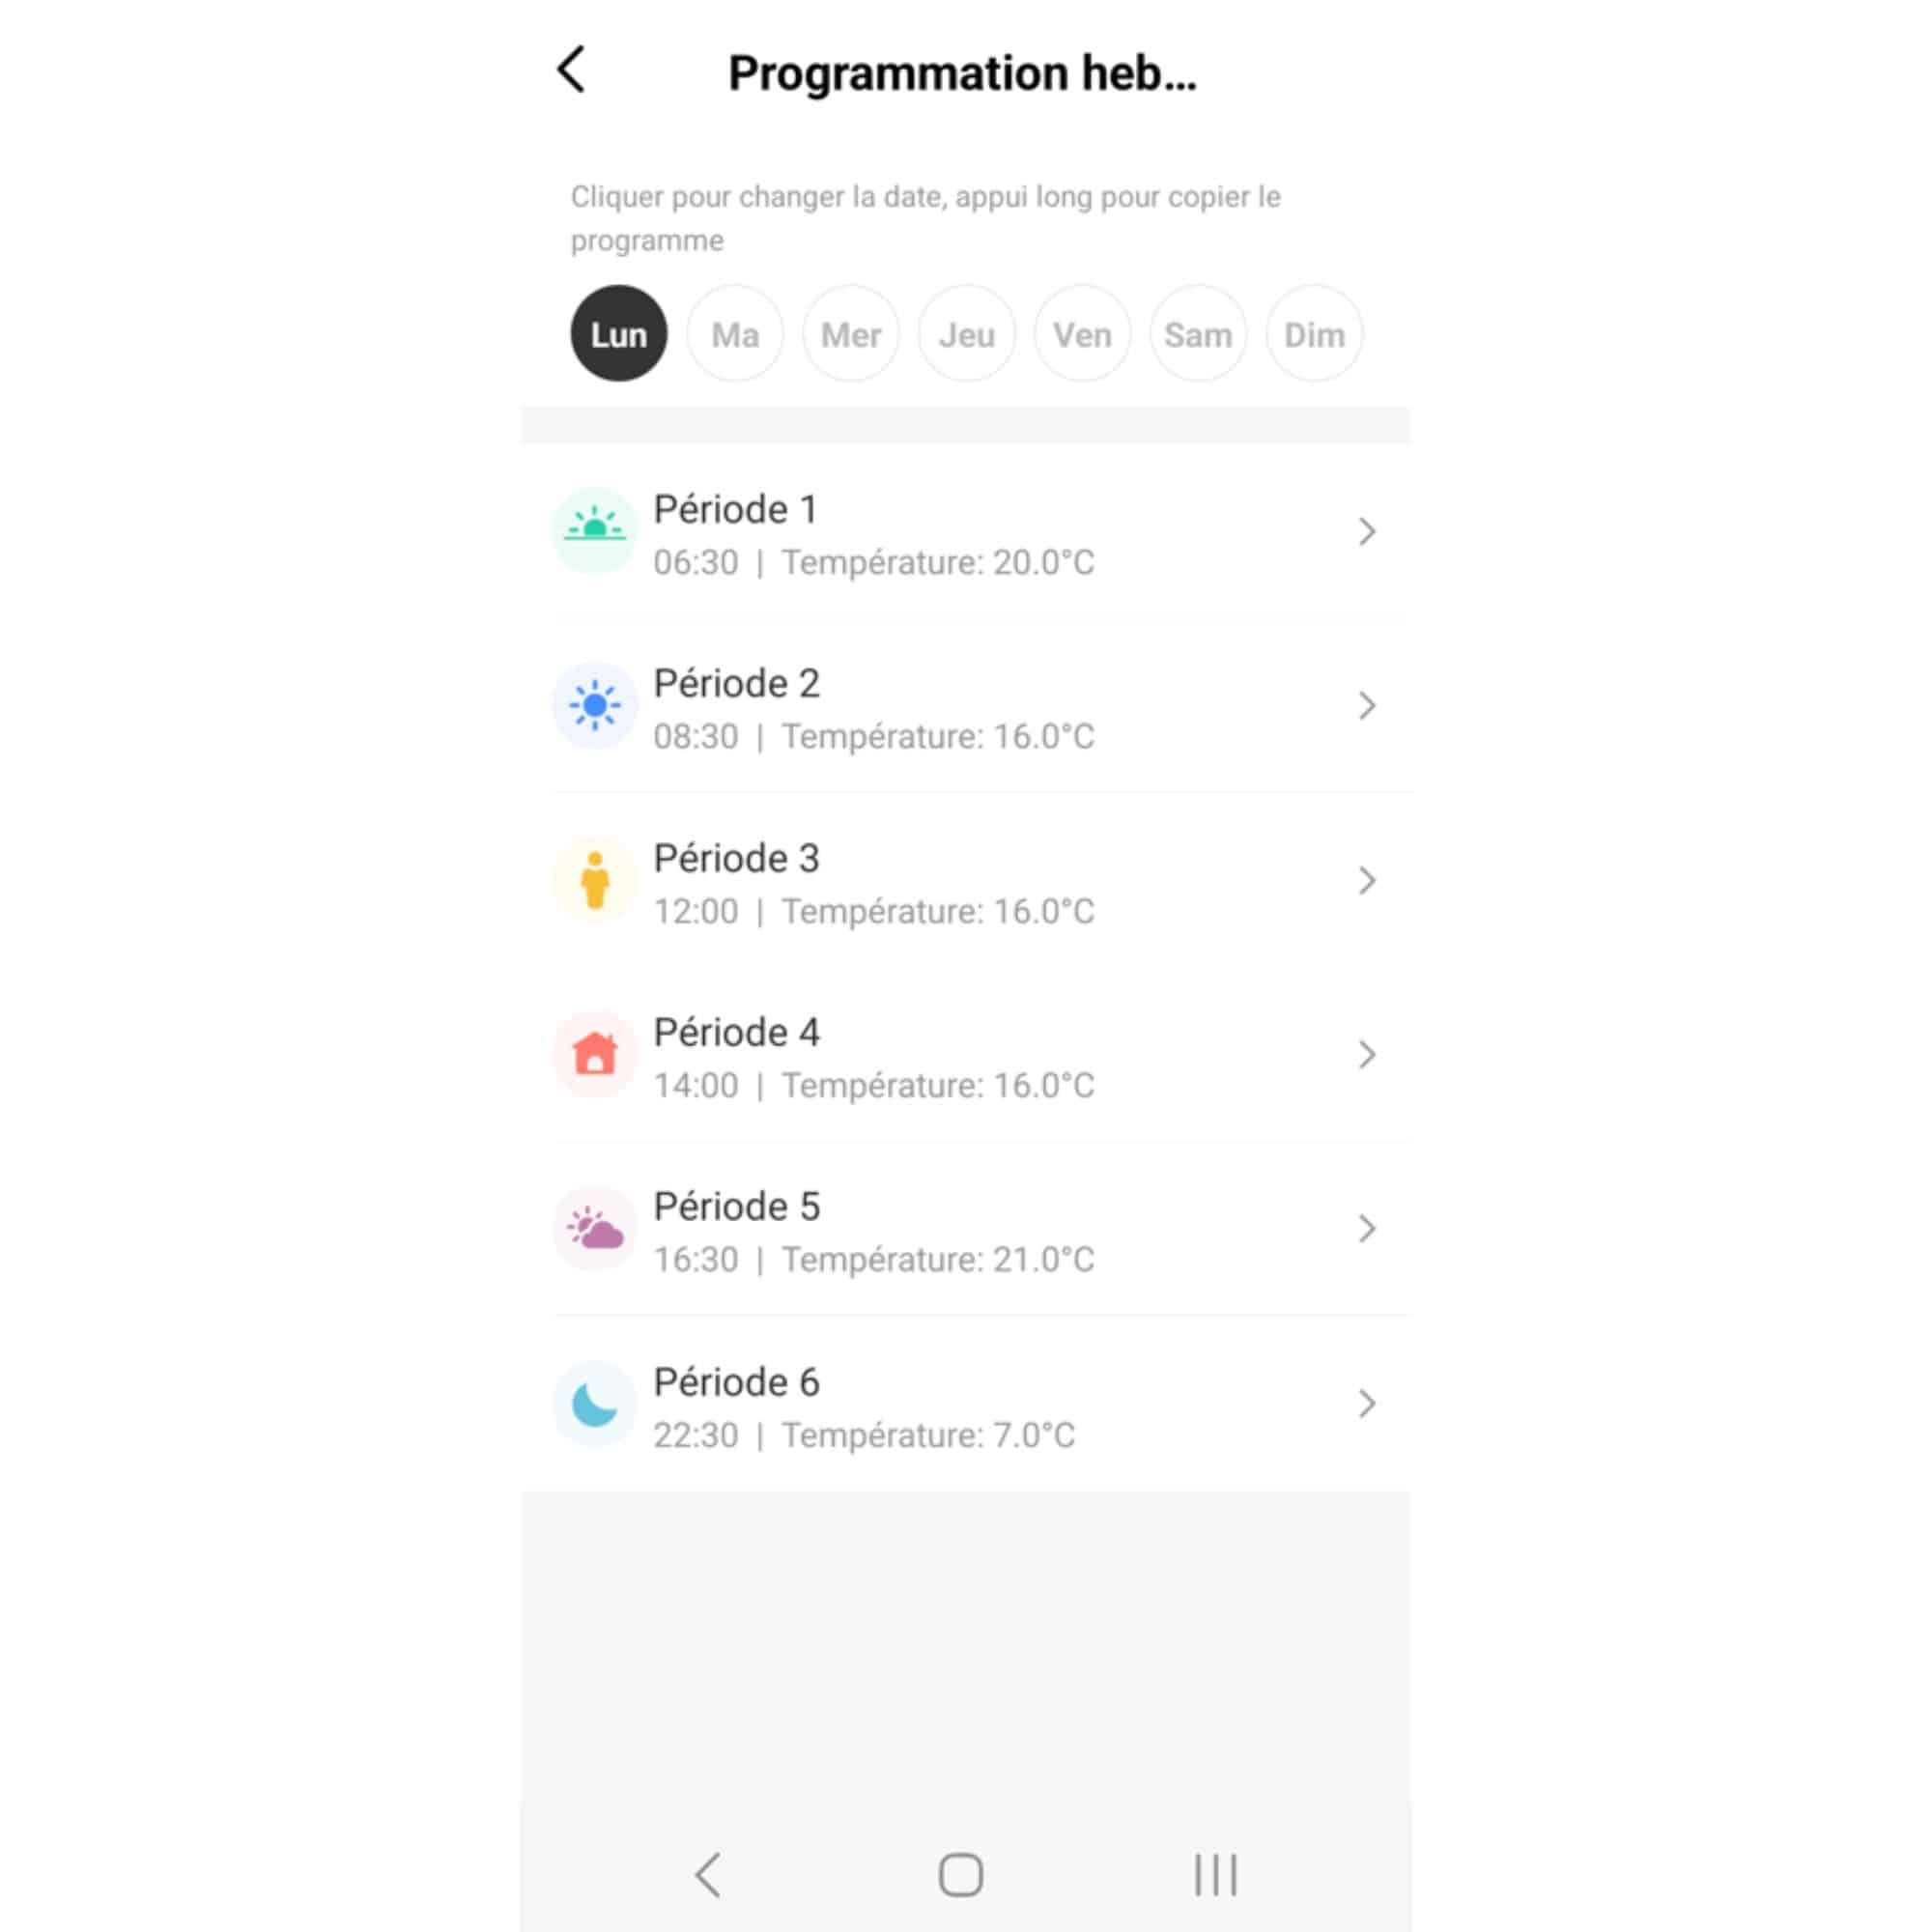
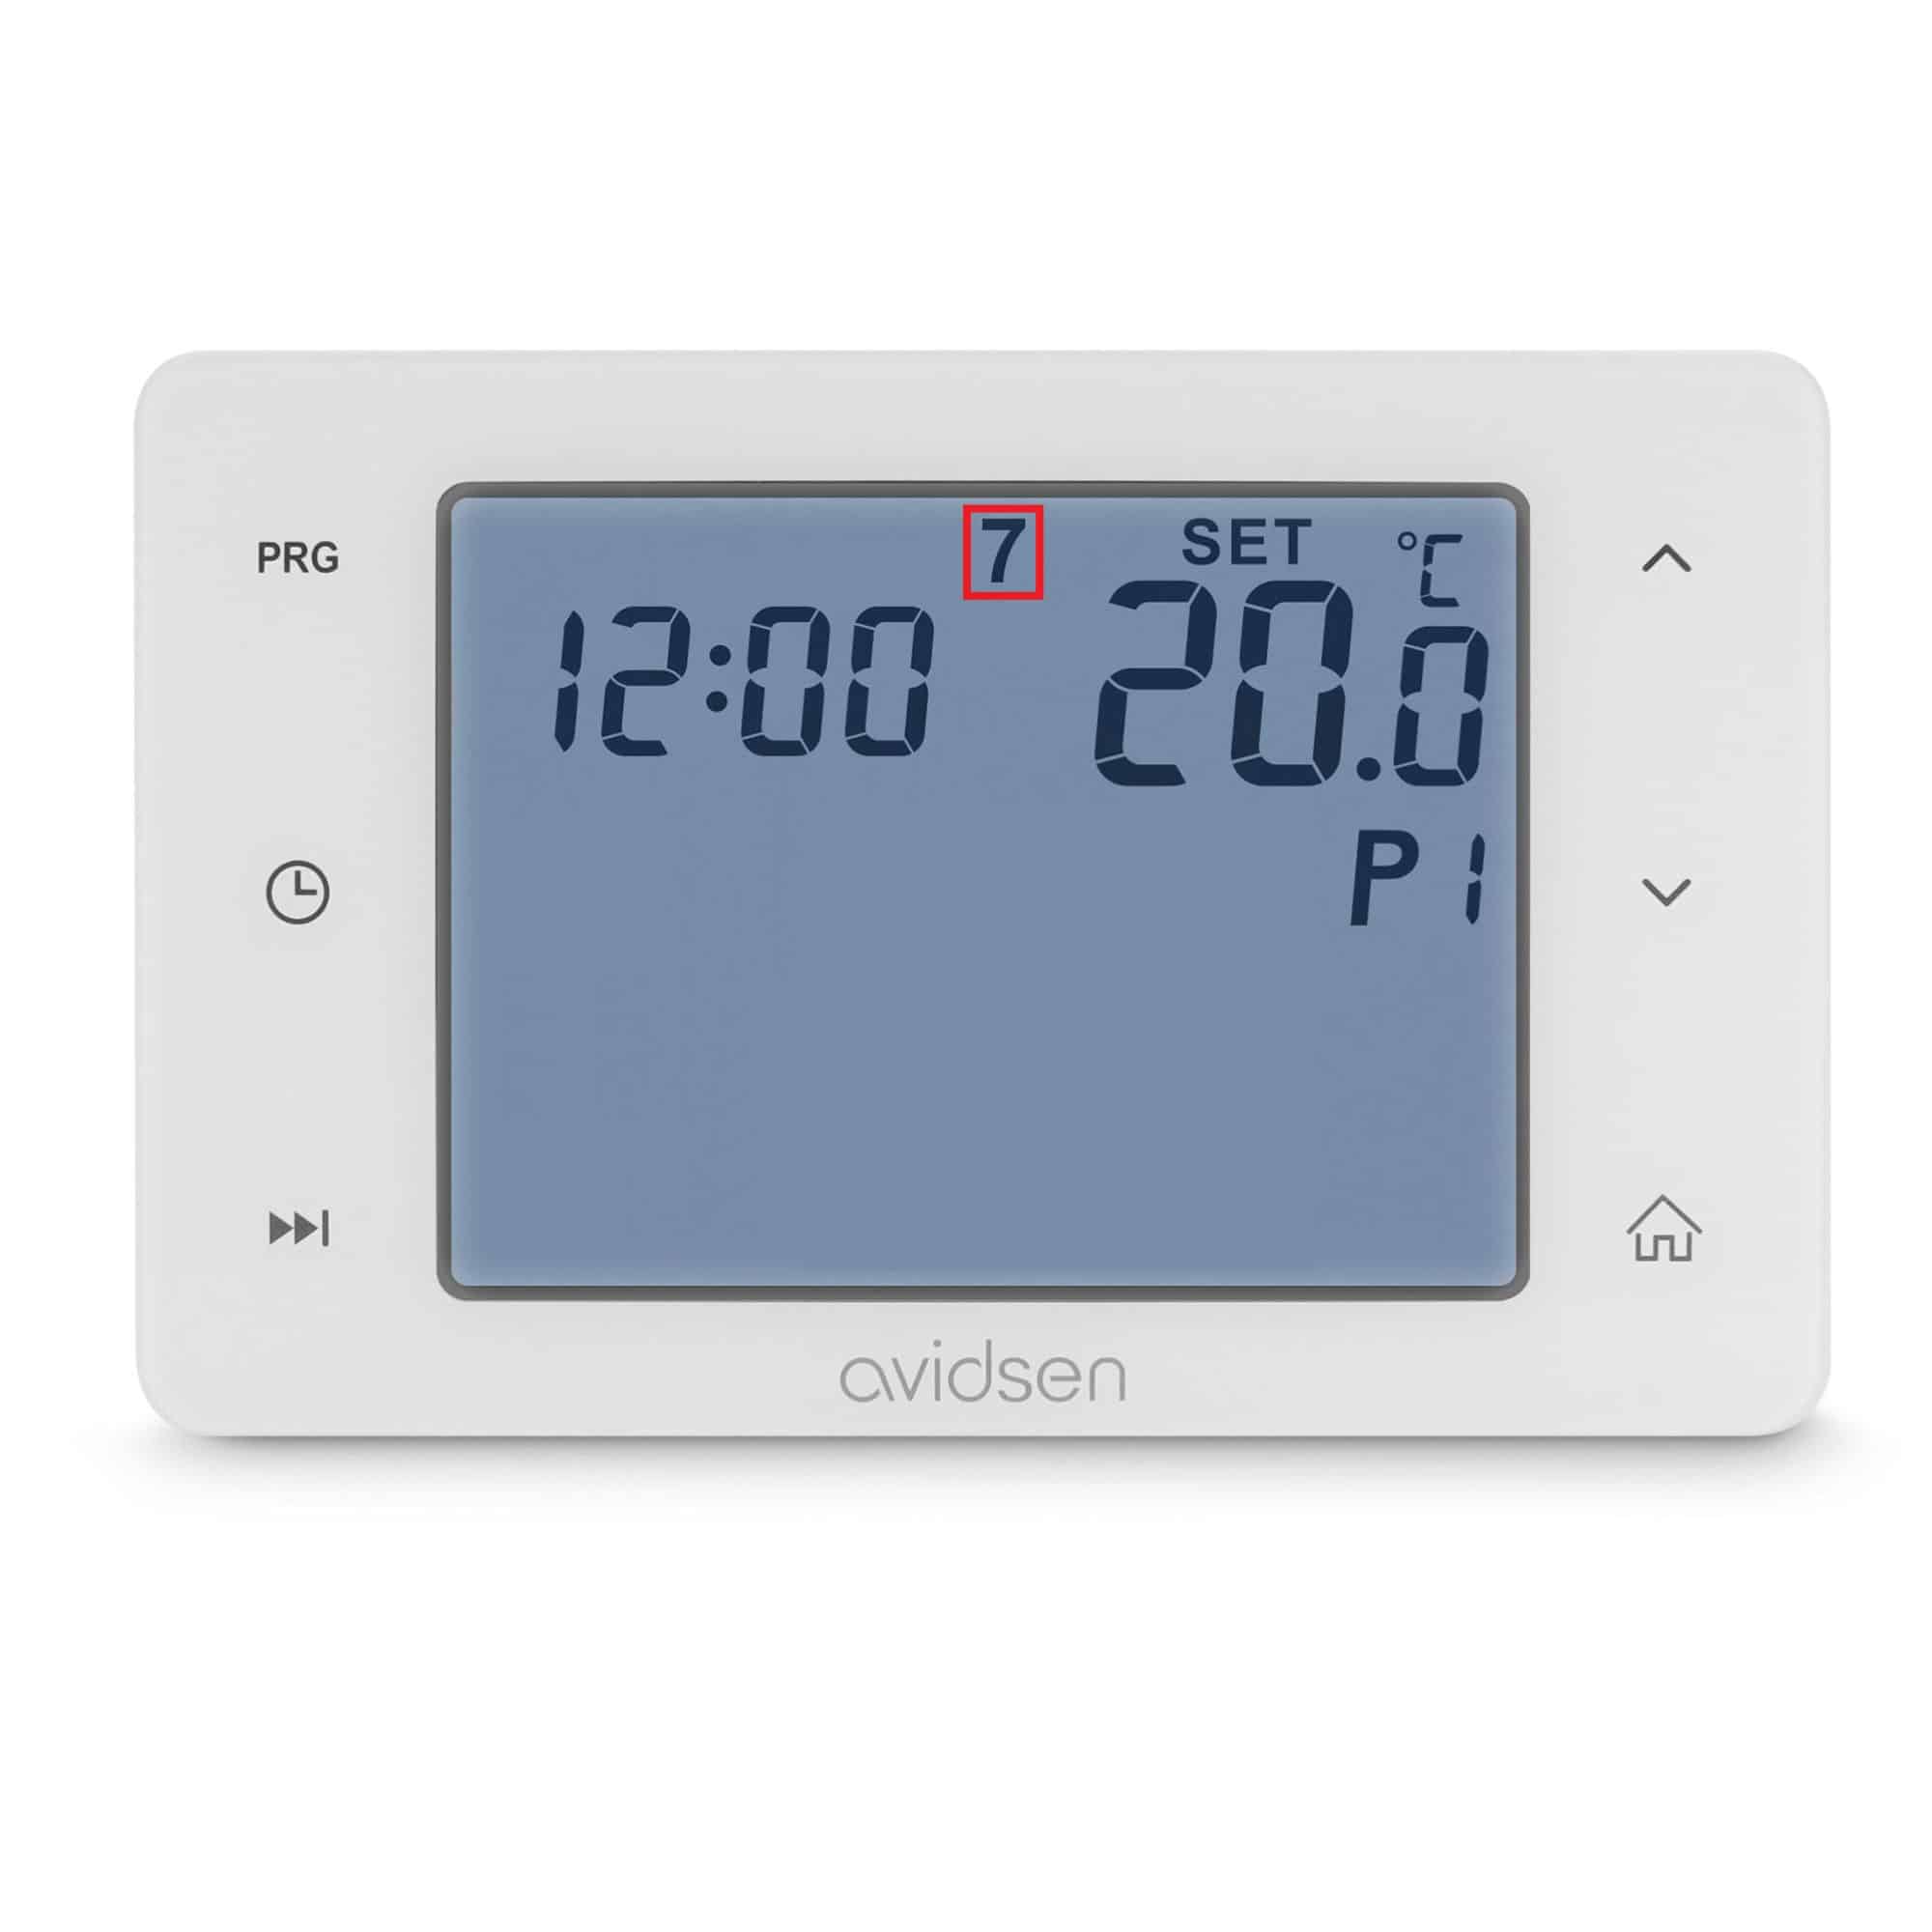
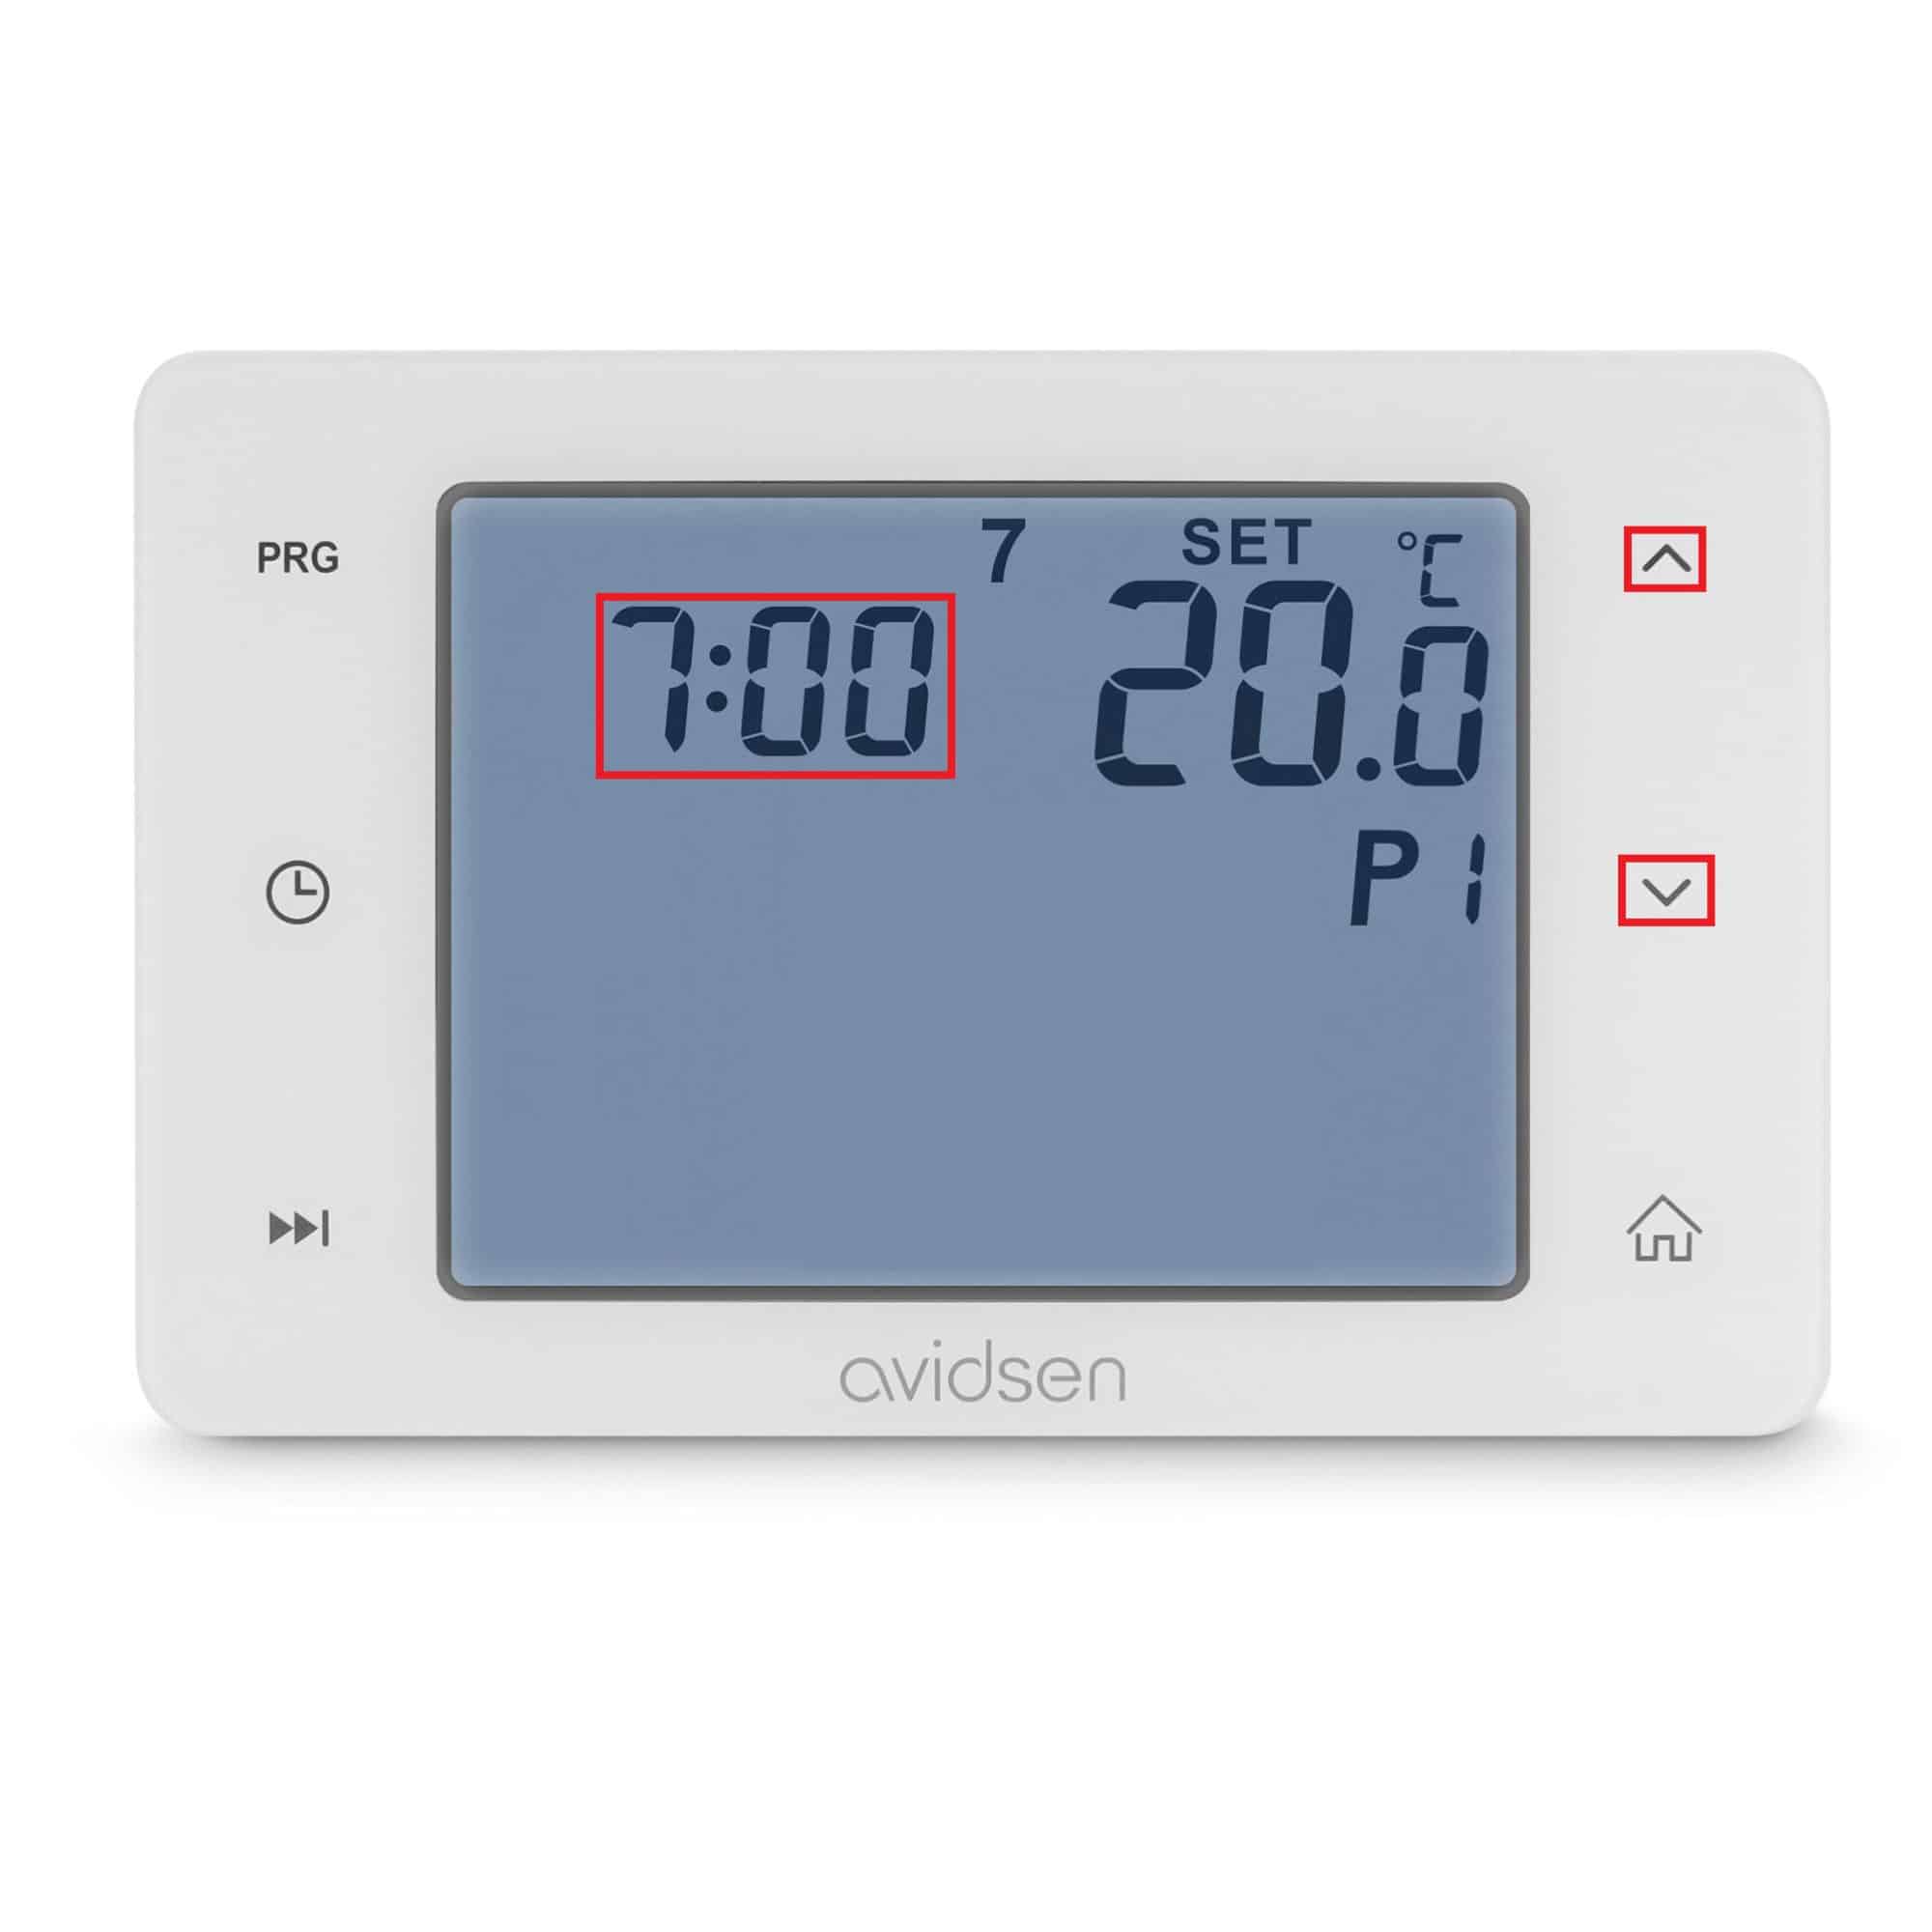
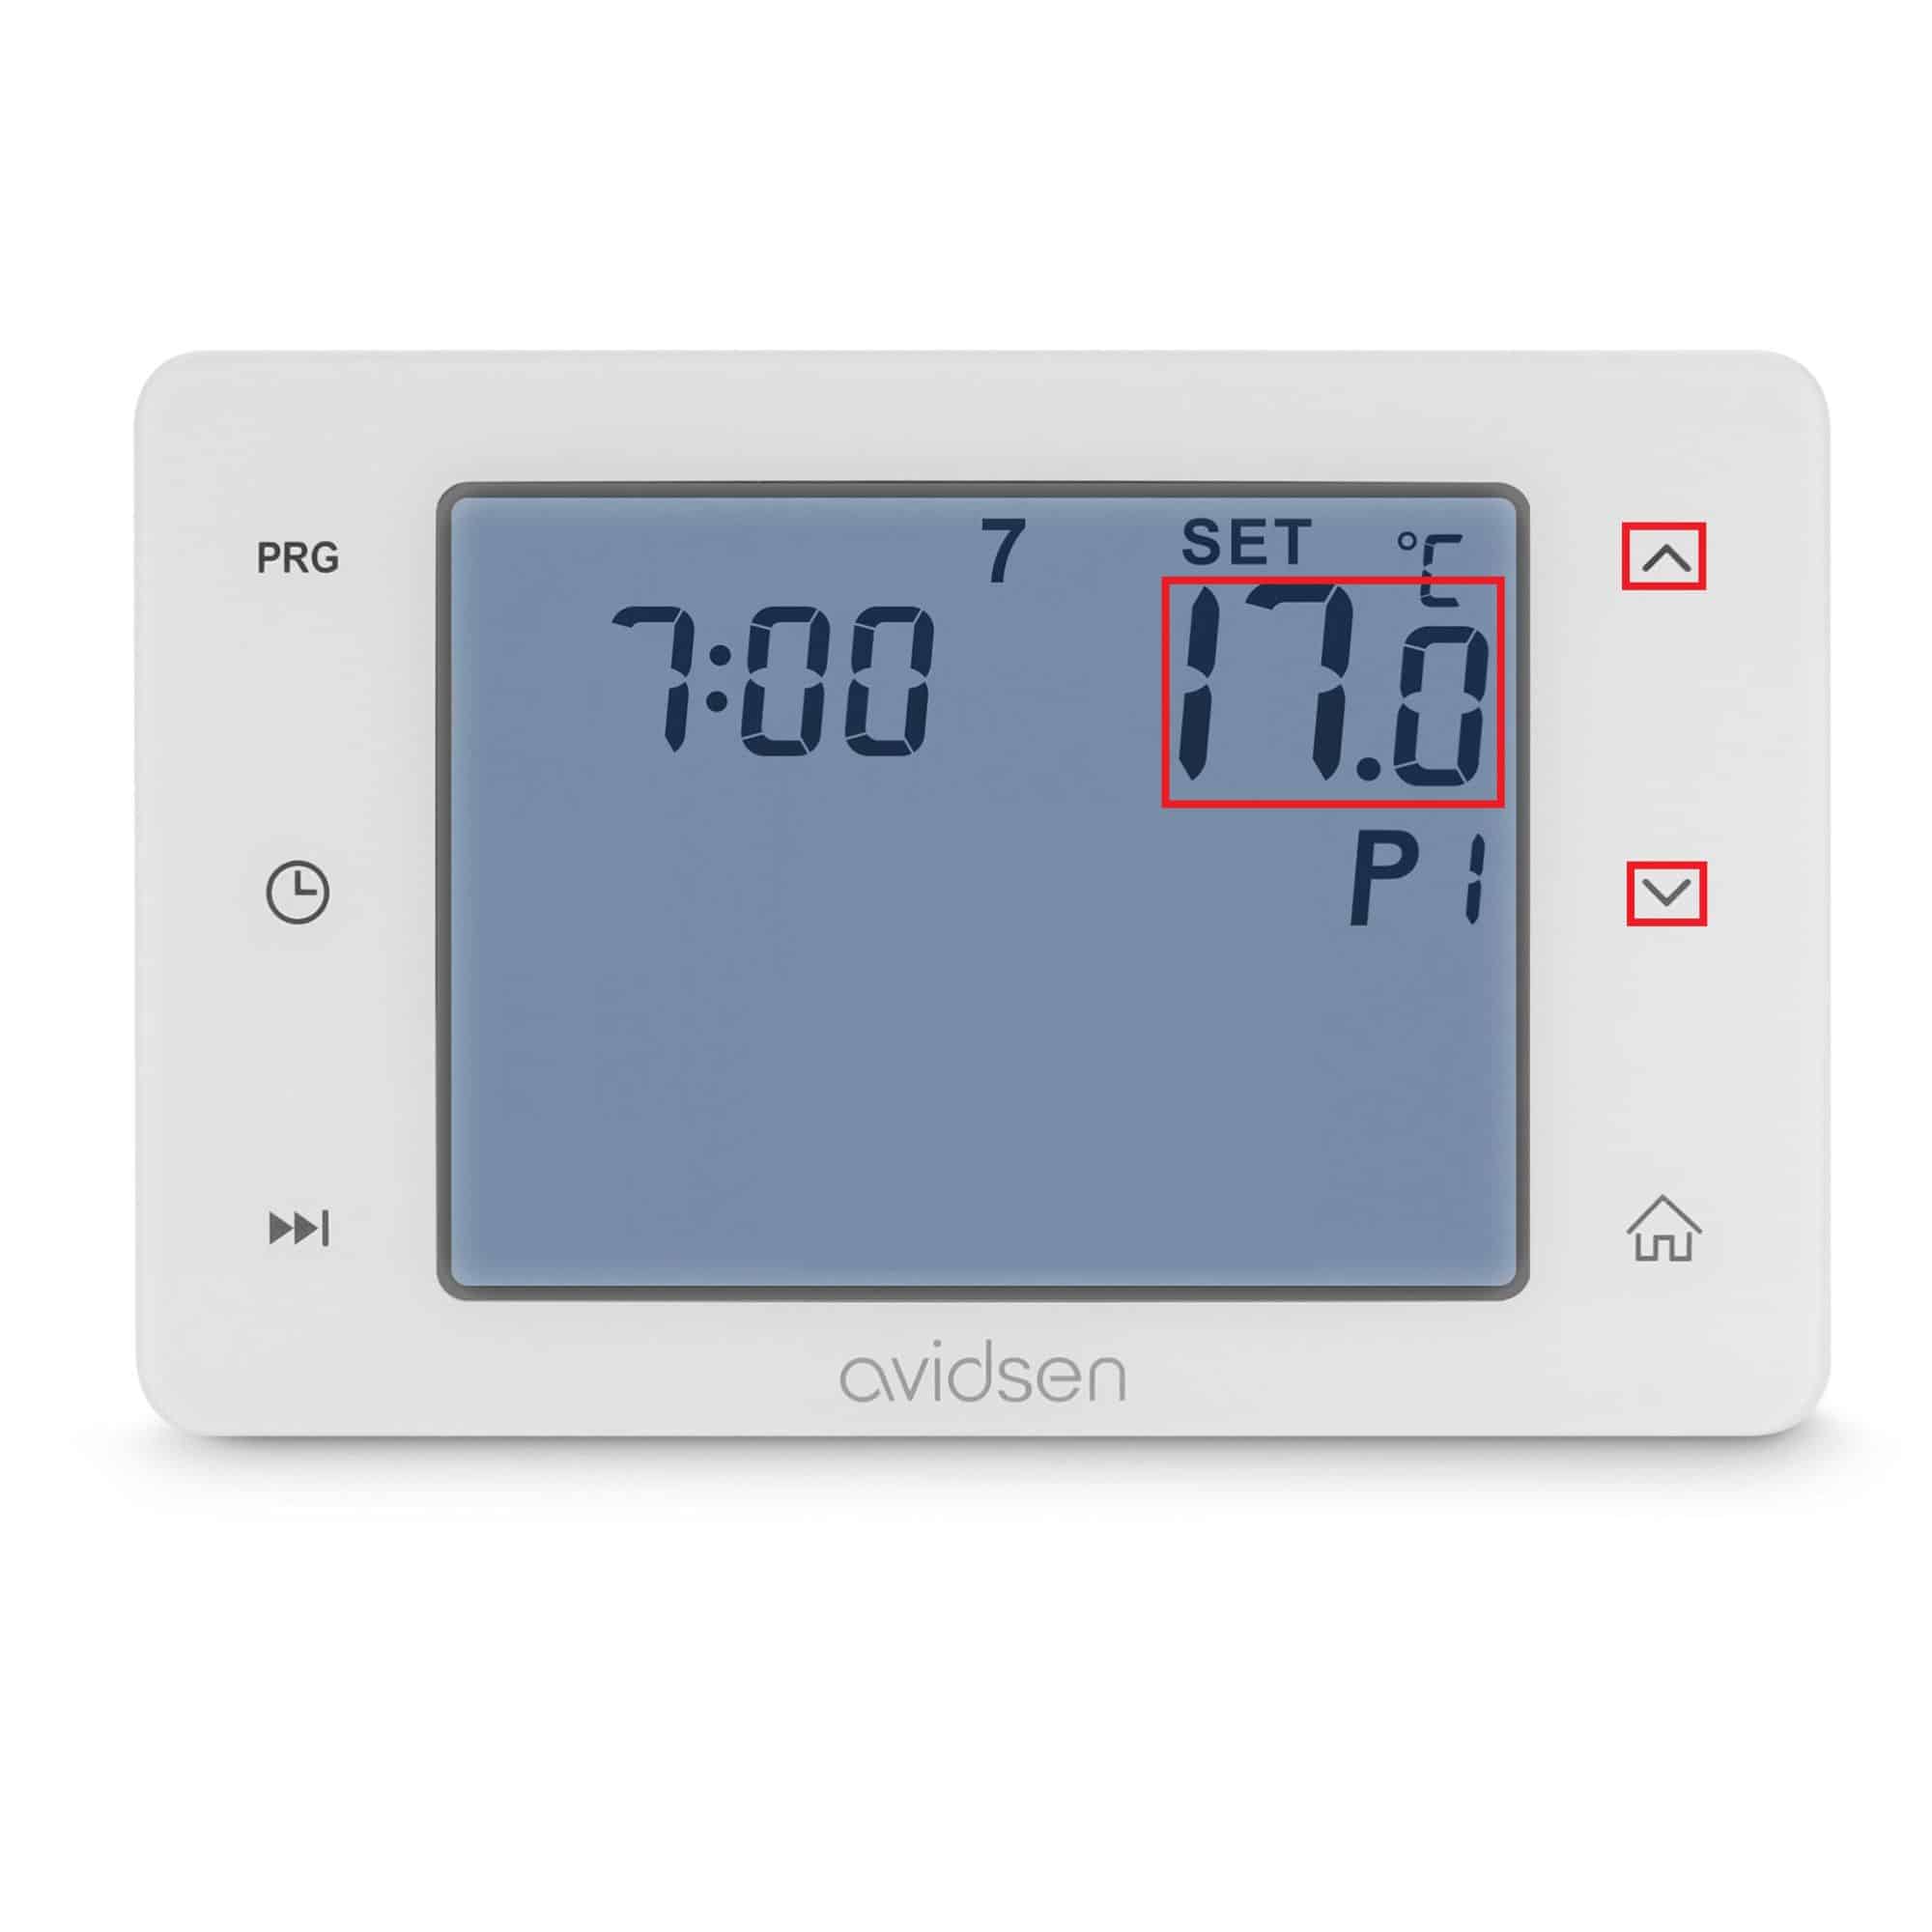
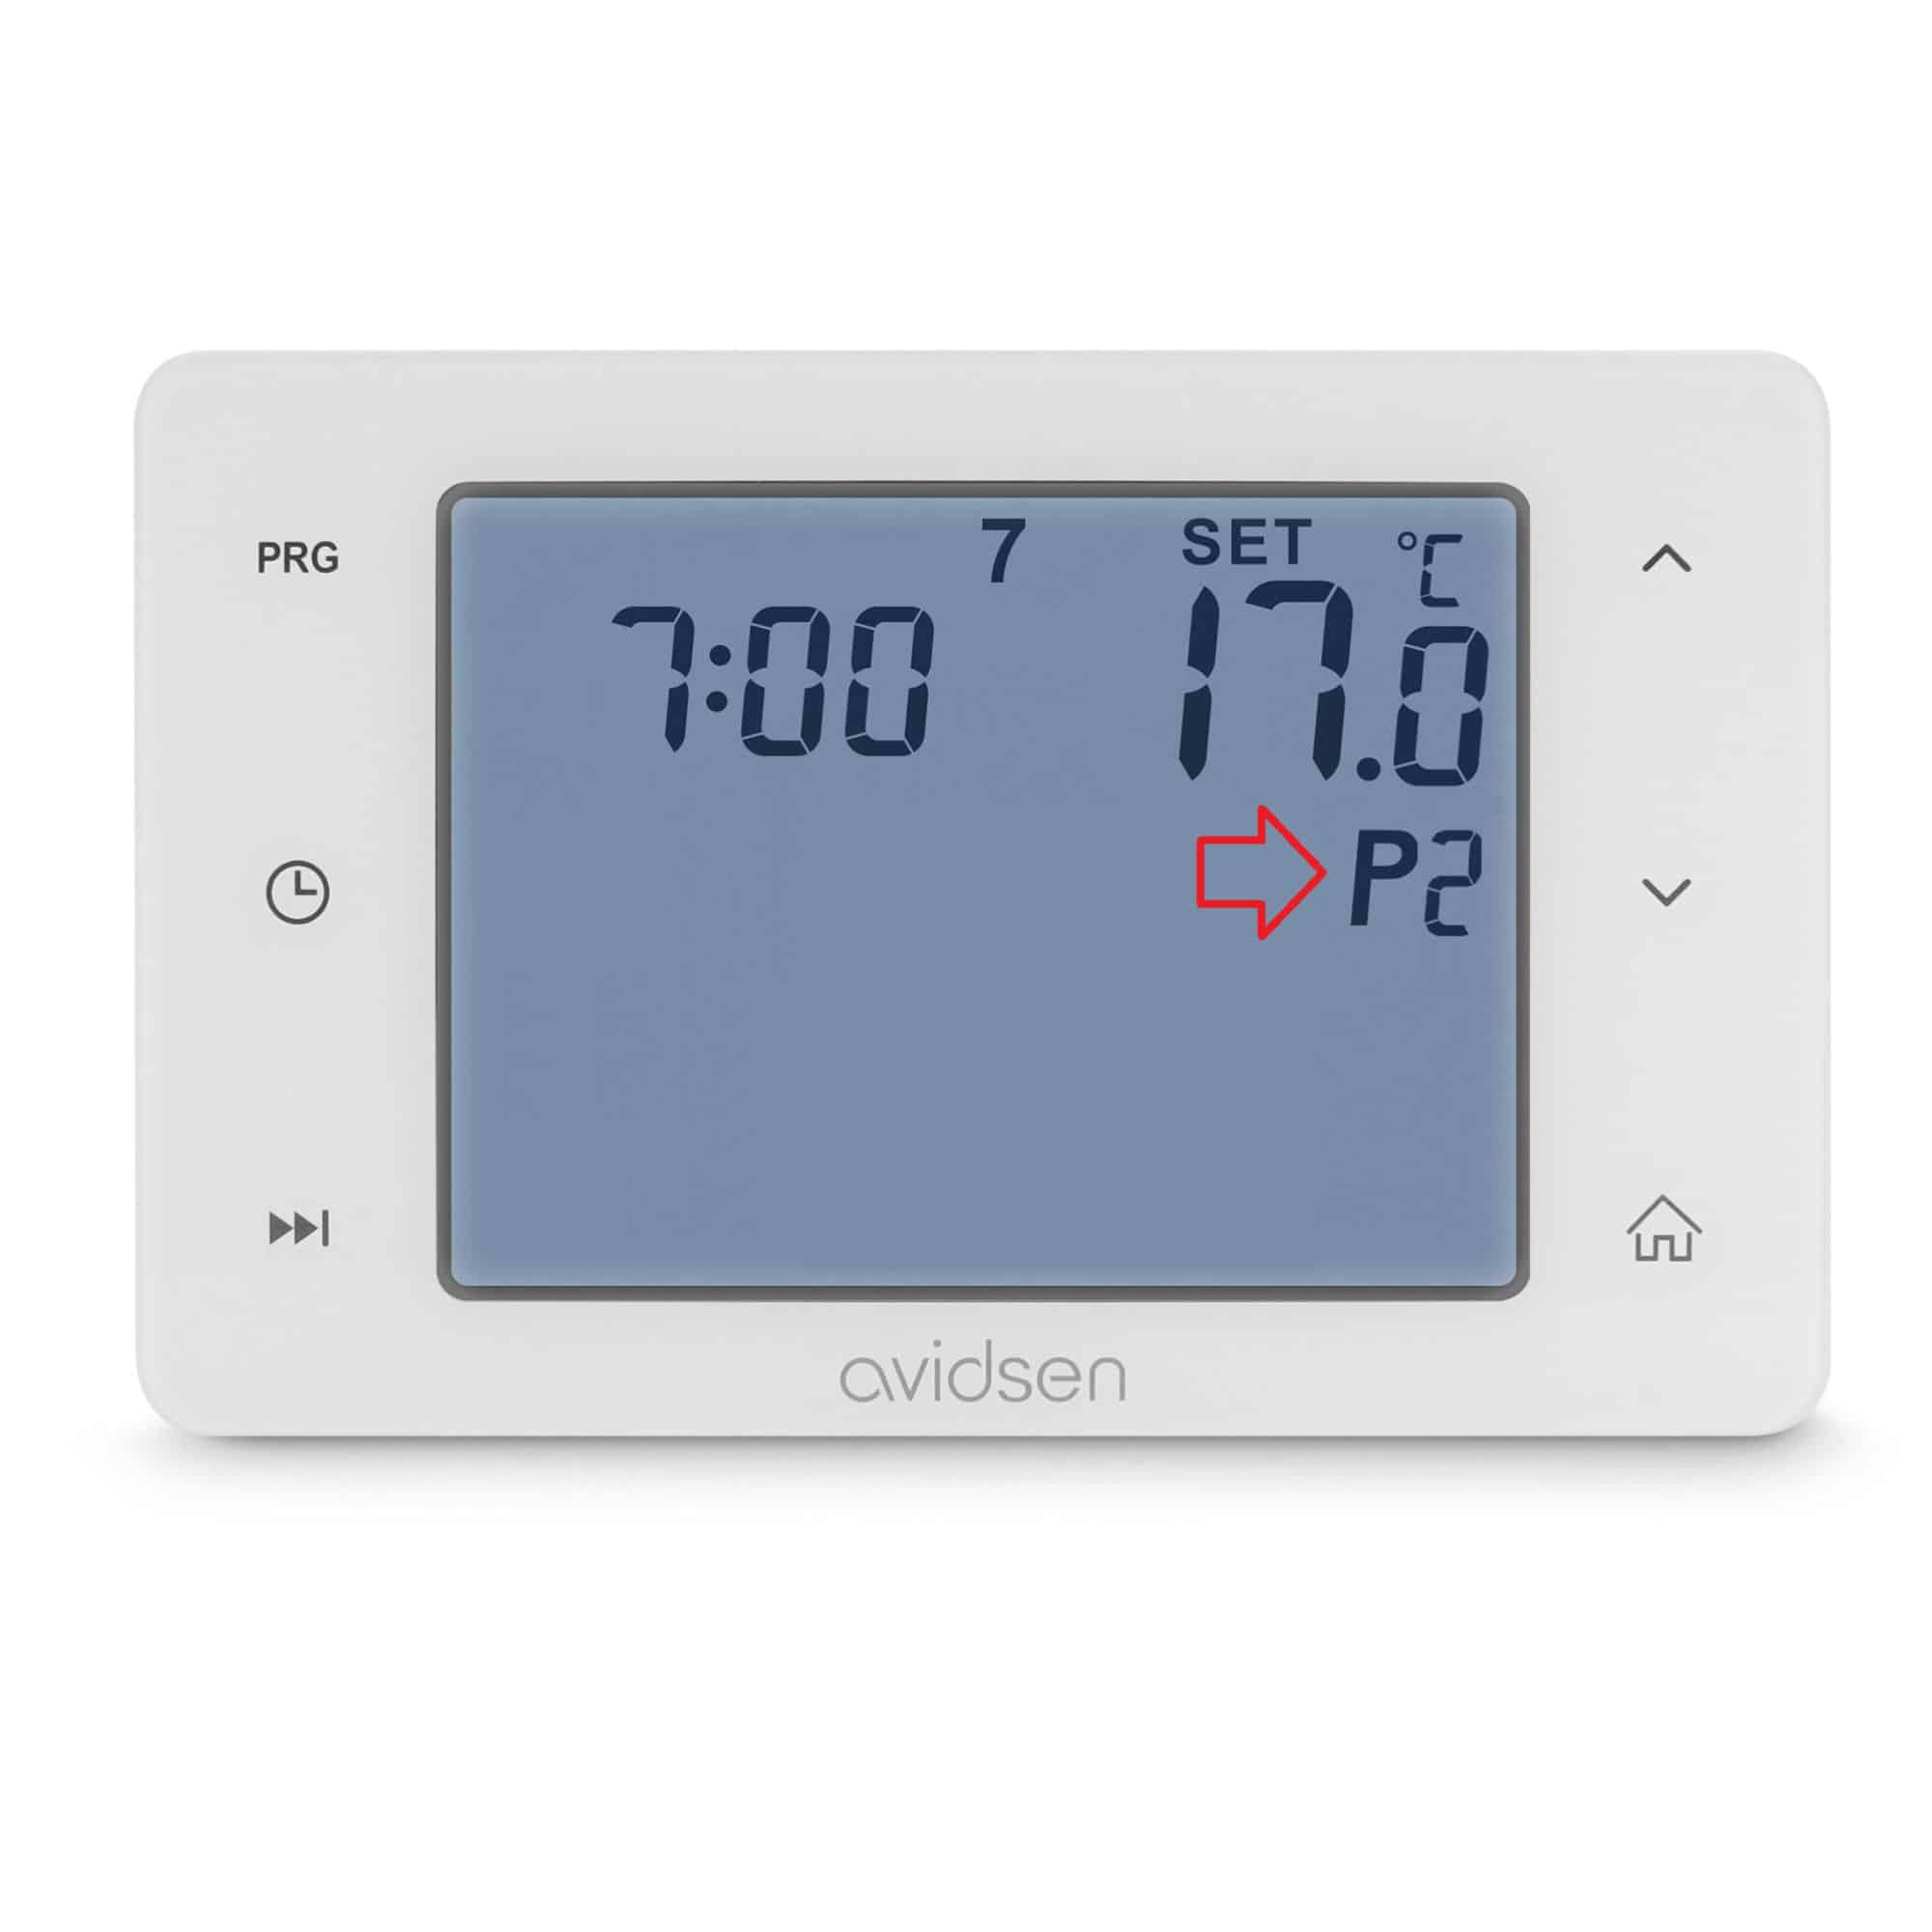
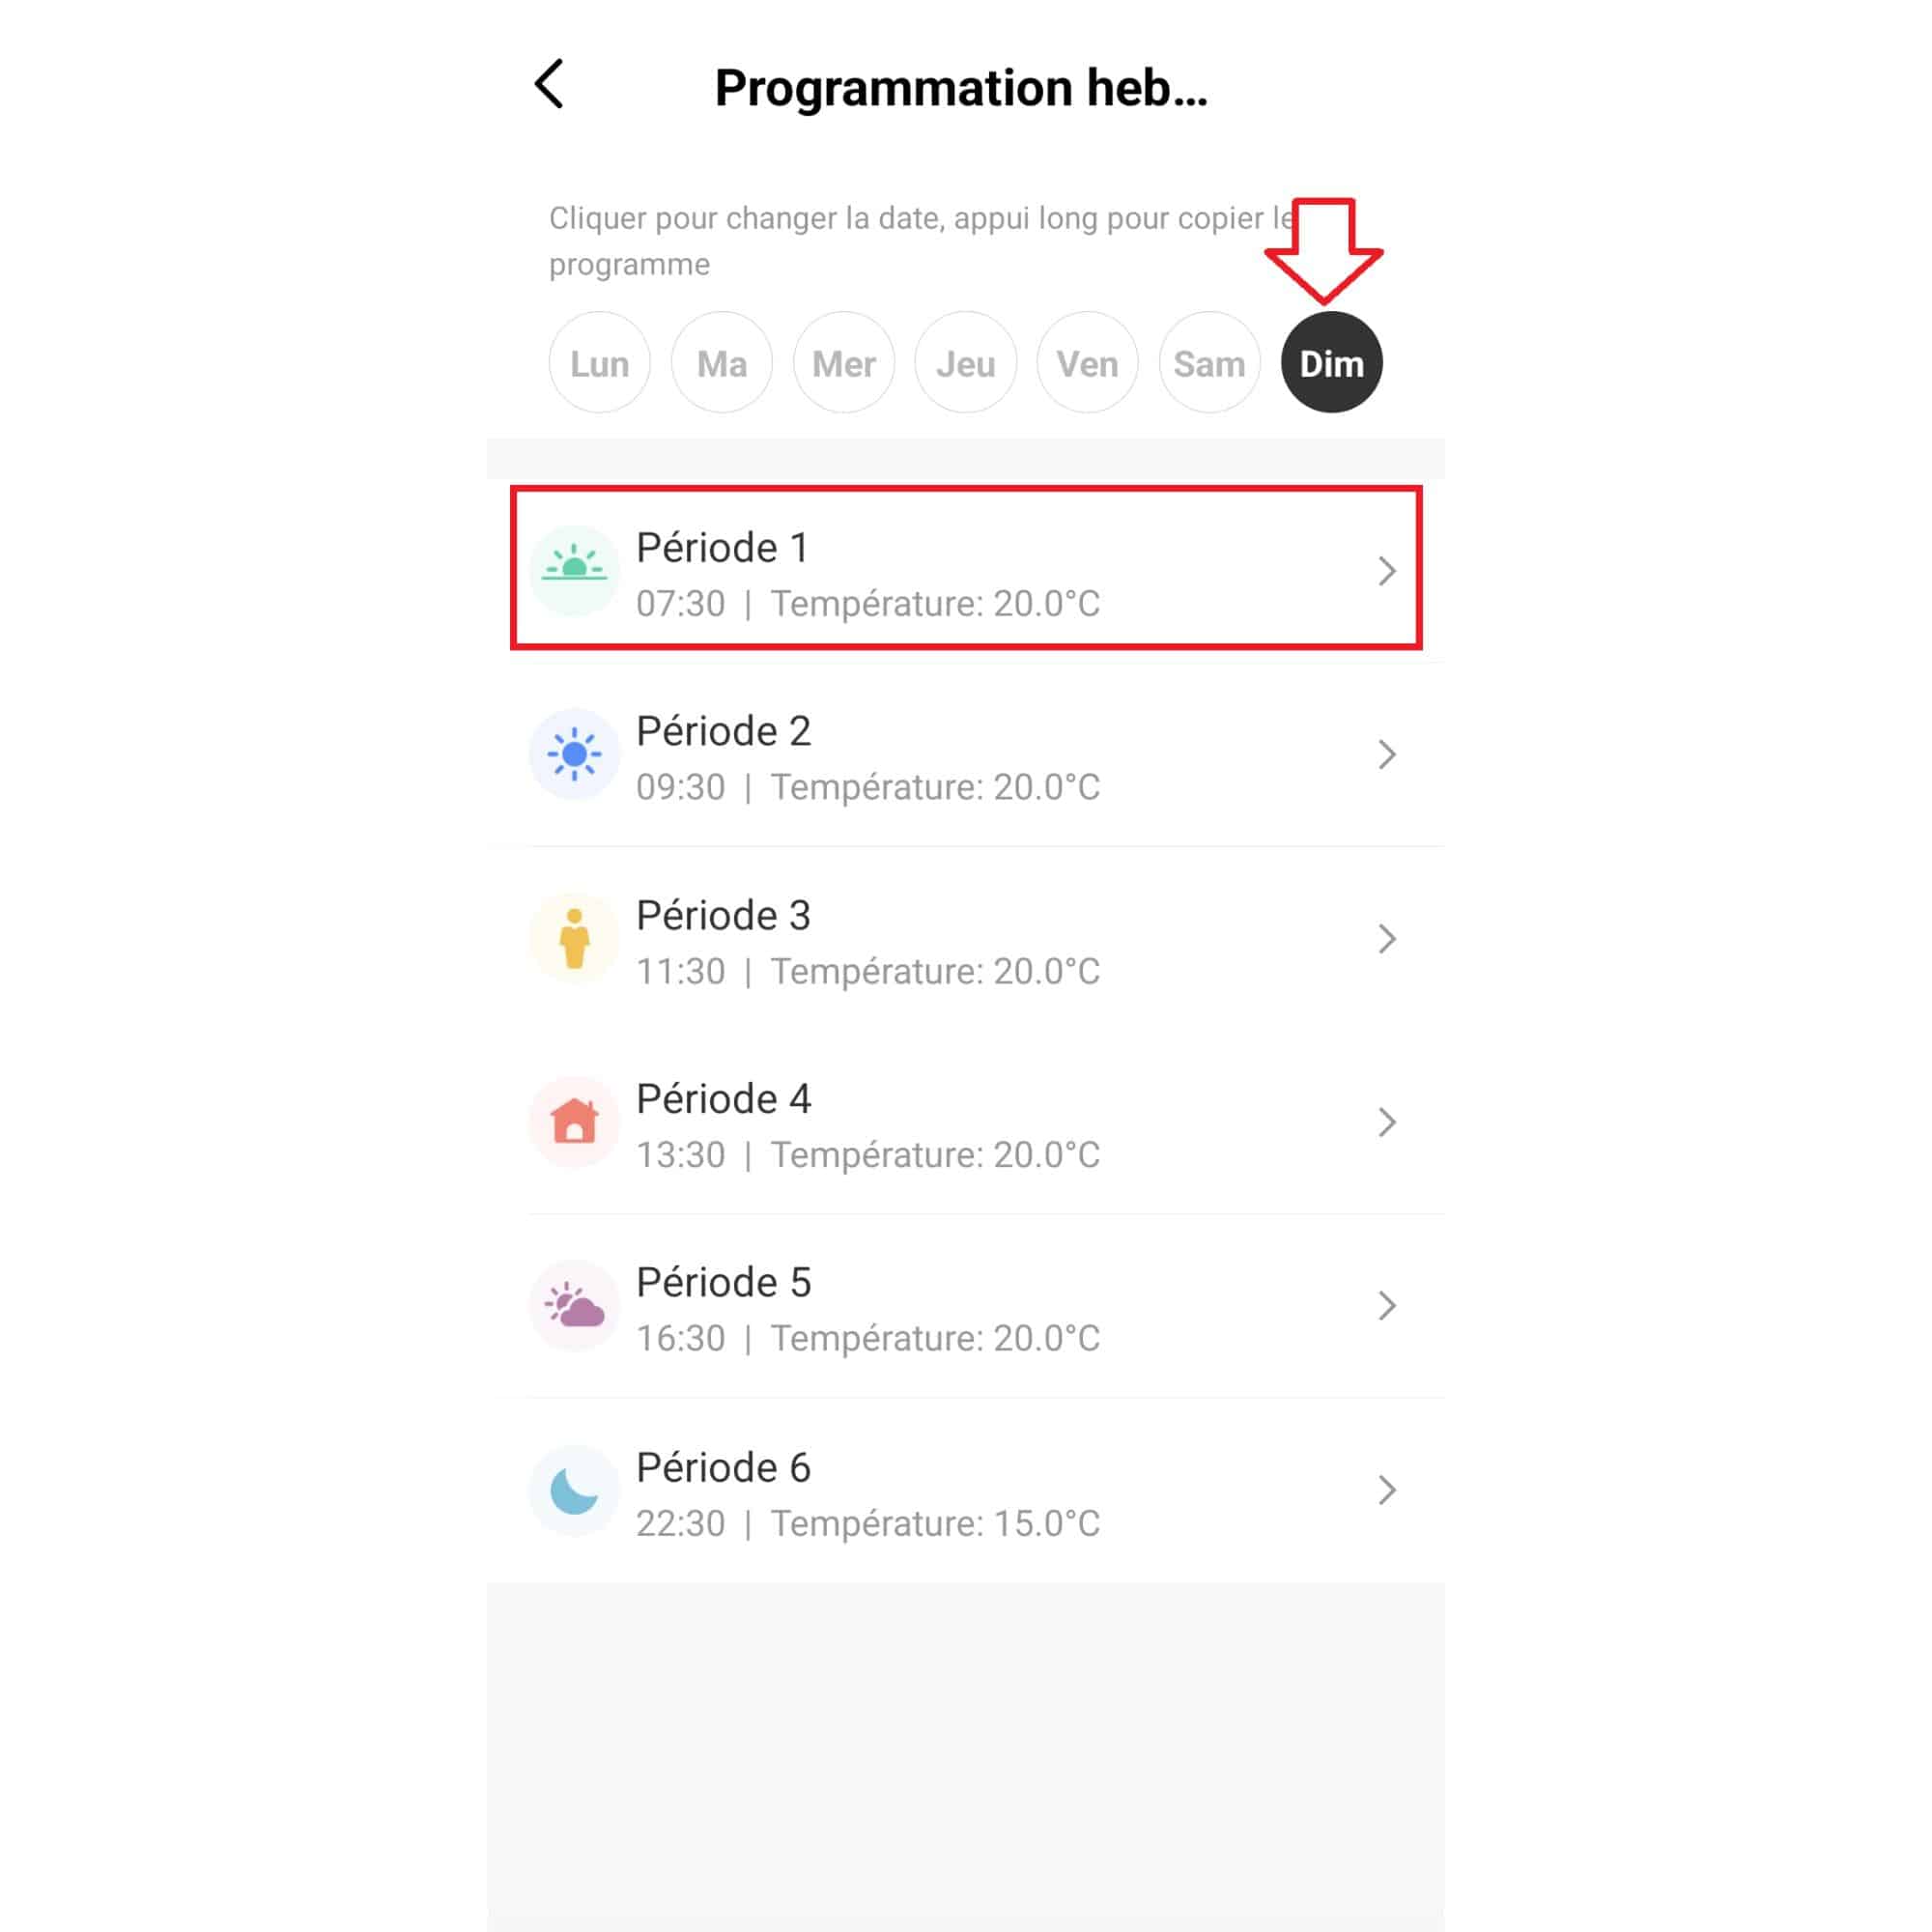
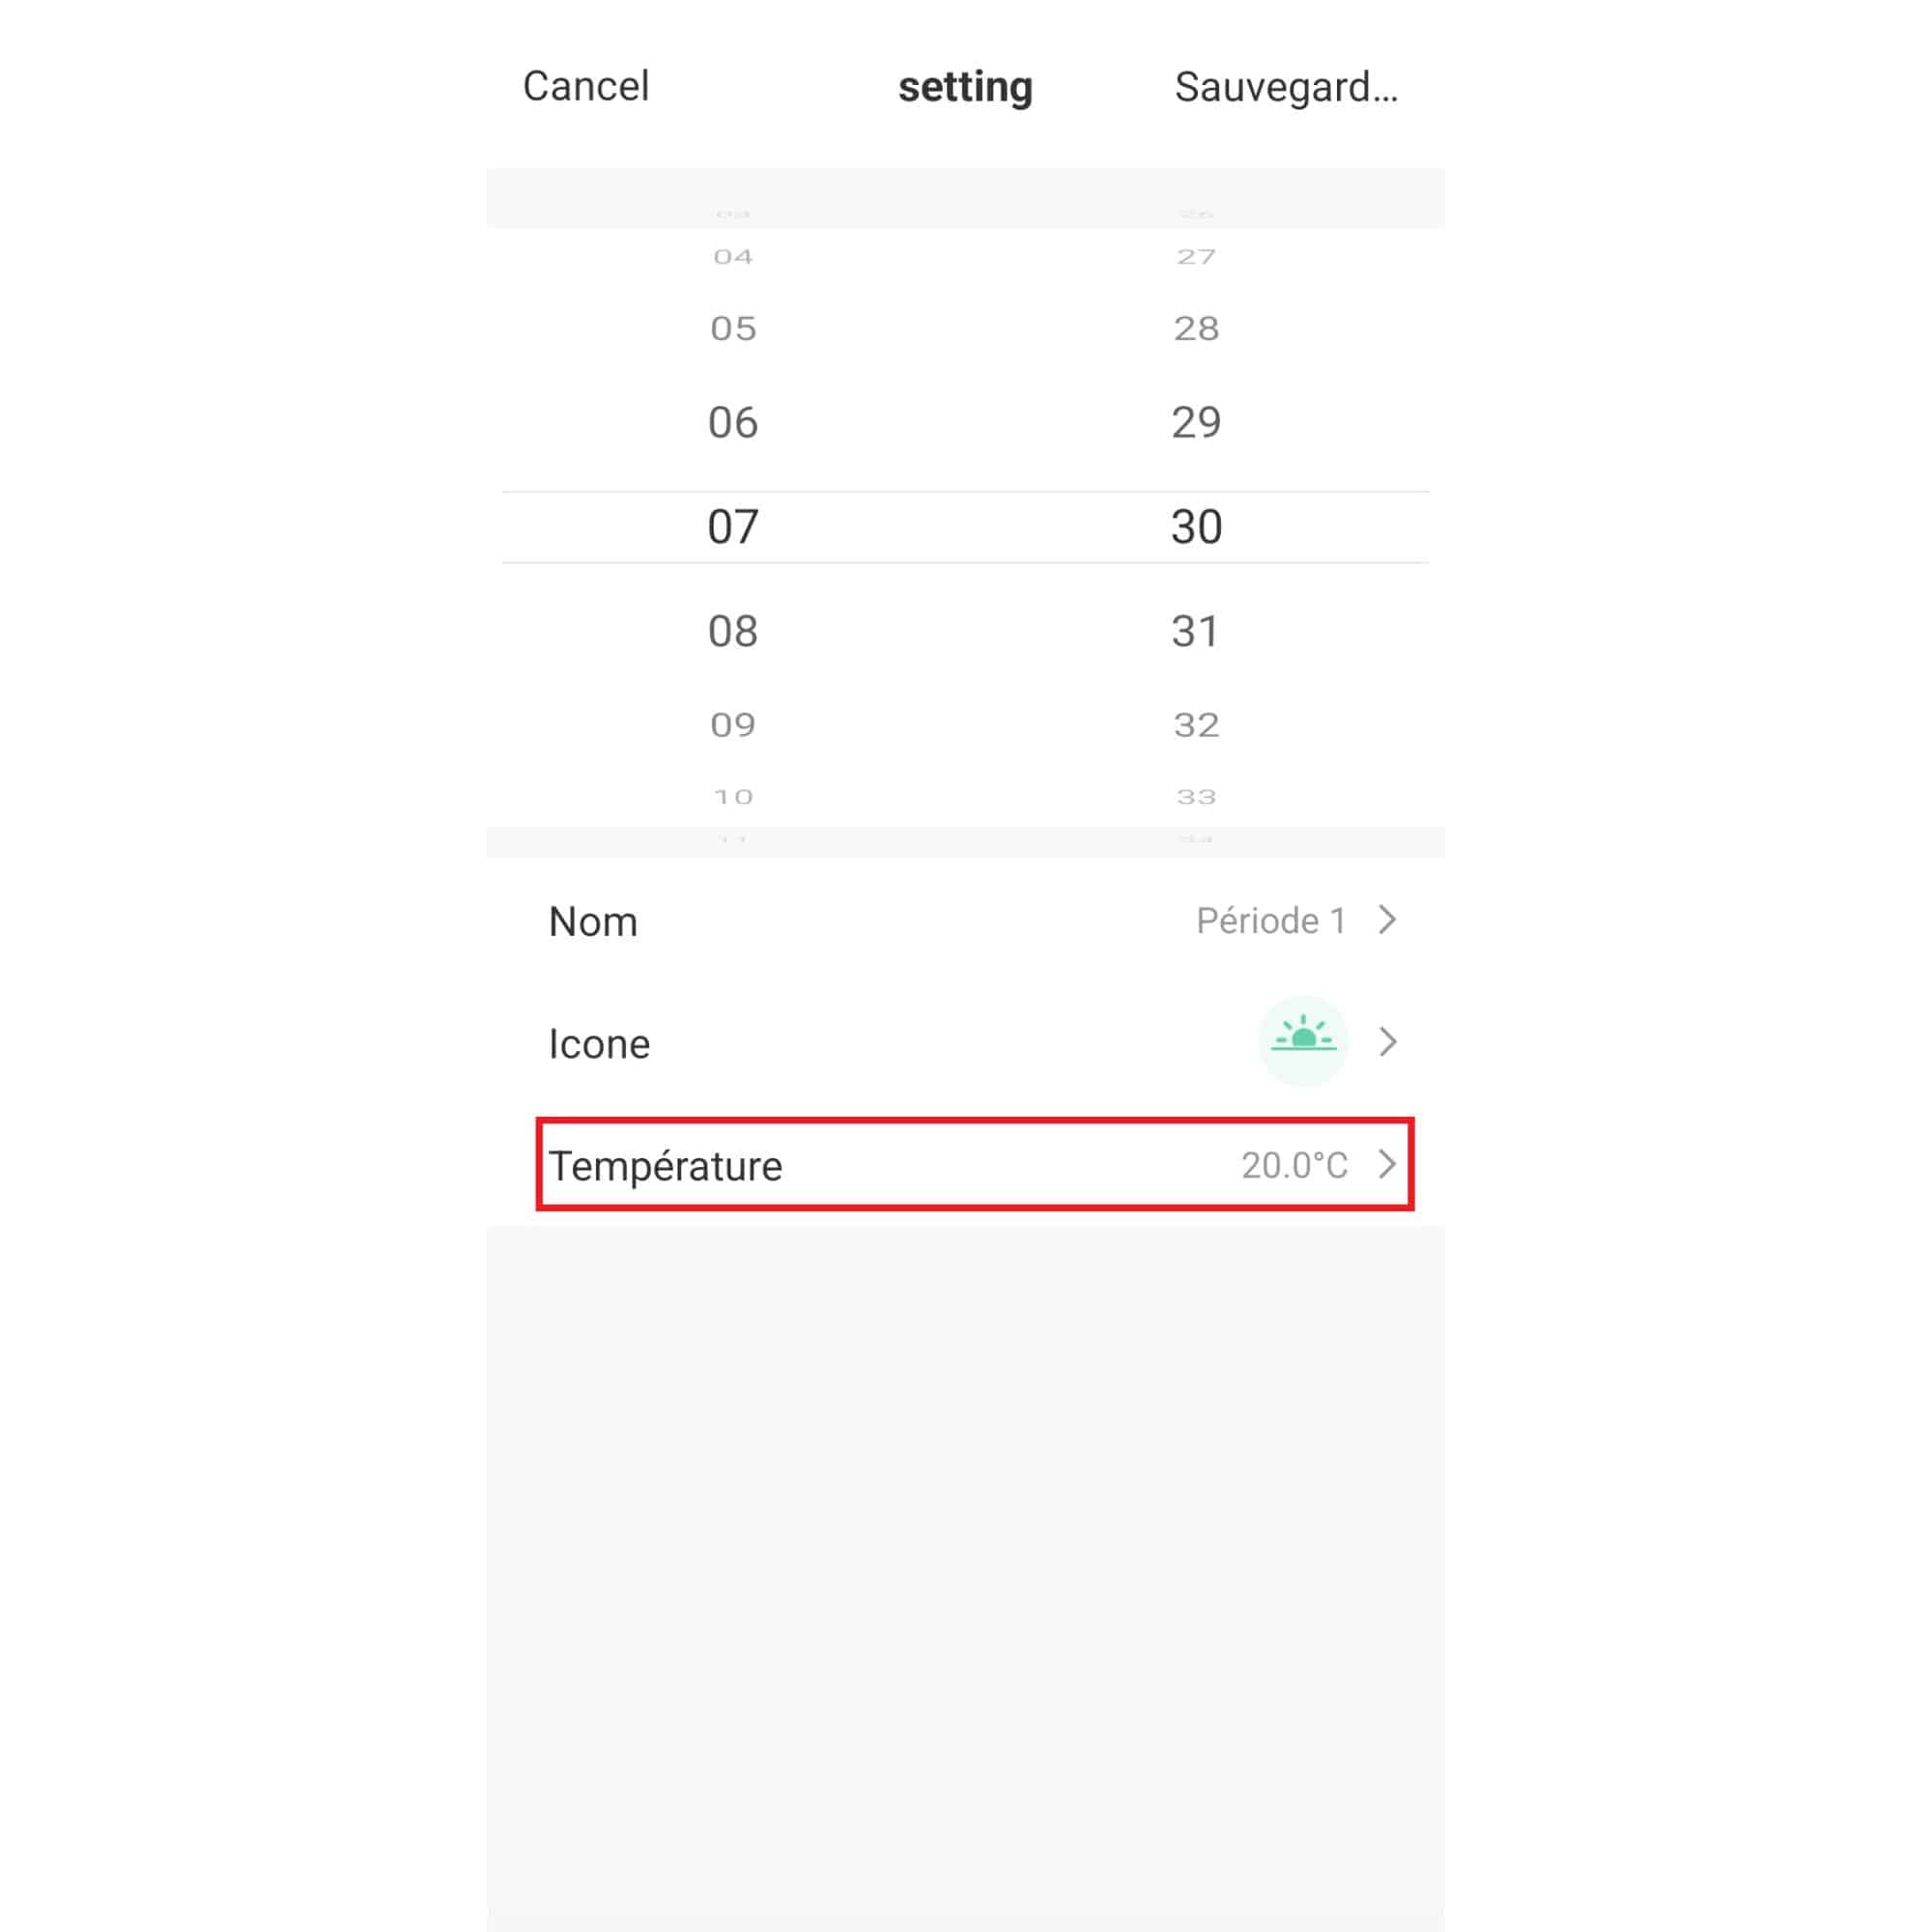
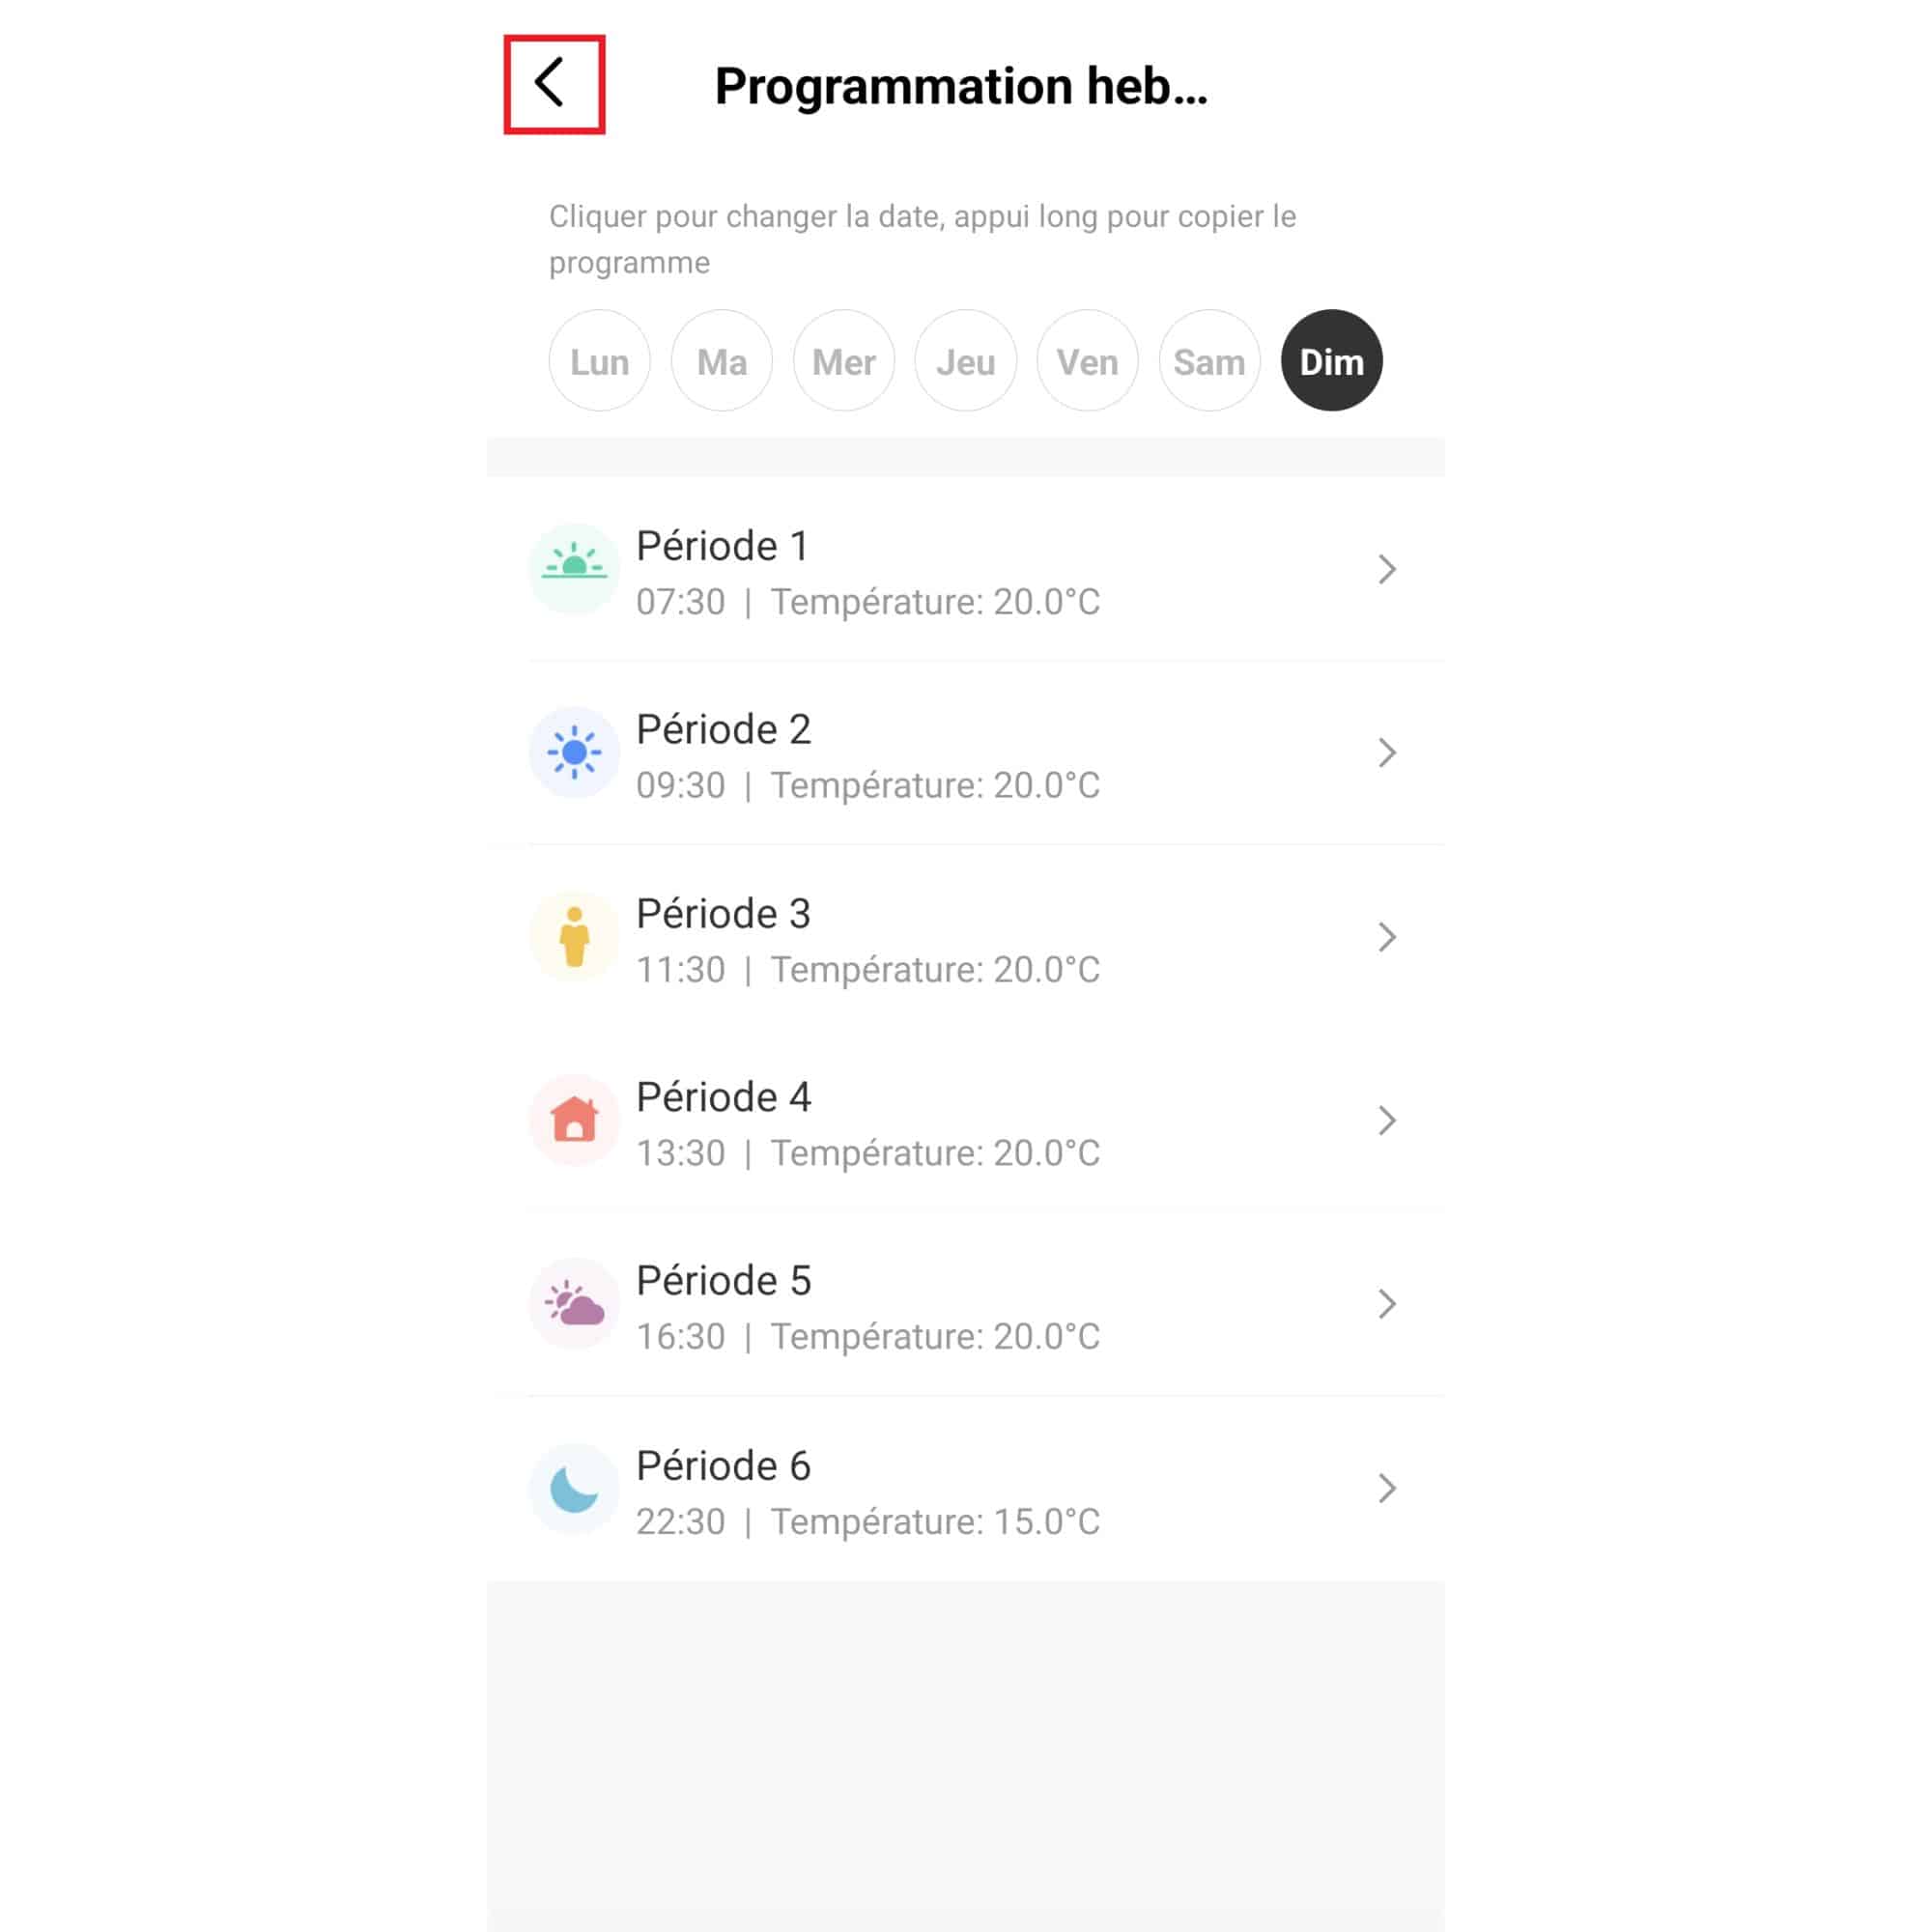
In our examples, we define the 4 periods as follows

  • From 7:00 to 12:00, the thermostat is set to 17°C
  • From 12:00 to 14:00, the thermostat is set to 19°C
  • From 2:00 p.m. to 6:00 p.m., the thermostat is set to 17°C.
  • From 6:00 p.m. to 7:00 a.m., the thermostat is set to 19°C.

Step 2: Setting the time and date on the thermostat

  • If the thermostat is not connected, it will be necessary to set the time and date manually.
  • If the thermostat is connected, the time and date will be set automatically.
  • To set the date, press
  • The indication d : XX will appear on the thermostat. The XX represents the day.
  • Press the up or down arrow to set the day.
  • Then press to confirm.
  • The indication rn : XX will appear on the thermostat. The XX represents the month.
  • Press the up or down arrow to adjust the month.
  • Then press to confirm.
  • The year appears on the thermostat
  • Press the up or down arrow to adjust the year.
  • Then press to confirm.
  • The time appears on the thermostat
  • Press the up or down arrow to adjust the time.
  • Then press to confirm.
  • Press the up or down arrow to adjust the minutes.
  • Then press to confirm.
  • Press to exit the menu.

Step 3: Manual programming on the thermostat

  • To enter programming mode, press PRG once.
  • If not set in this mode, the sensor automatically exits its programming mode.
  • The number flashing corresponds to the day of the week selected for the program.
  • Press the up or down arrow to set the day.
  • In our example, the number 7 corresponds to Sunday.
  • Then press to confirm.
  • The first step sets the trigger period for period 1 of the selected day (Sunday).
  • Press the up or down arrow to adjust the time.
  • Then press to confirm.

In our example

  • Press the down arrow to set the clock to 7:00 a.m.
  • The second step sets the trigger temperature for period 1 of the selected day (Sunday).
  • Press the up or down arrows to adjust the temperature.
  • Then press to confirm.

In our example

  • Turn the central dial to set the temperature to 17°C
  • You then move on to the 2nd period of day 7 (Sunday).
  • Press the up arrow or the down arrow to set the trigger period for period 2 of day 7 (Monday).
  • Press to set the time
  • Press the up or down arrows to set the trigger temperature for period 2 of day 7 (Monday).
  • Press to set the temperature
  • Do the same for period 3 and period 4 of day 7.

In our example

  • Period 2 starts at 12:00 at 19°C
  • Period 3 starts at 2:00 pm at 17°C
  • Period 4 starts at 6:00 pm at 19°C
  • Unused period 5 should be set to 23:58 at 19°C
  • Unused period 6 should be set to 23:59 at 19°C
  • Make the desired settings using the same method for the 4 periods of the :
  • day 1 (monday)
  • day 2 (tuesday),
  • day 3 (wednesday),
  • day 4 (thursday)
  • day 5 (friday)
  • day 6 (saturday)
  • Once programmed, briefly press to display the program number on the thermostat.
  • This activates the programming mode.

Step 4: Programming via the AvidsenHome application

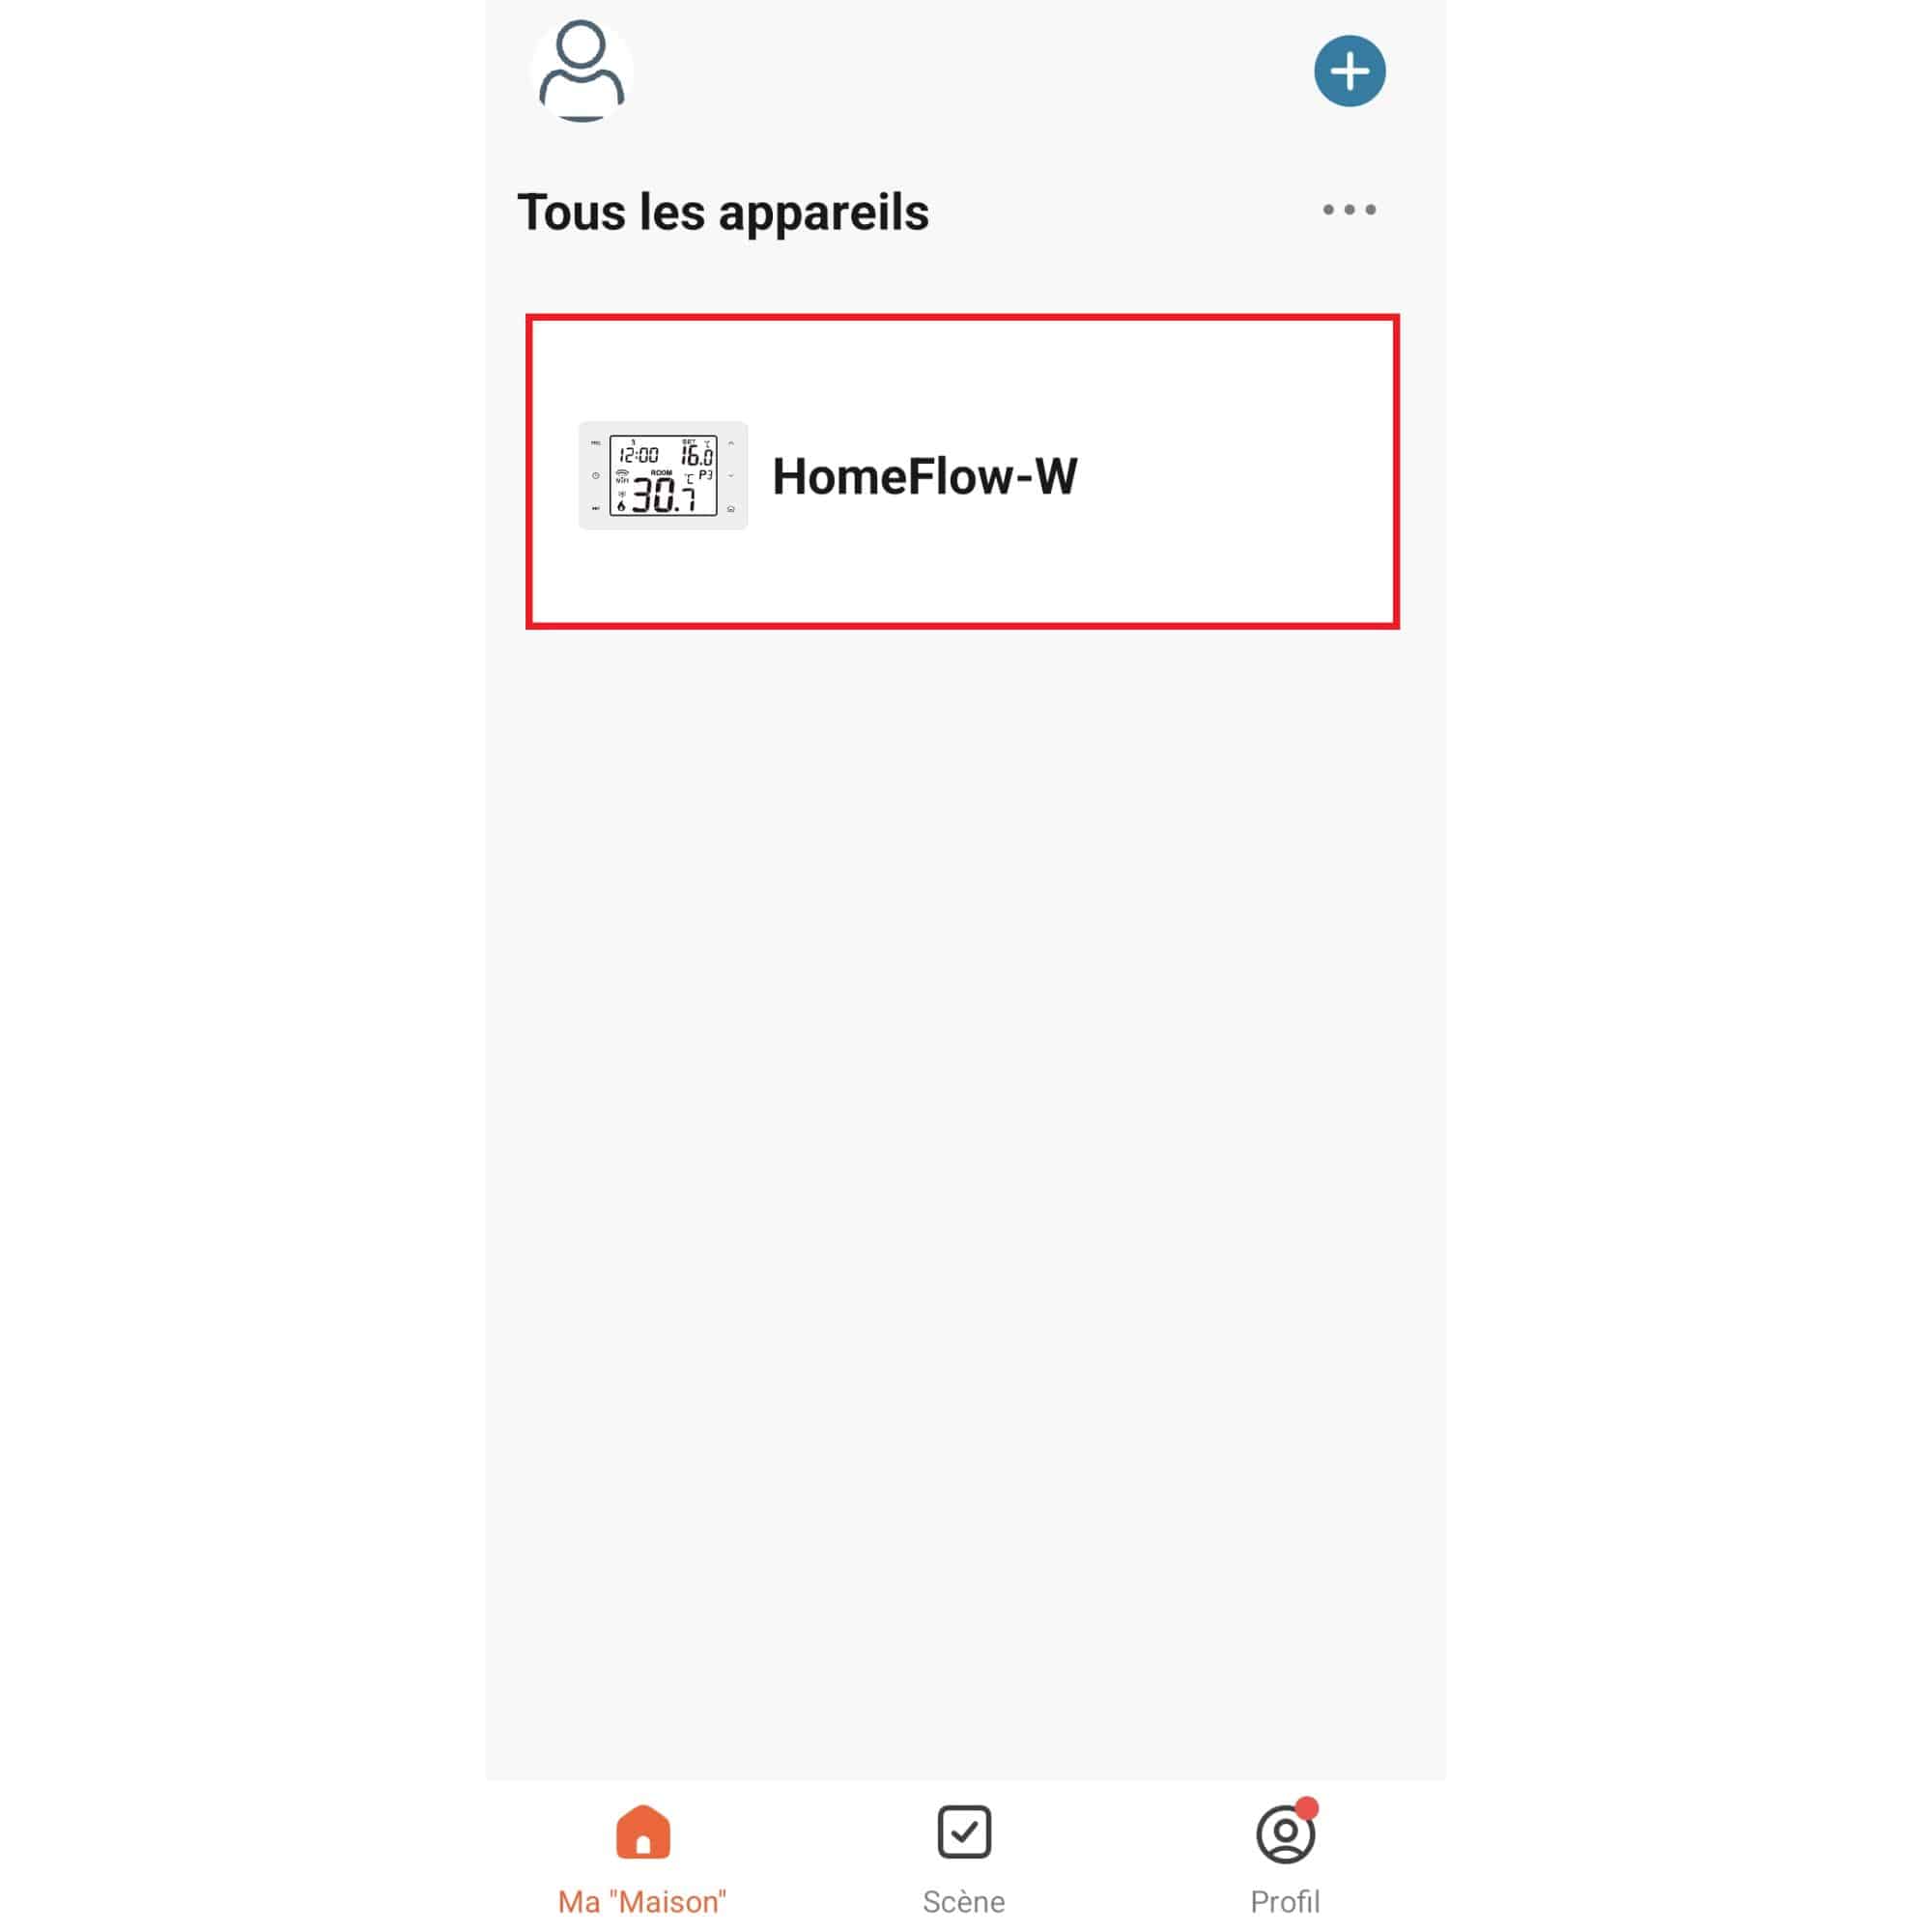
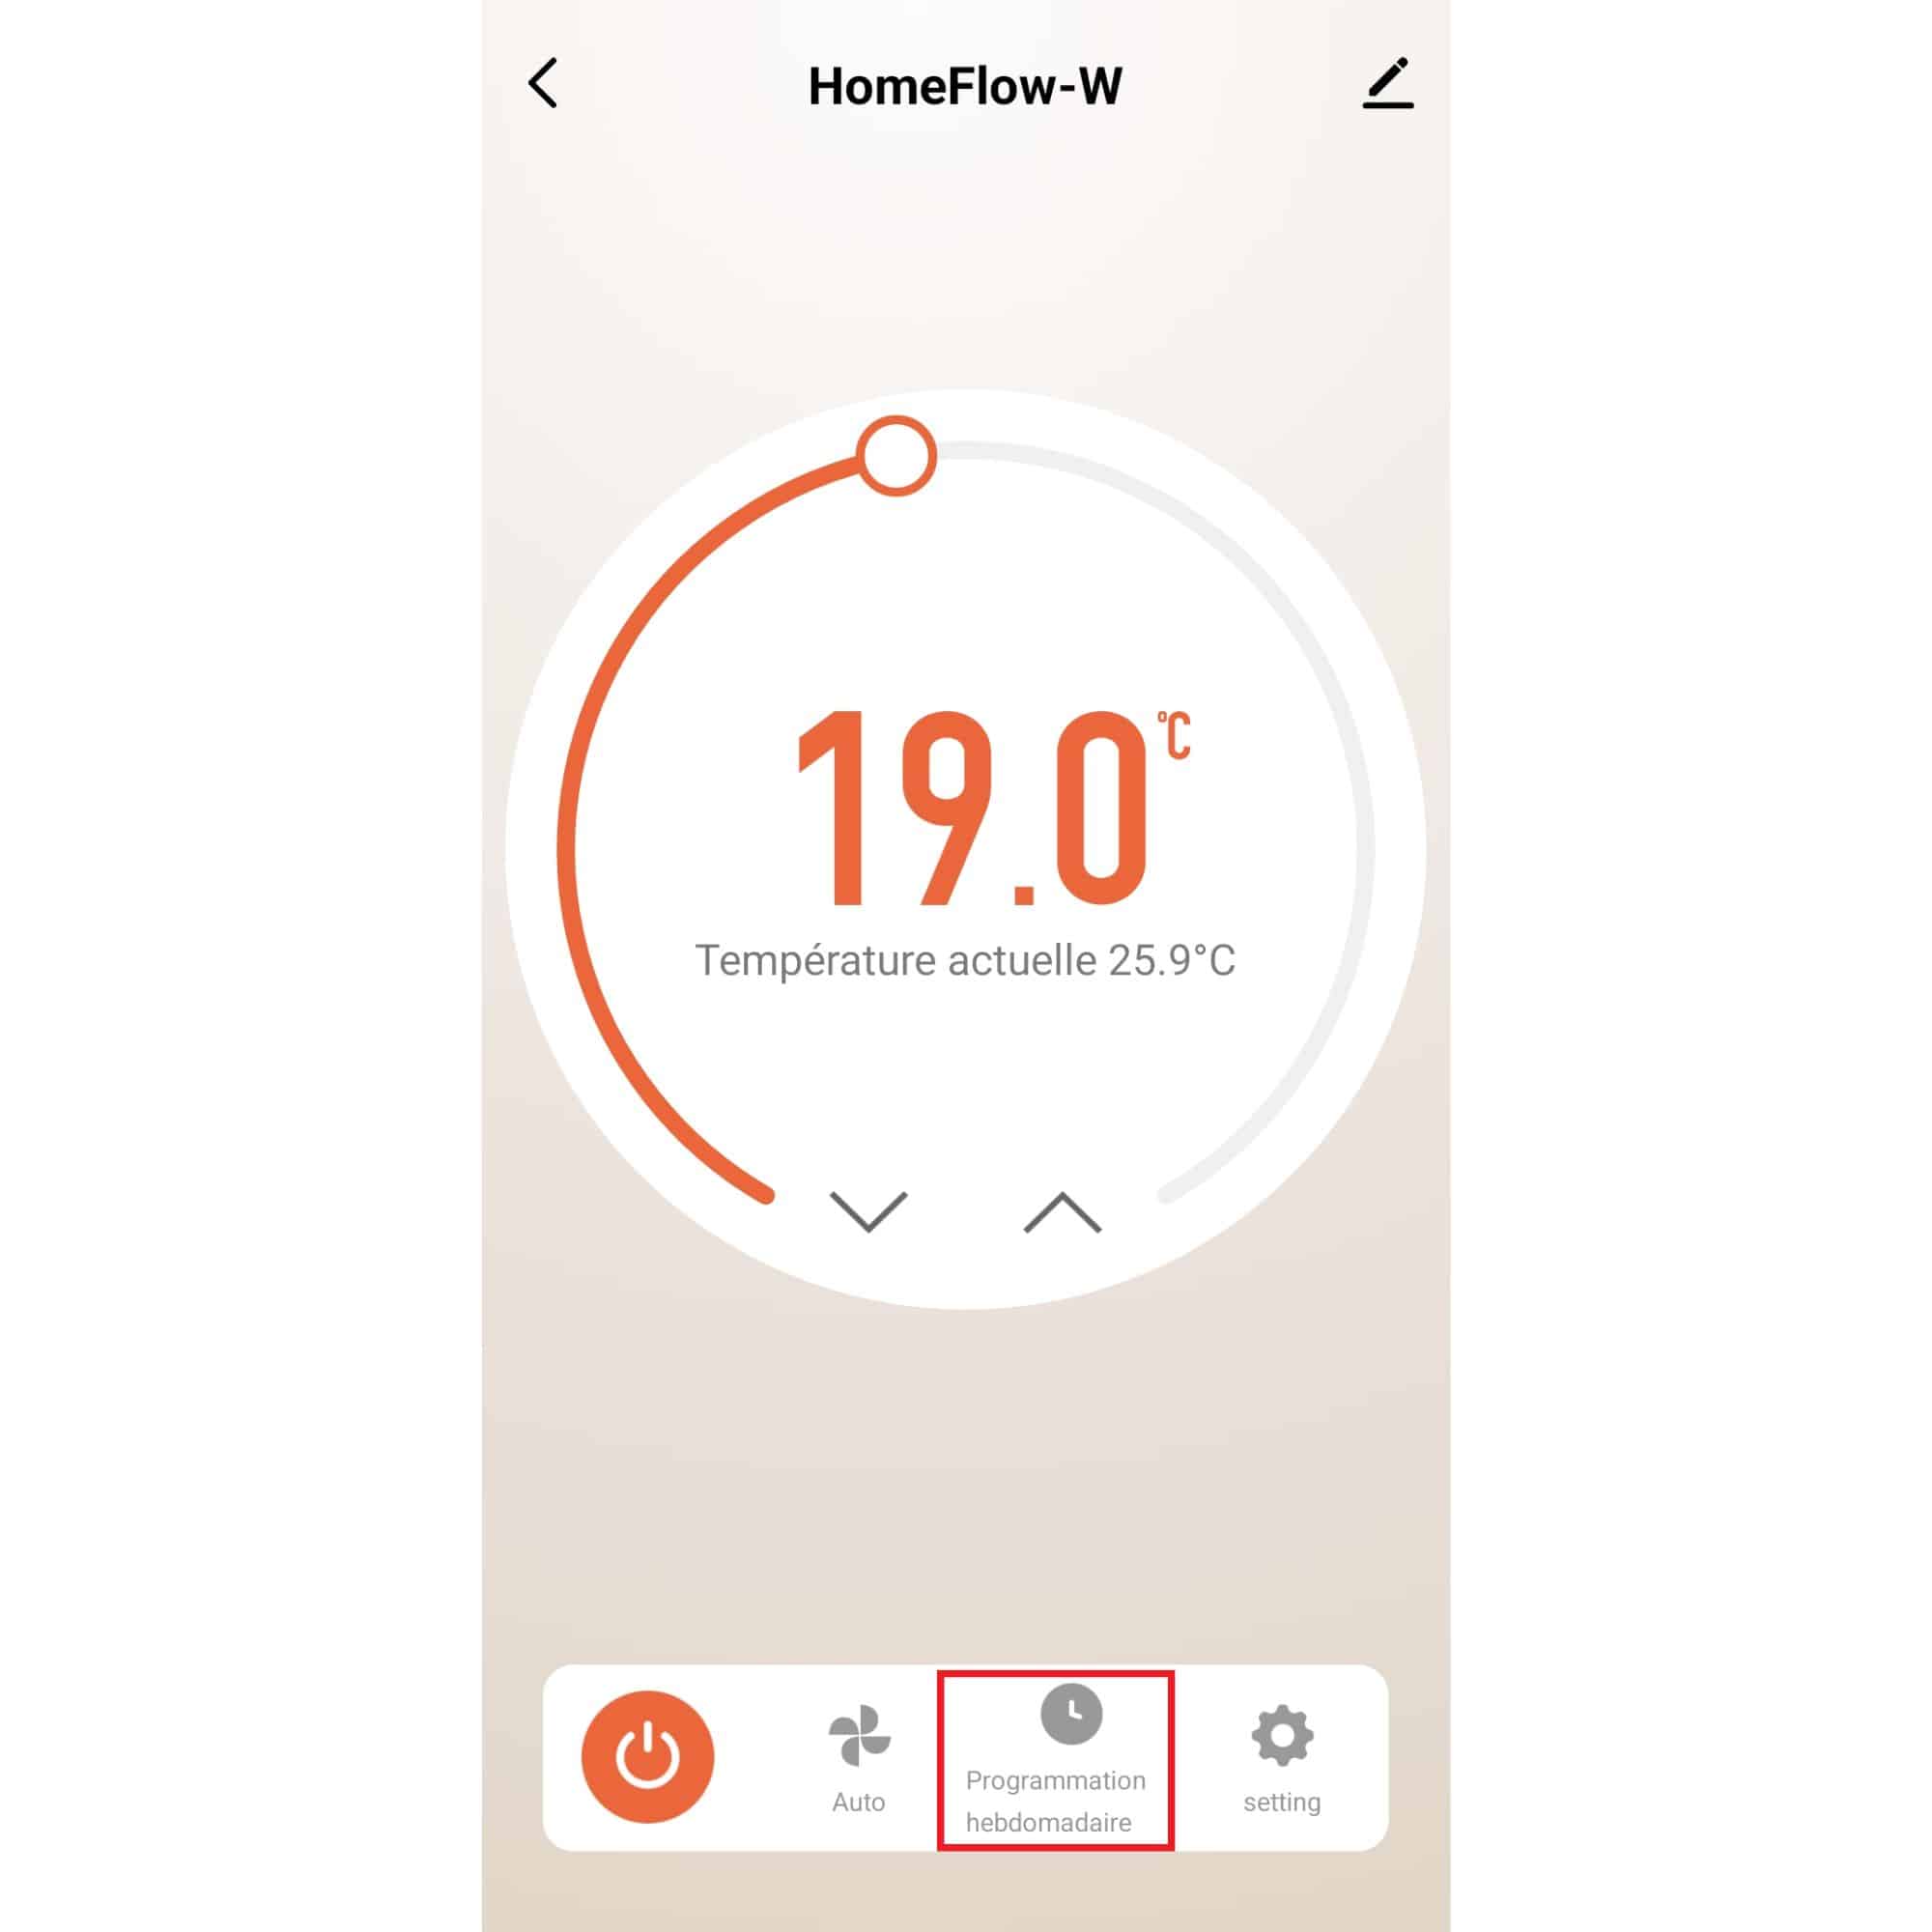
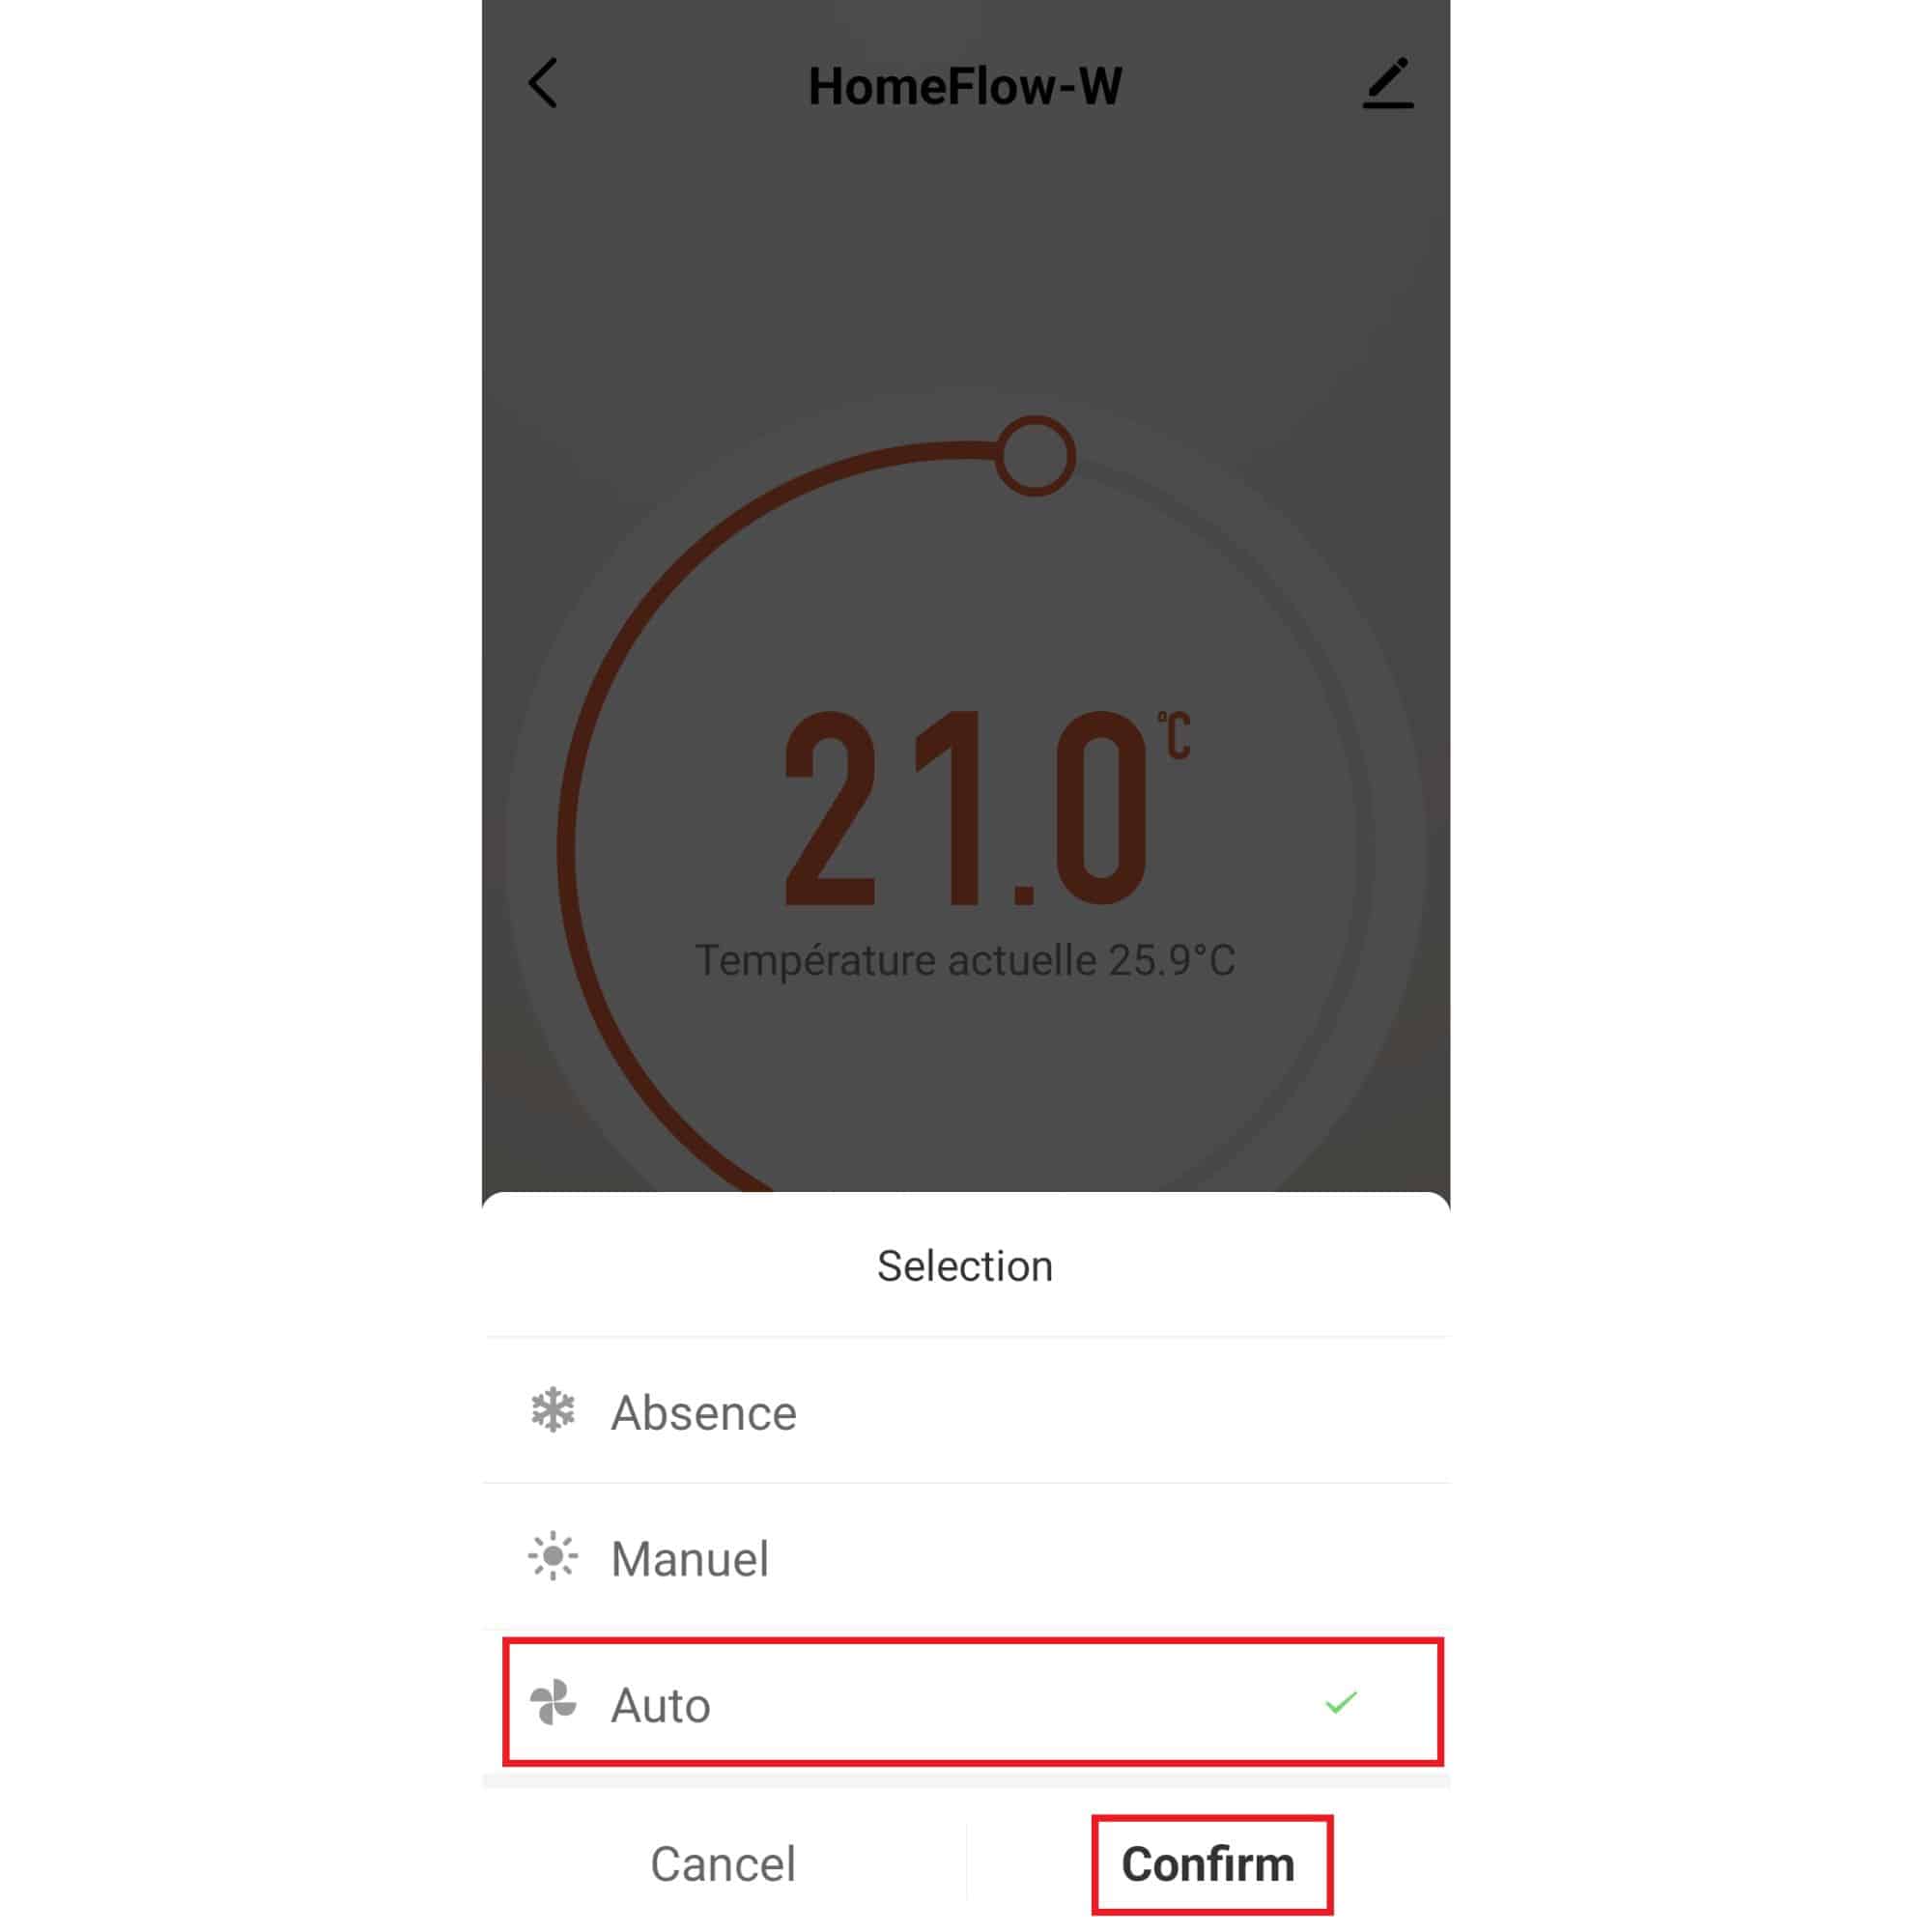
You can also create programs from within the application.

  • Open the AvidsenHome application
  • Select your thermostat

If your thermostat does not appear, please follow the tutorial“Wifi connection 127062 “.

  • Select “Weekly programming”.
  • Select the day corresponding to the desired program and choose the period to be modified.
  • Set the start of your period and the desired temperature by sliding the selection wheel downwards.
  • Click on “Save” to validate the period.


  • Do the same for all the desired periods and click on the arrow at the top left to return to the previous menu.
  • Once programmed, you will need to activate the program mode.
  • Click on “Mode” on the thermostat home page.
  • Plus select “Auto” and confirm.
Keep in touch
Youtube Linkedin

Follow us on social networks

About Avidsen
  • Who are we?
  • Contact
  • Who are we?
  • Contact
Support
  • Avidsen Technical Support
  • Extel brand technical support
  • Philips technical support
  • Thomson Technical Support
  • Avidsen Technical Support
  • Extel brand technical support
  • Philips technical support
  • Thomson Technical Support
Avidsen group brand
  • Avidsen Brand
  • Extel Brand
  • Thomson Brand
  • Philips Brand
  • Avidsen Brand
  • Extel Brand
  • Thomson Brand
  • Philips Brand
Copyright 2025 © All rights reserved Avidsen
  • Legal Notice
  • Personal data protection policy
  • Terms and Conditions of Use
  • Legal Notice
  • Personal data protection policy
  • Terms and Conditions of Use
Thank you for your rating!
Thank you for your rating and comment!
This page was translated from: French
Please rate this translation:
Your rating:
Change
Please give some examples of errors and how would you improve them: