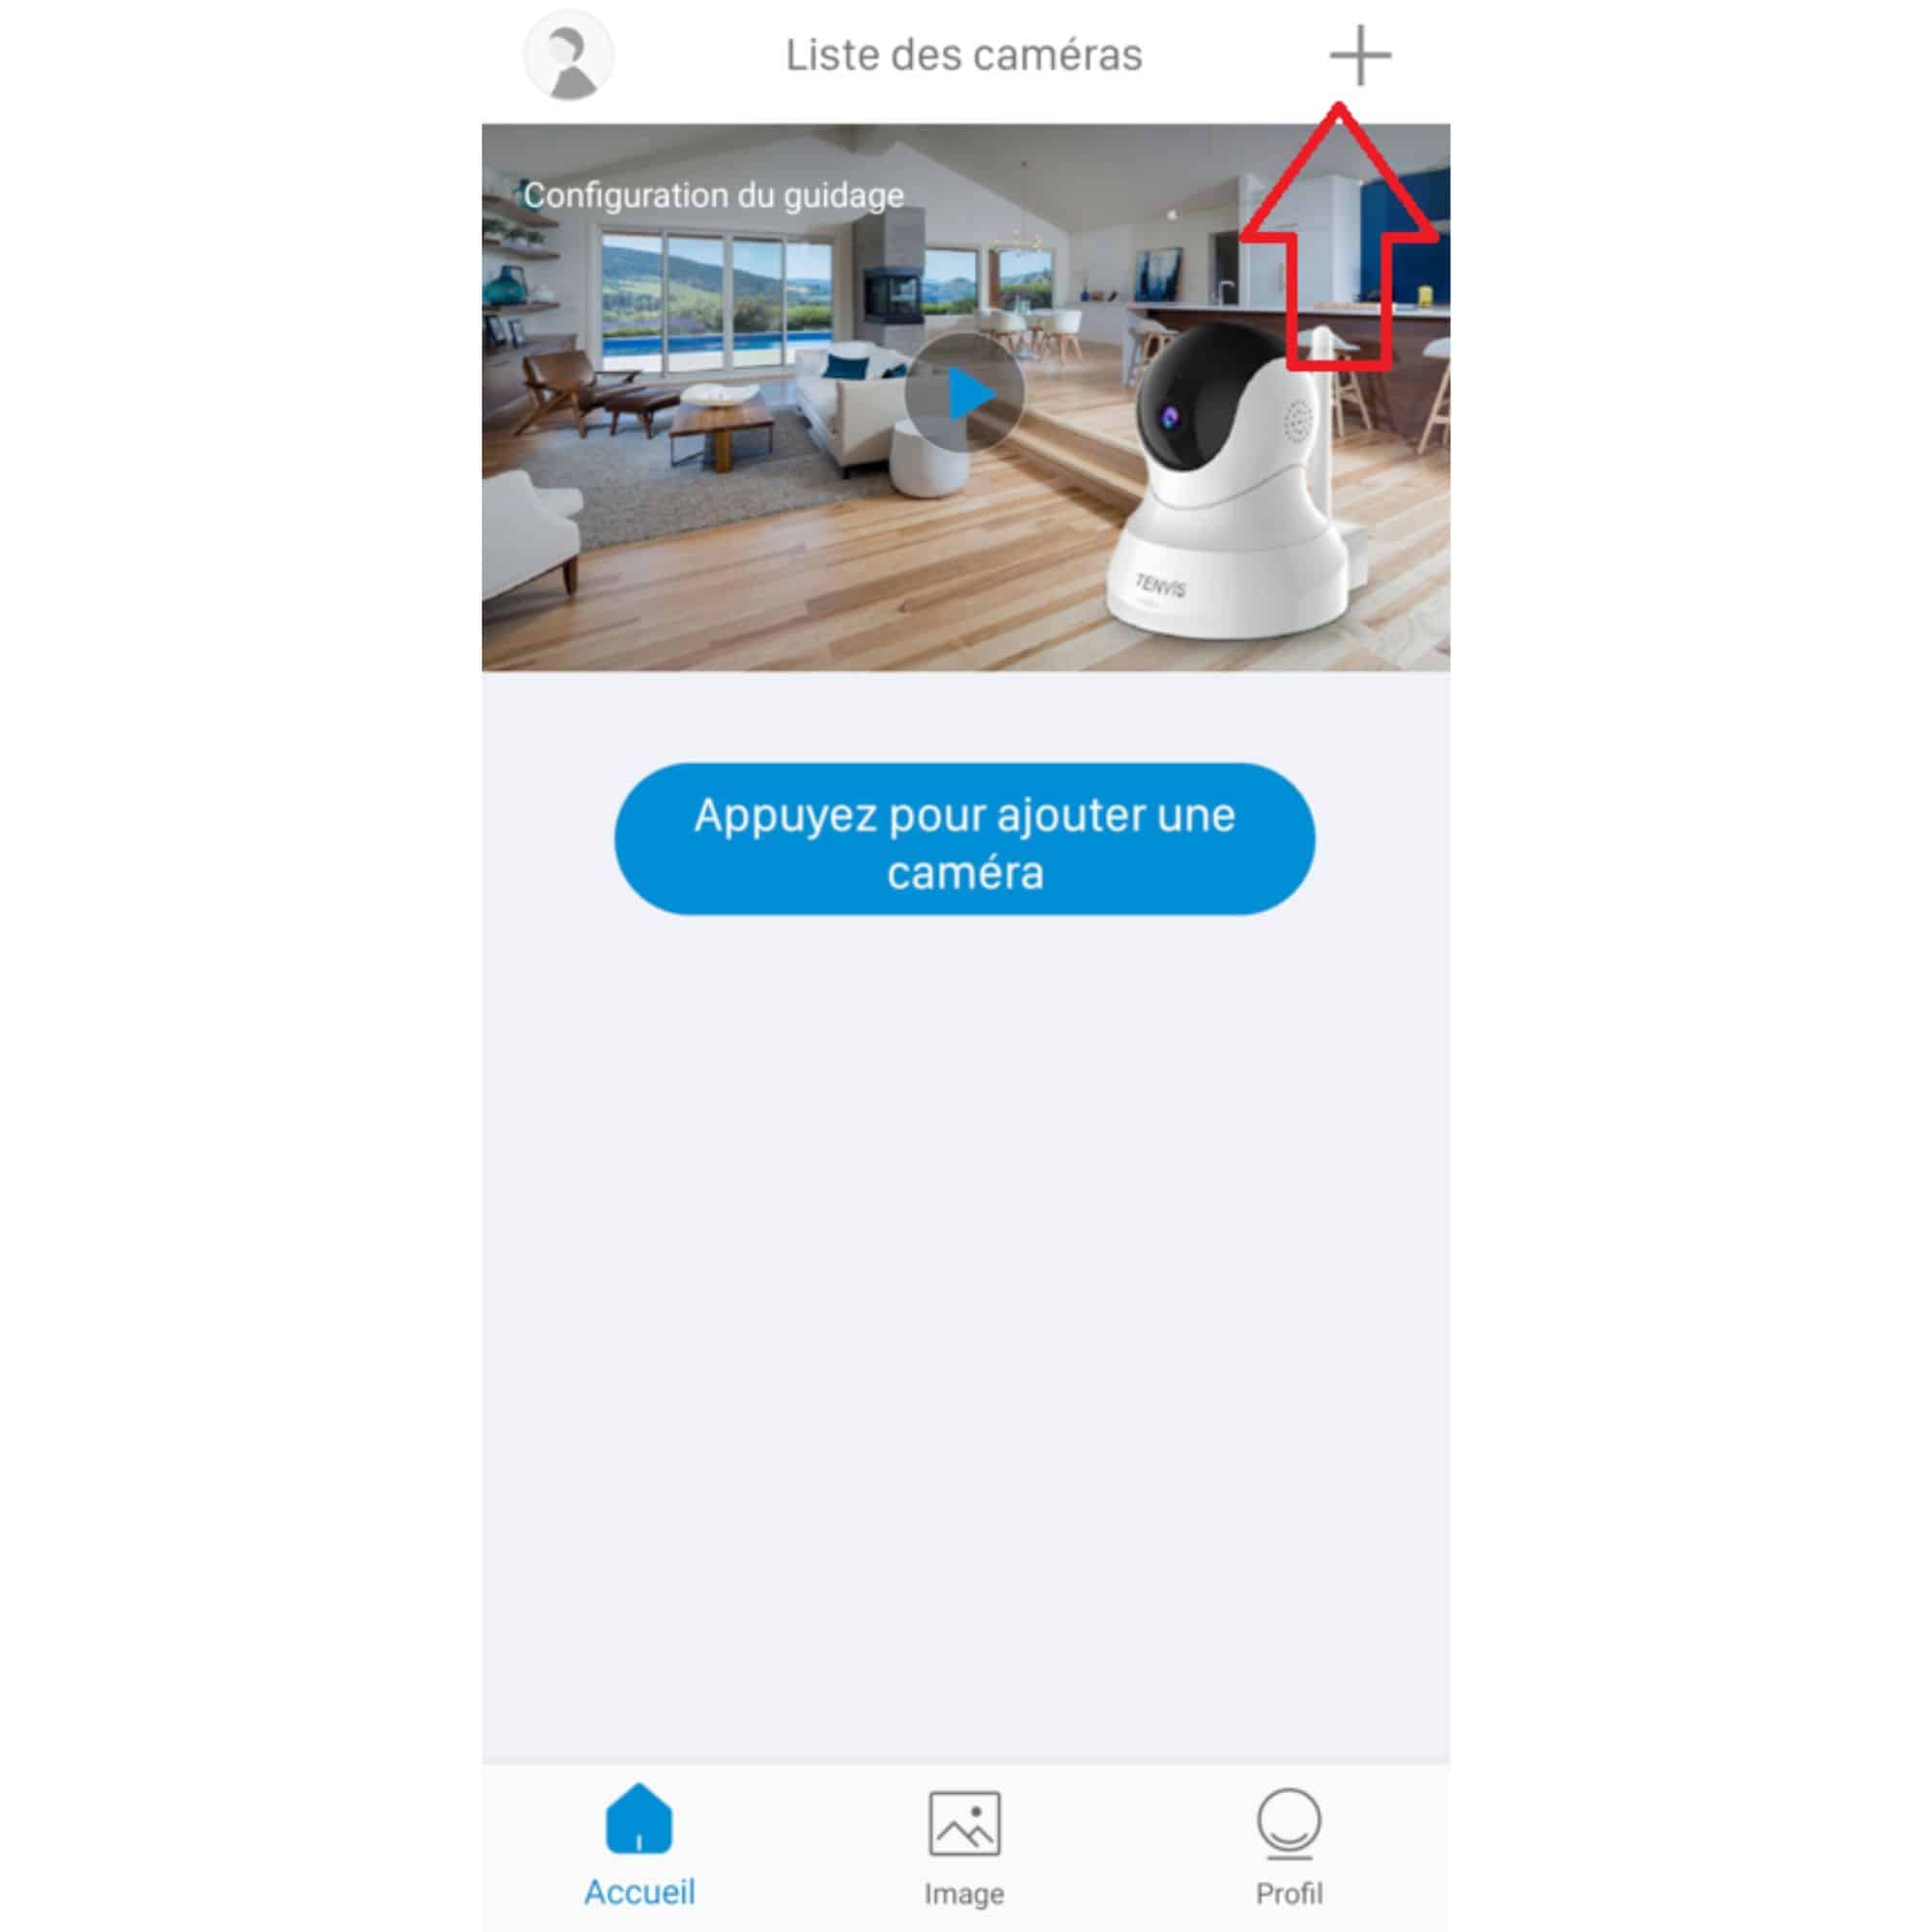
In the event that you need to replace your smartphone and it is no longer compatible with the VISIA or AVIWATCH application, here's a tutorial to help you install the new TENVISTY application.
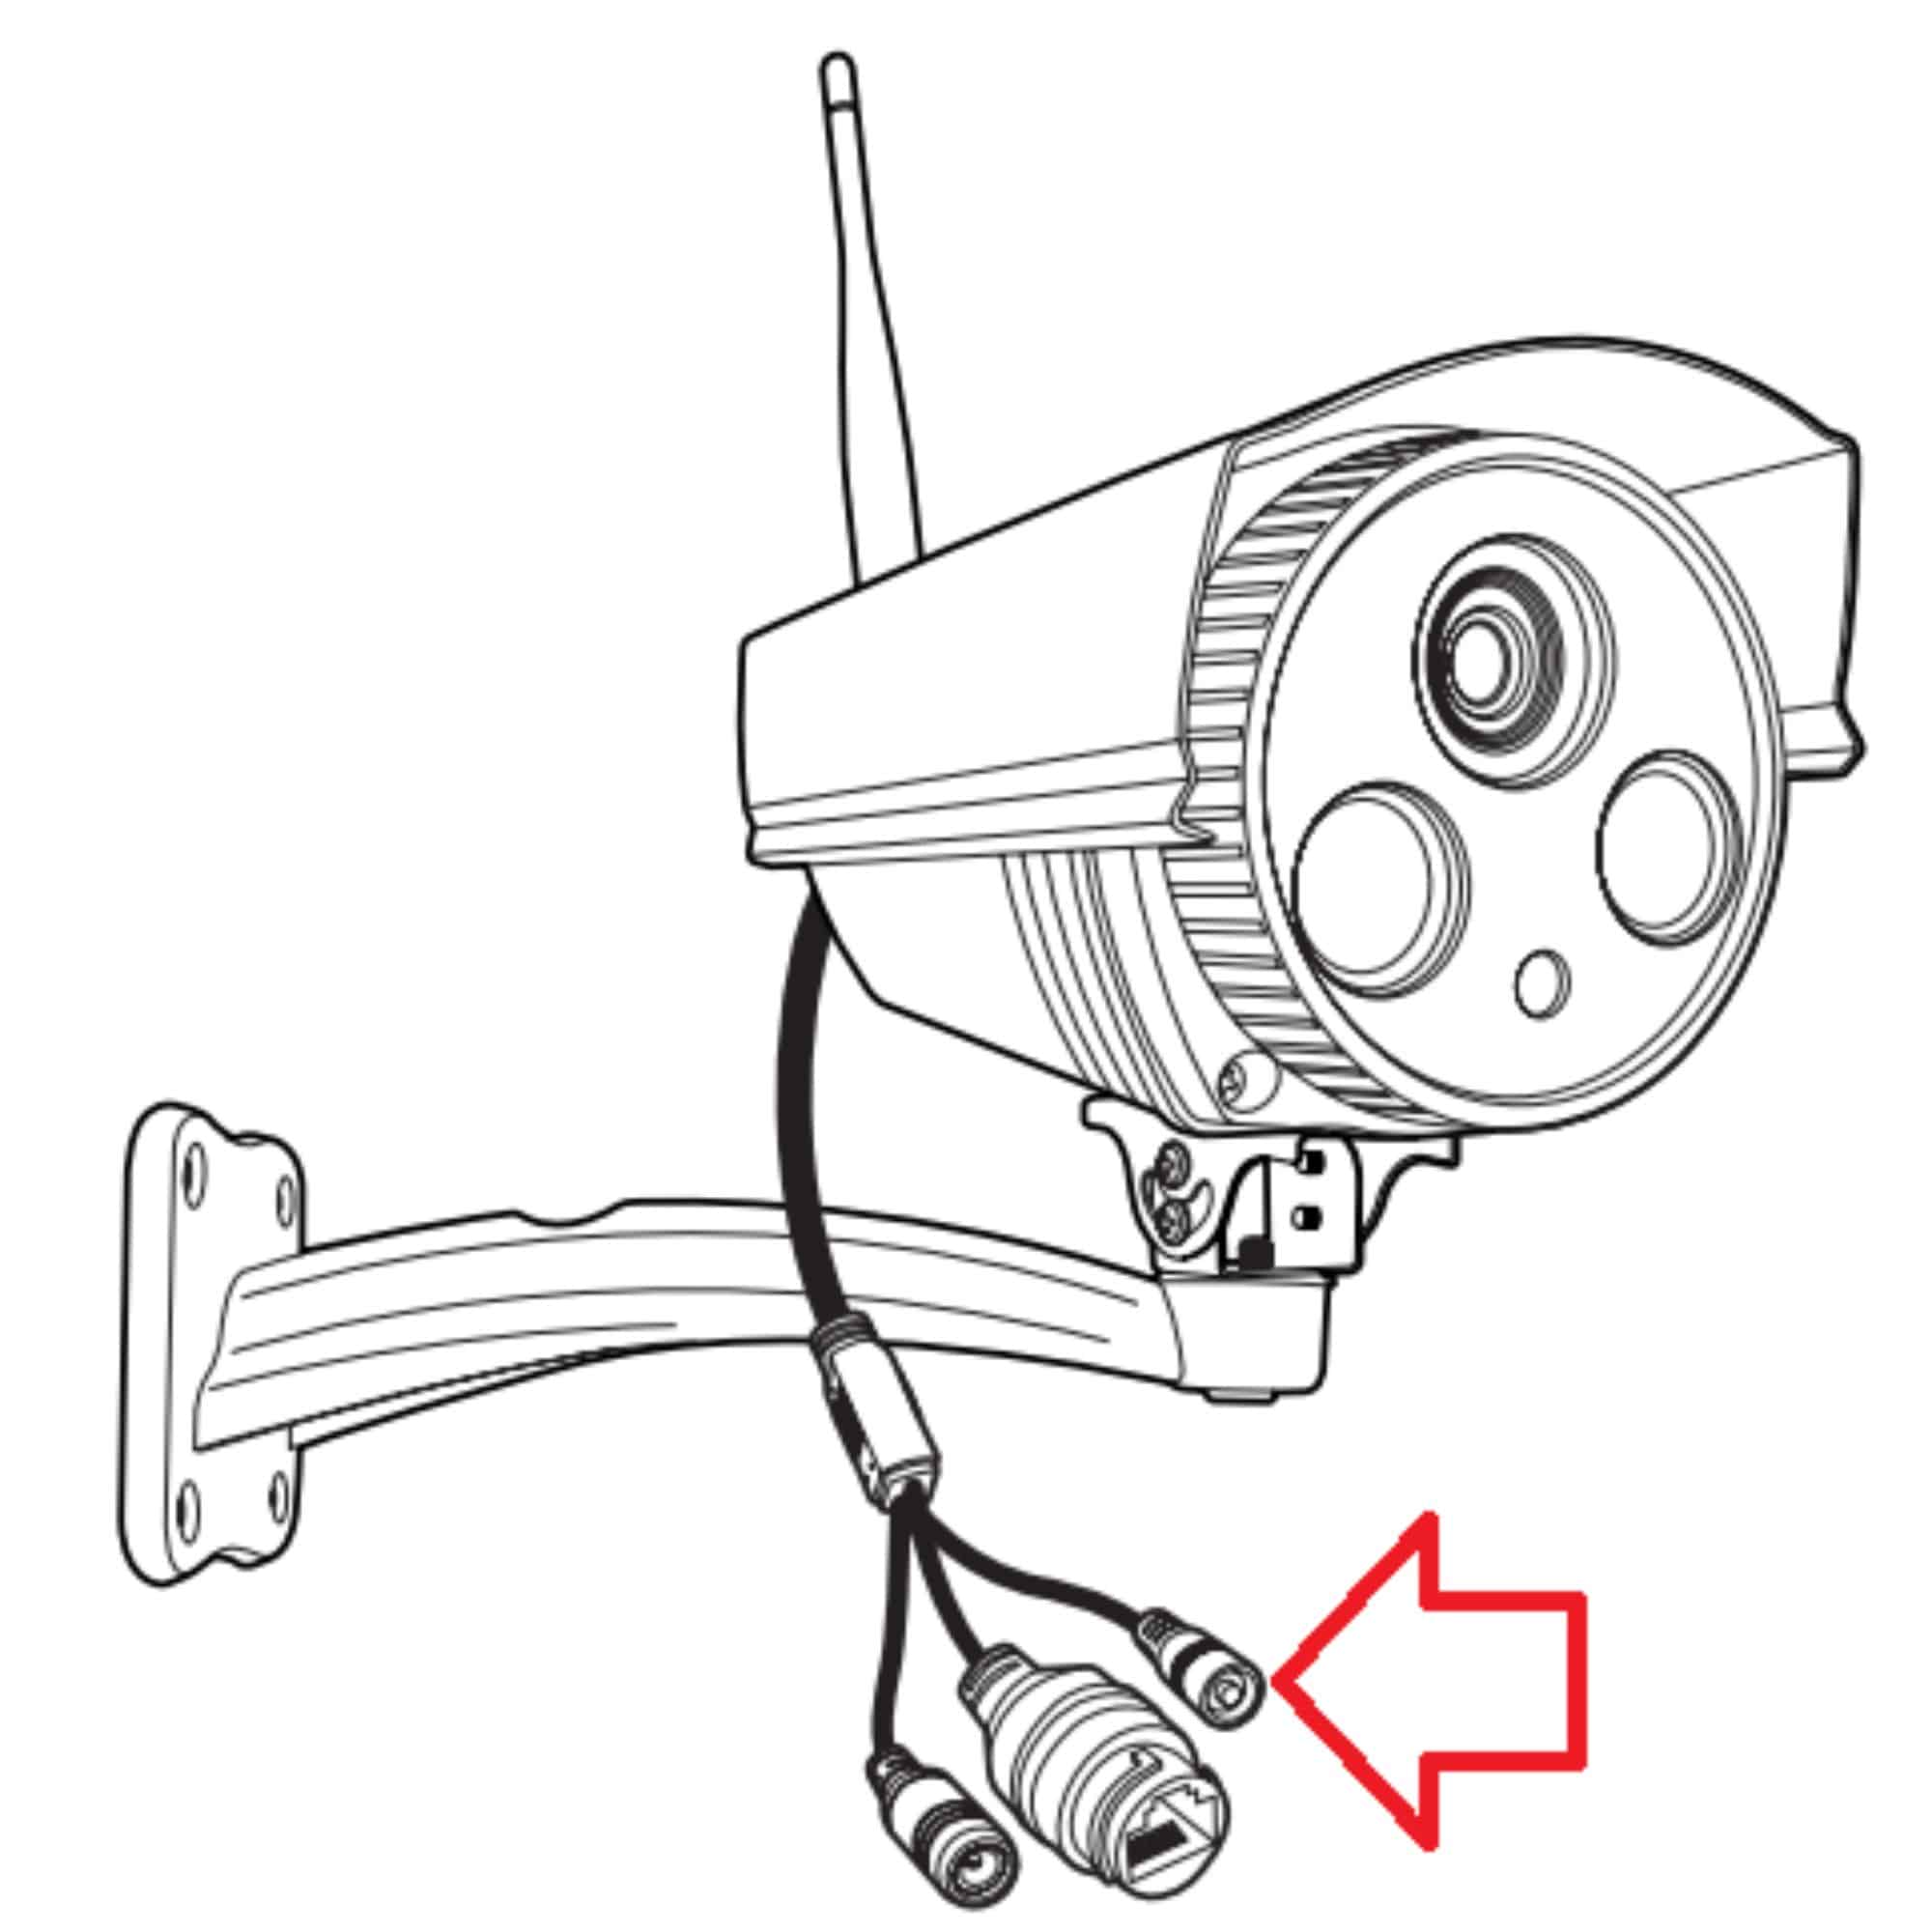
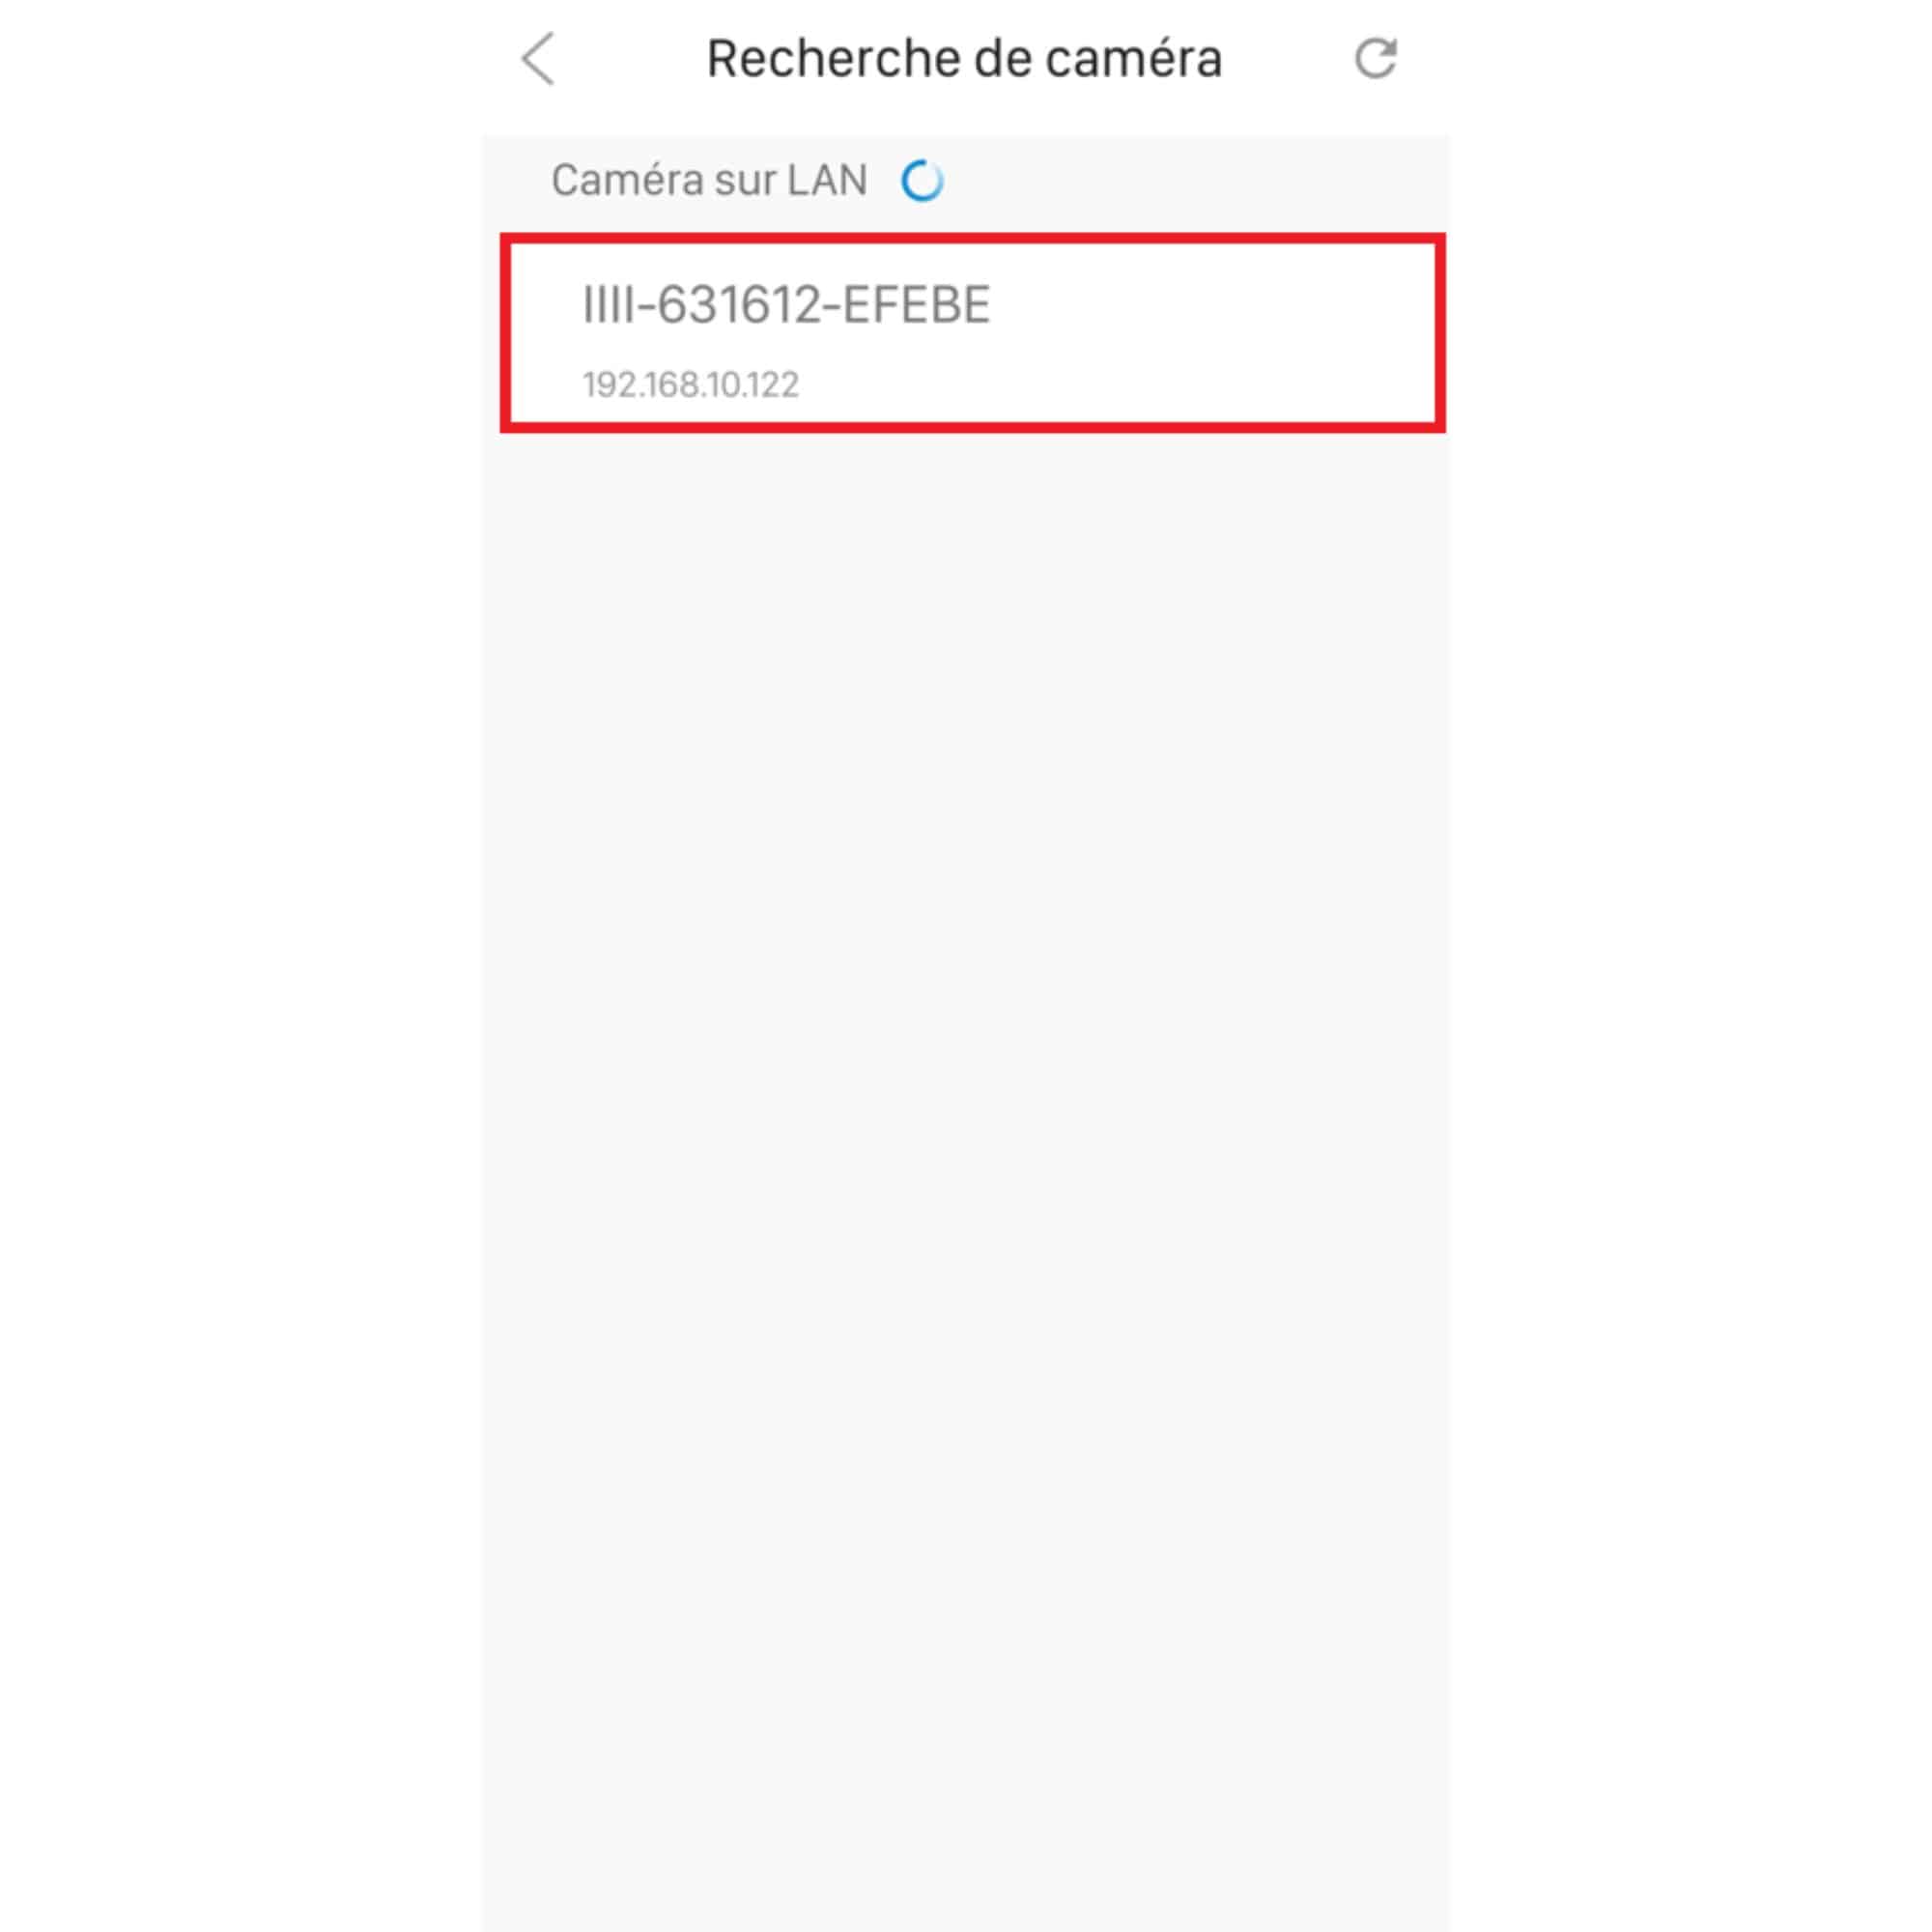
Part no. 123281
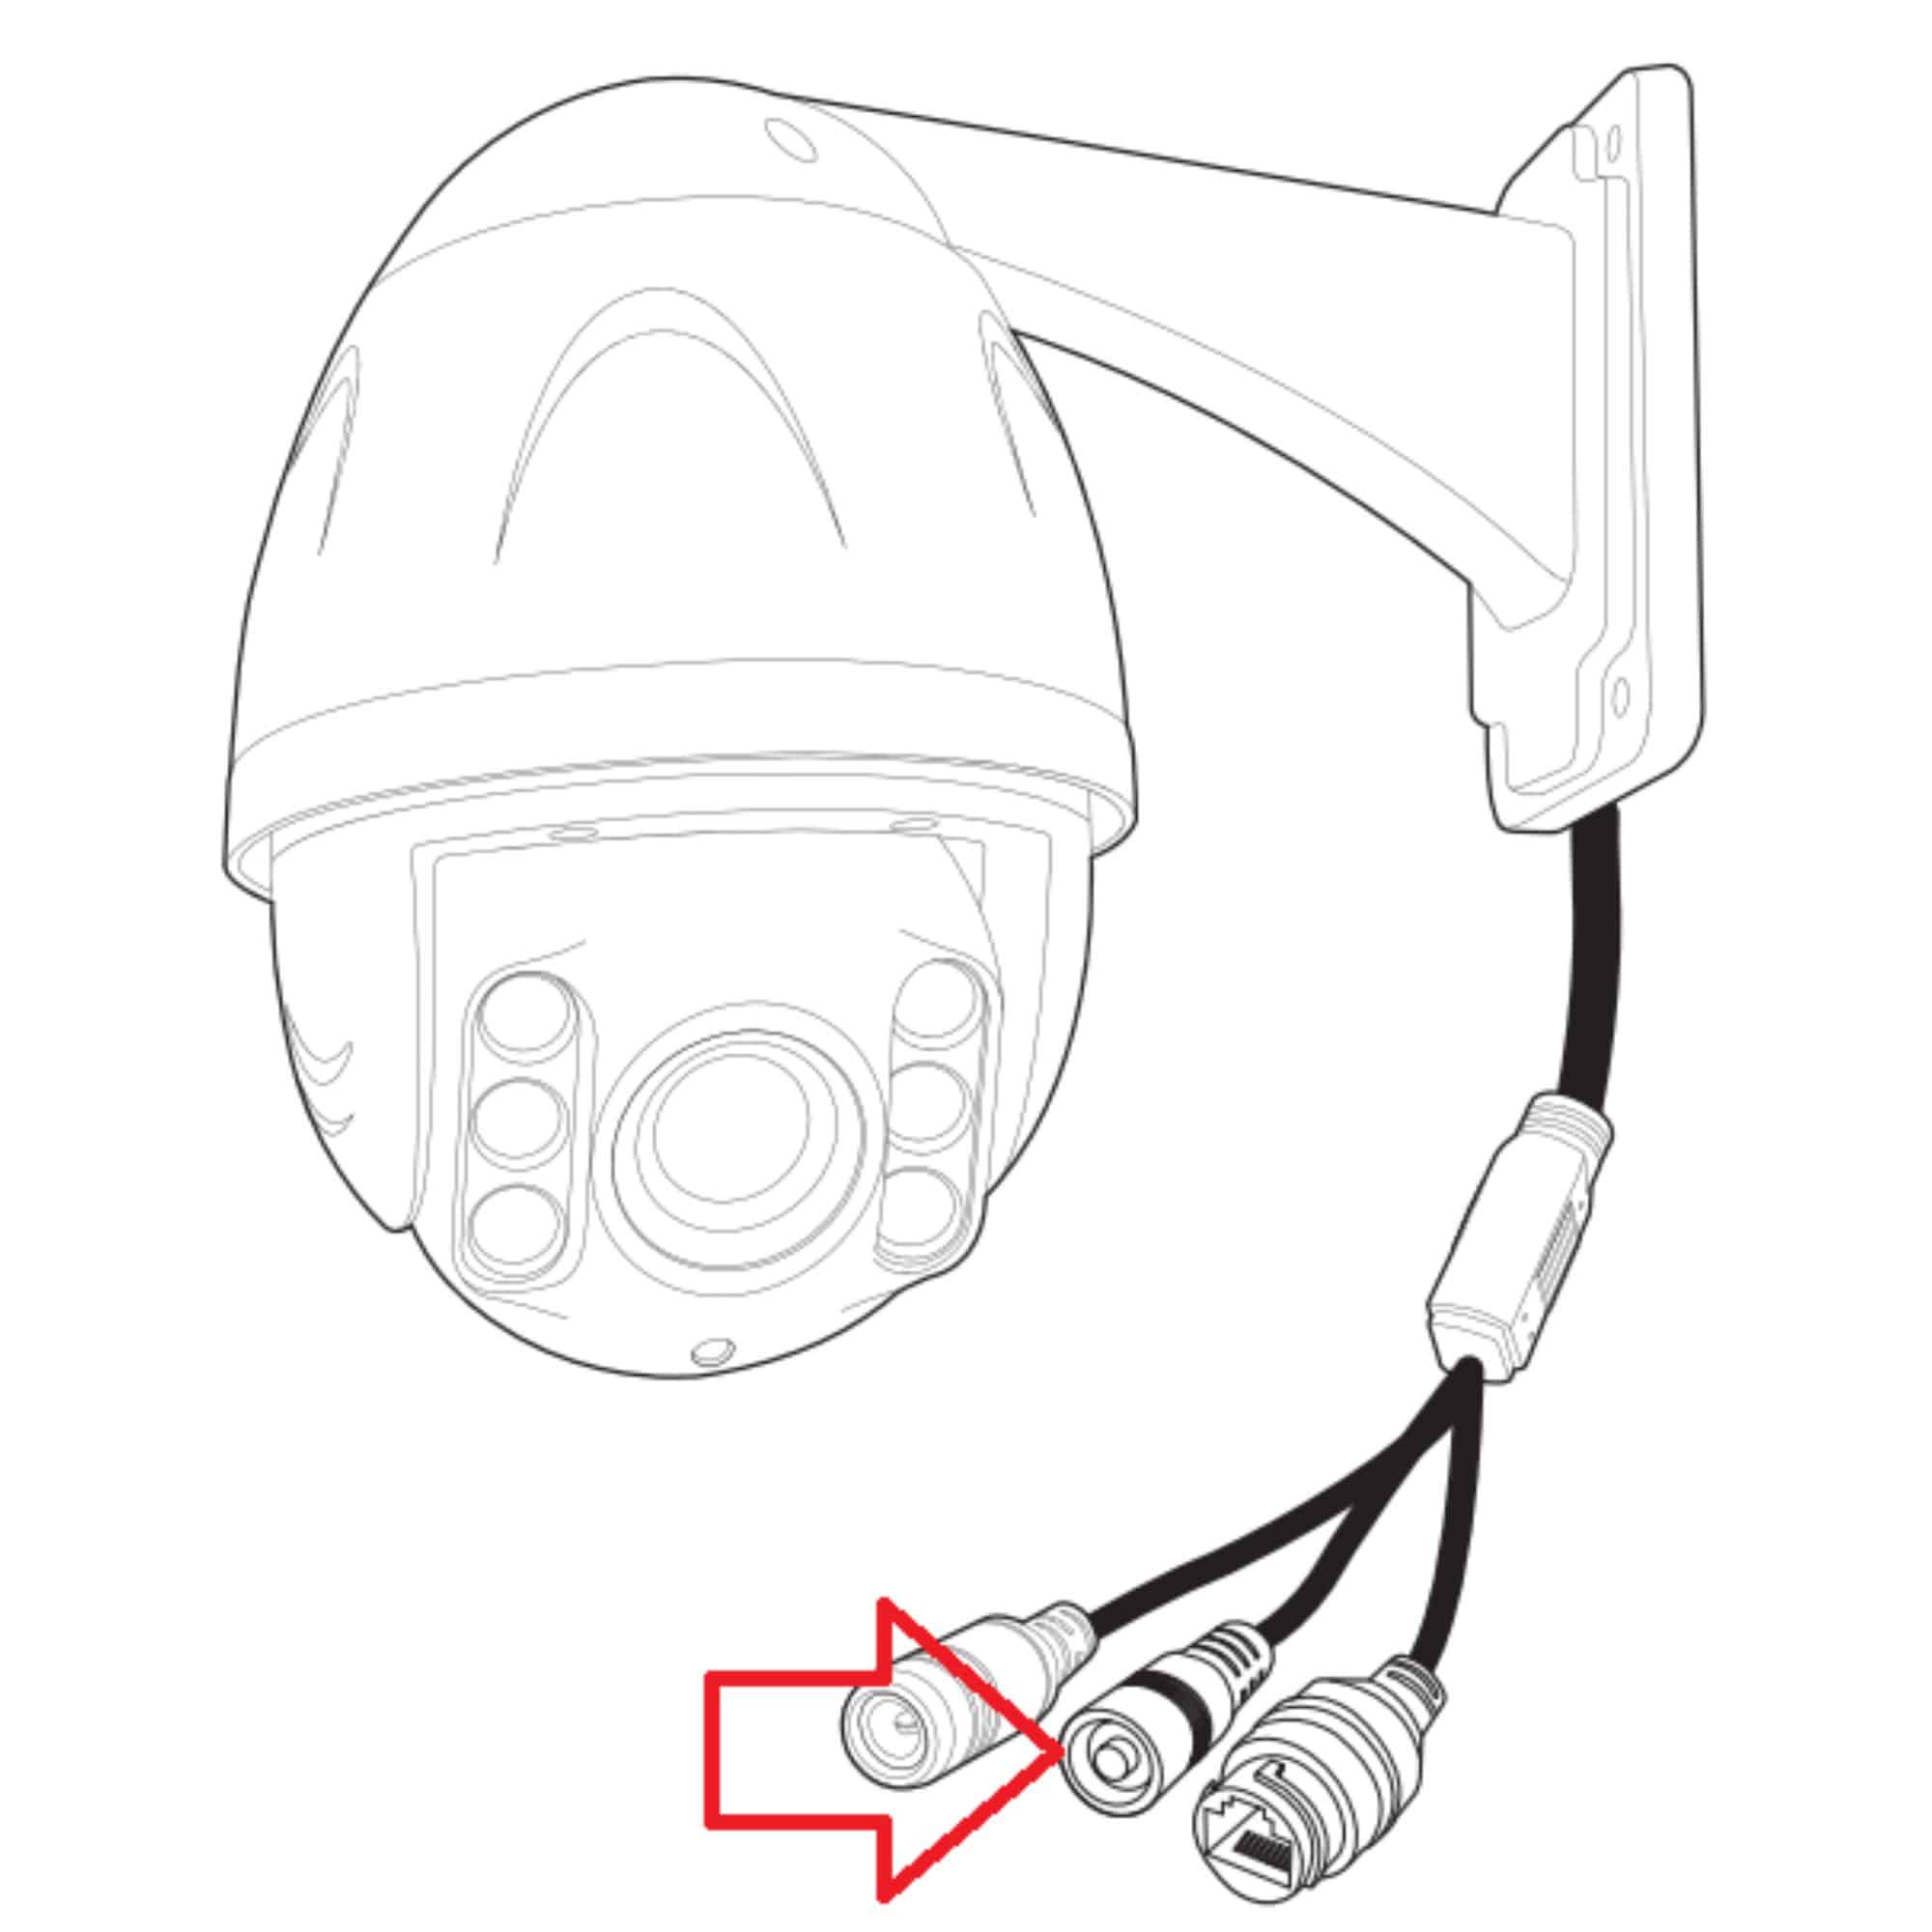
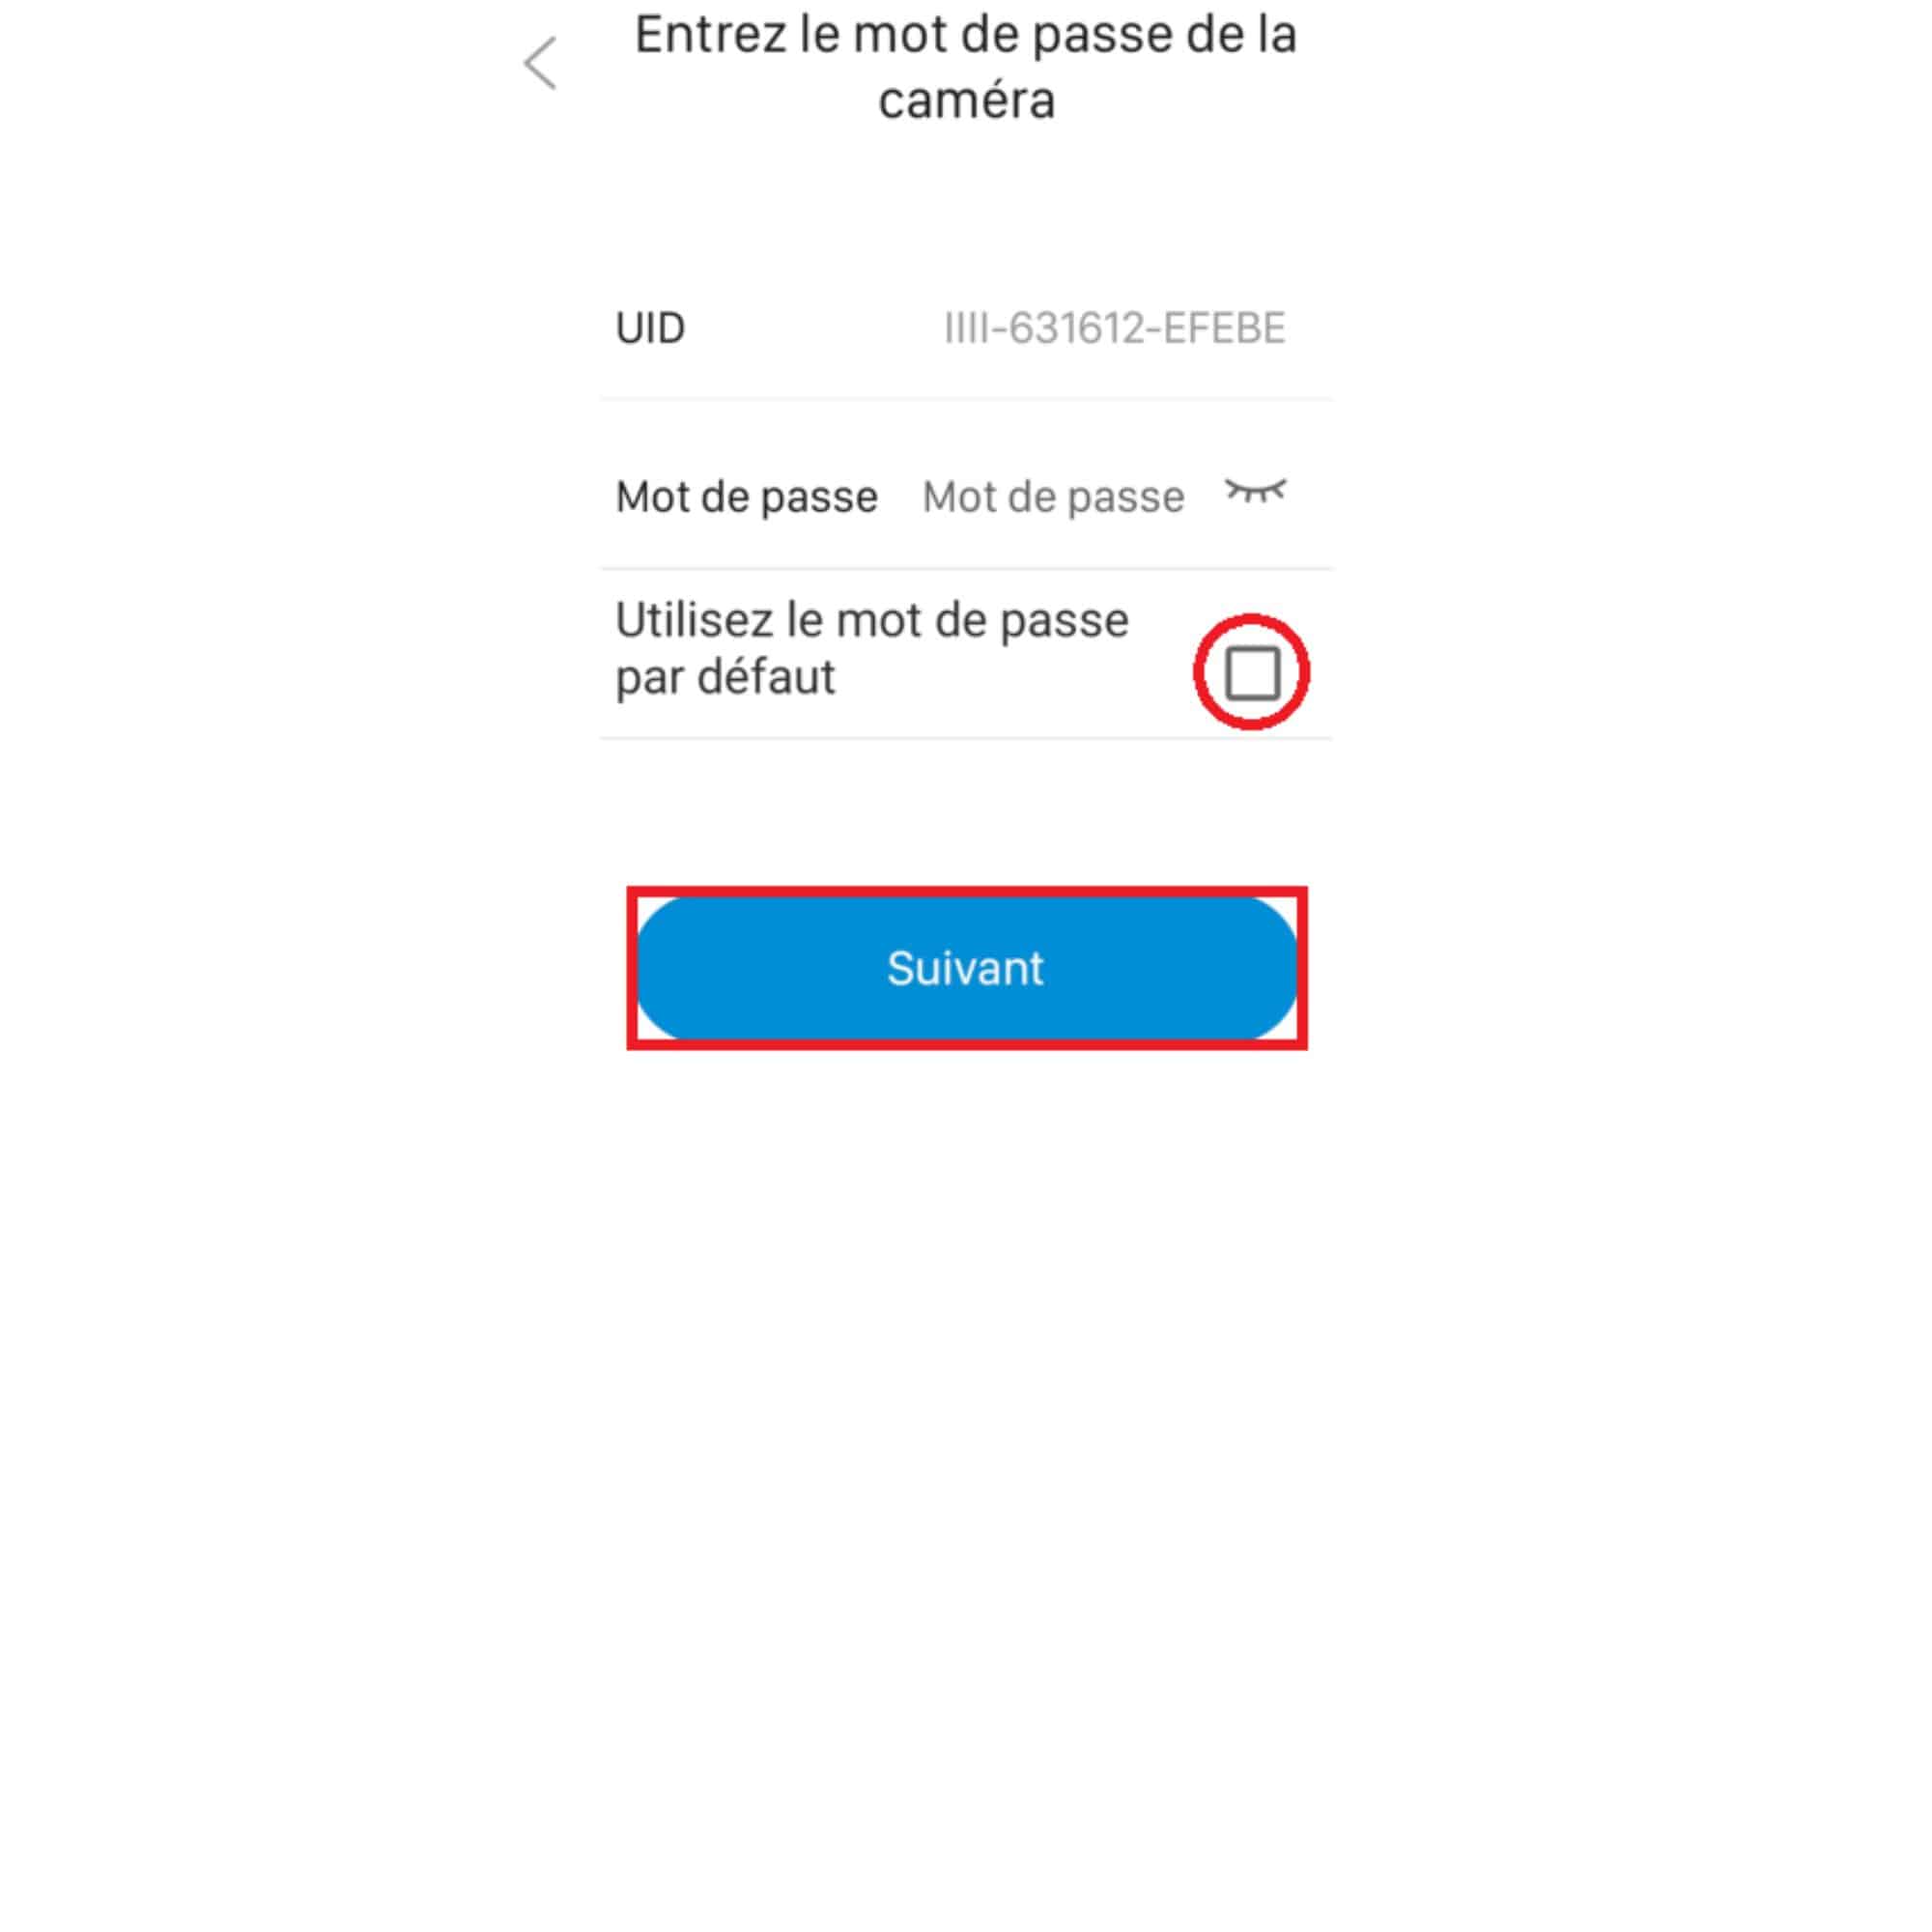
Part no. 123282
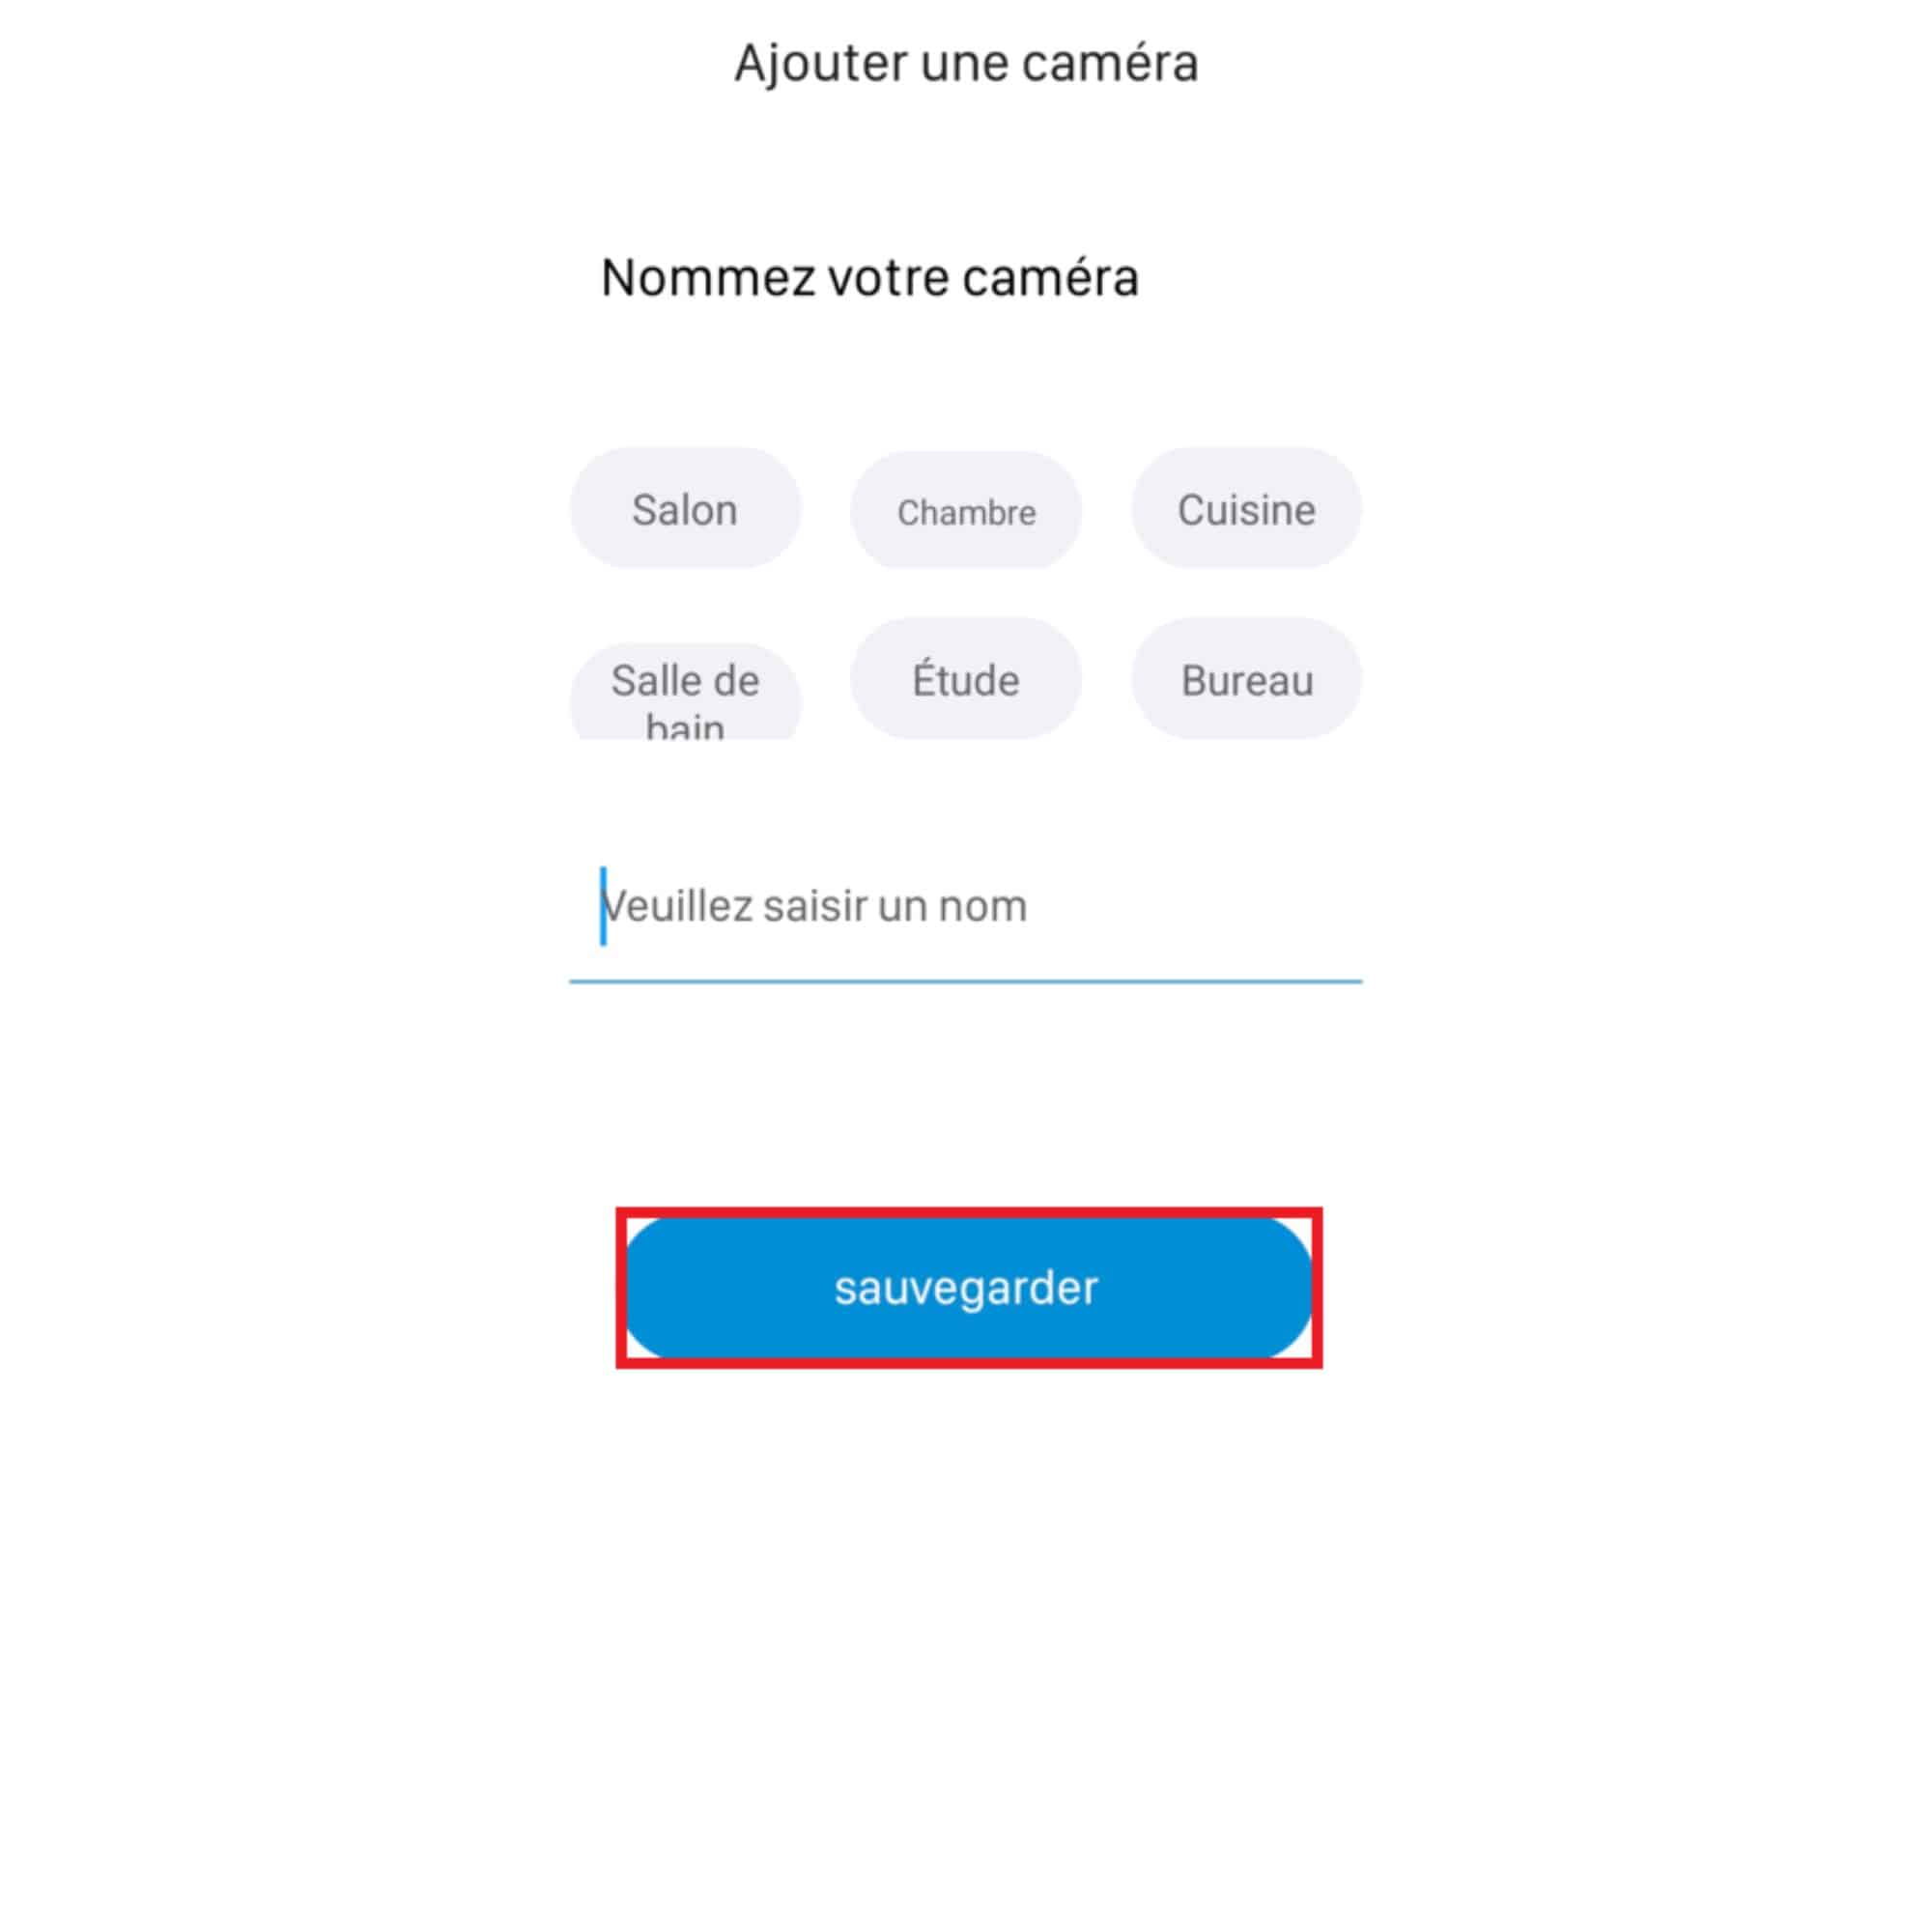
Part no. 123287
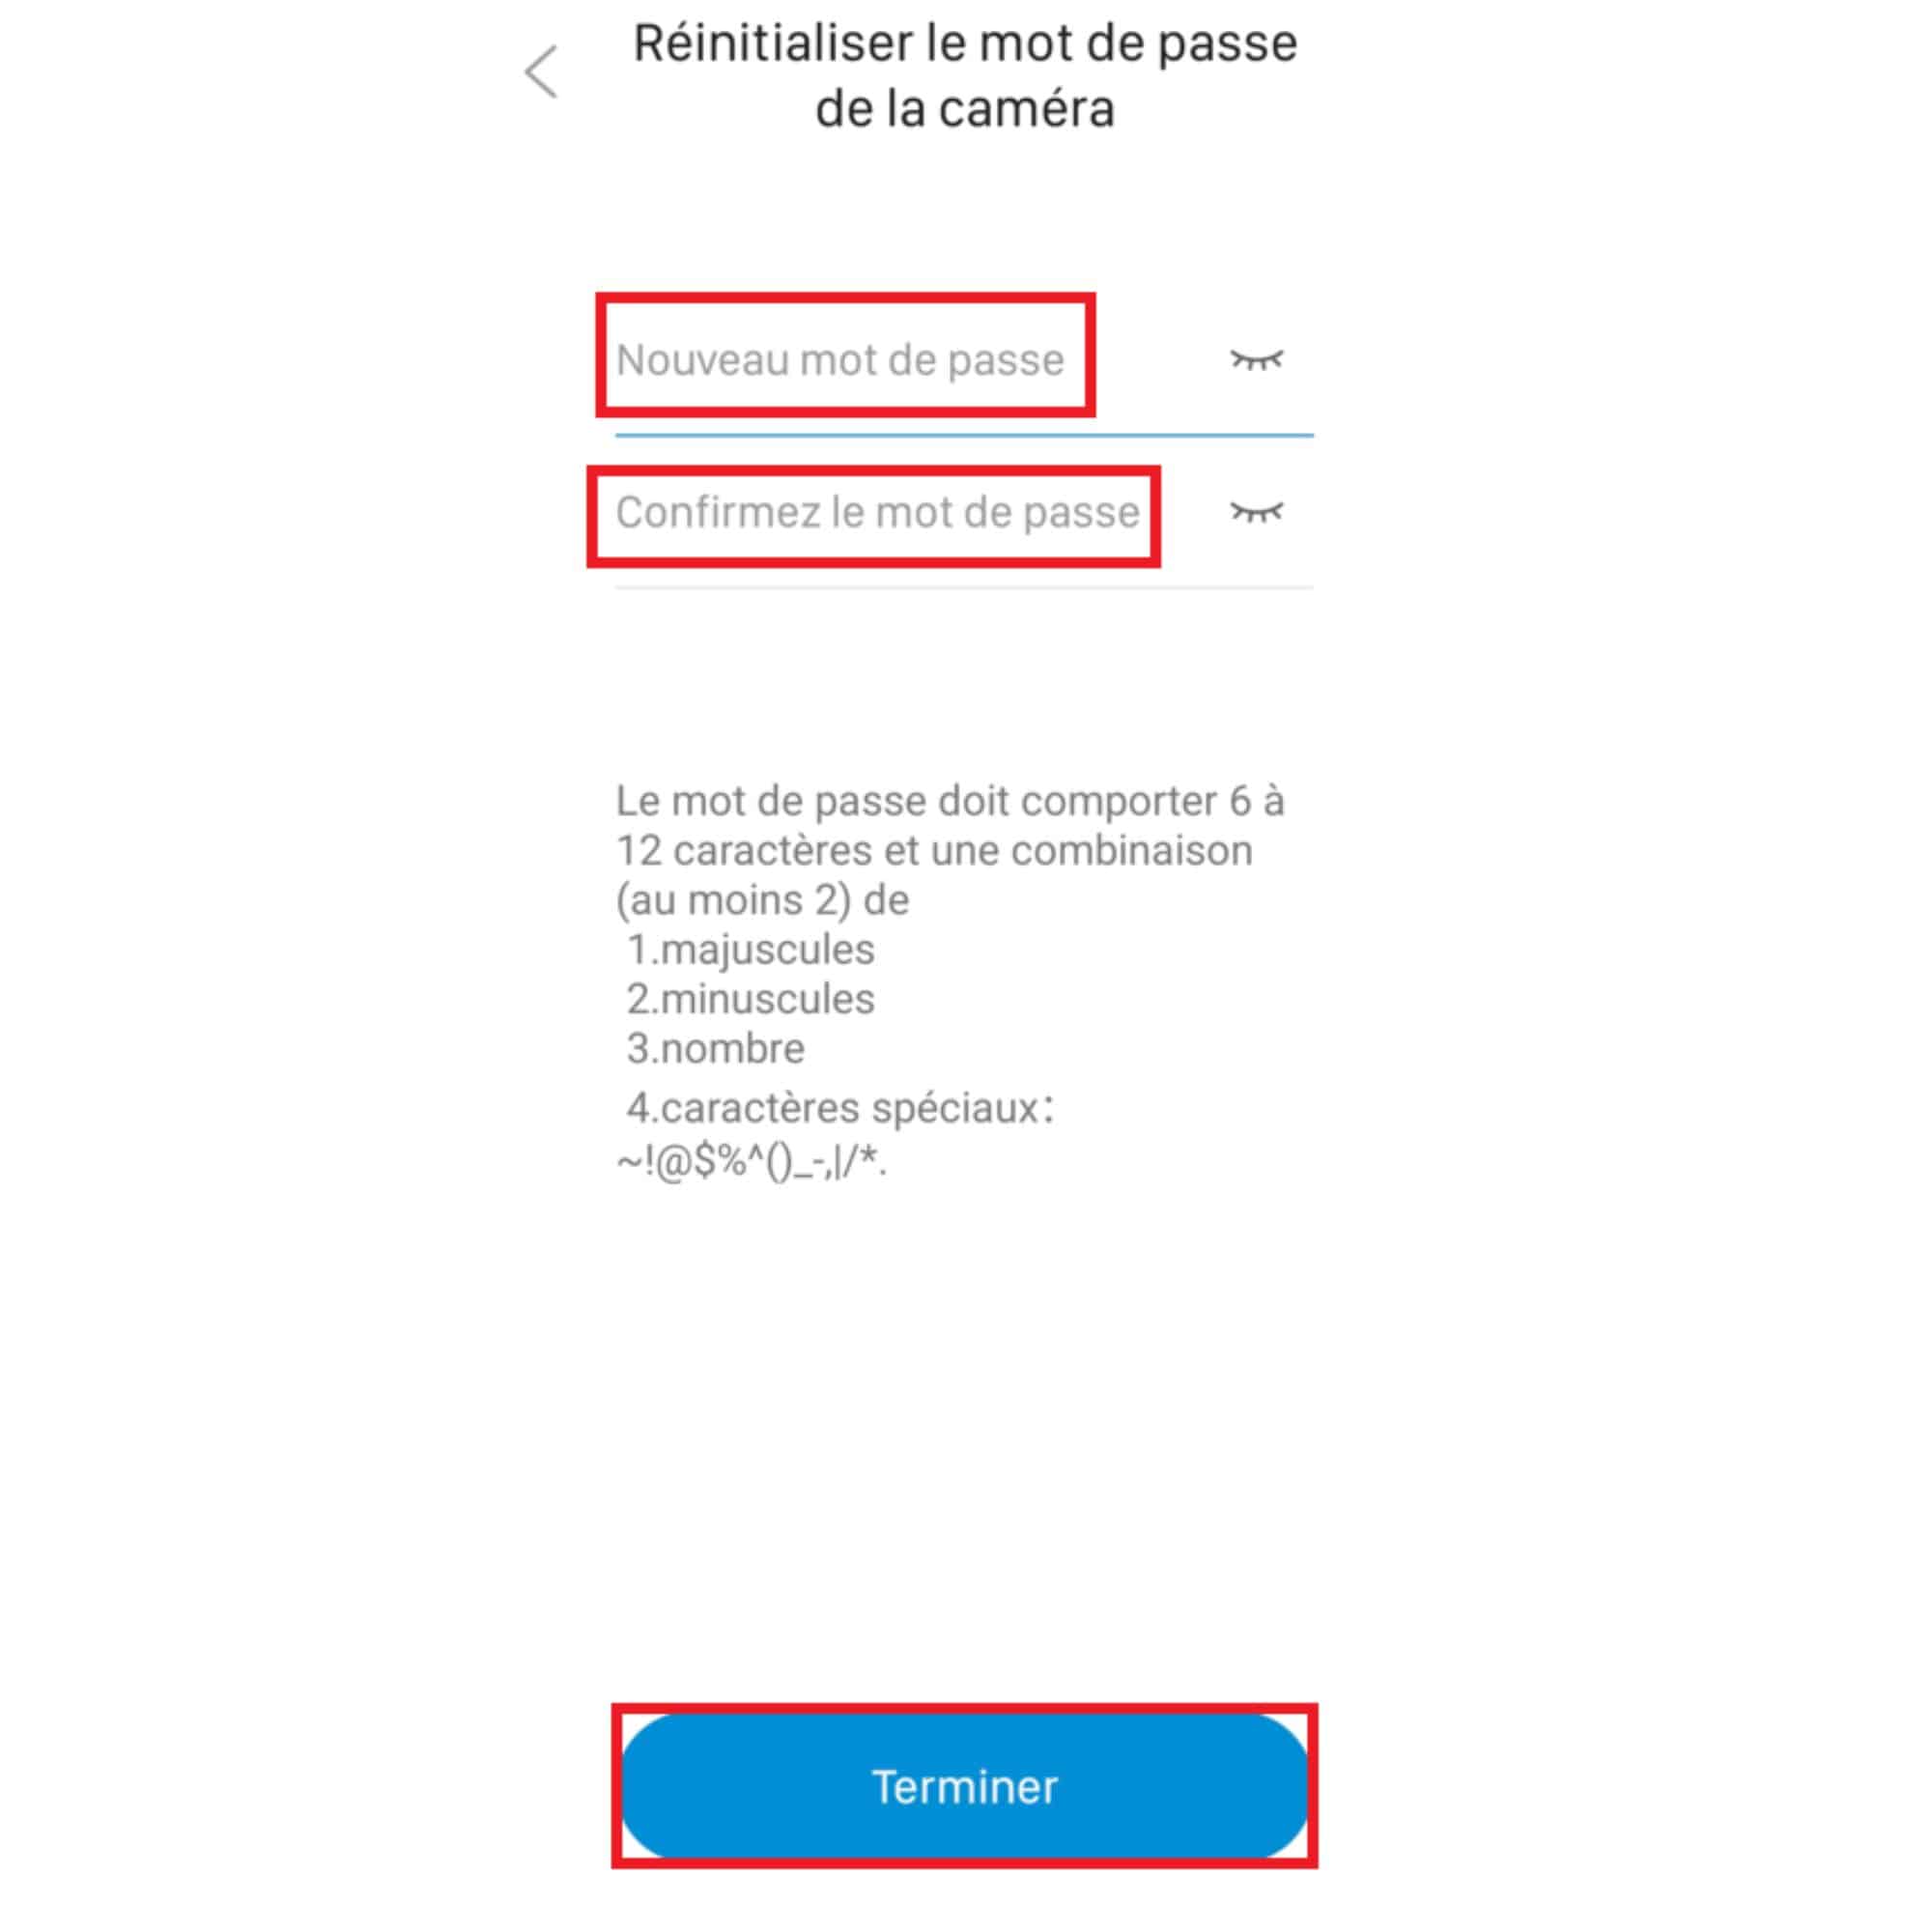
Part no. 123383