Skip to content
  • English
    • French
    • Italian
    • Spanish
    • German
    • Dutch
    • Portuguese (Portugal)
    • Greek
    • Polish
  • English
    • French
    • Italian
    • Spanish
    • German
    • Dutch
    • Portuguese (Portugal)
    • Greek
    • Polish
Logo Avidsen
  • Products
    • Products
    • Avidsen Brand
    • Extel Brand
    • Philips Brand
    • Thomson Brand
  • Support
    • Tutorials on repair and use
    • Avidsen Technical Support
    • Extel brand technical support
    • Philips technical support
    • Thomson Technical Support
  • The Group
    • The Group
    • Contact
  • Ethic Company
  • Where to buy ?
\

Rear fork replacement

  1. Home
  2. Rear fork replacement

Rear fork replacement

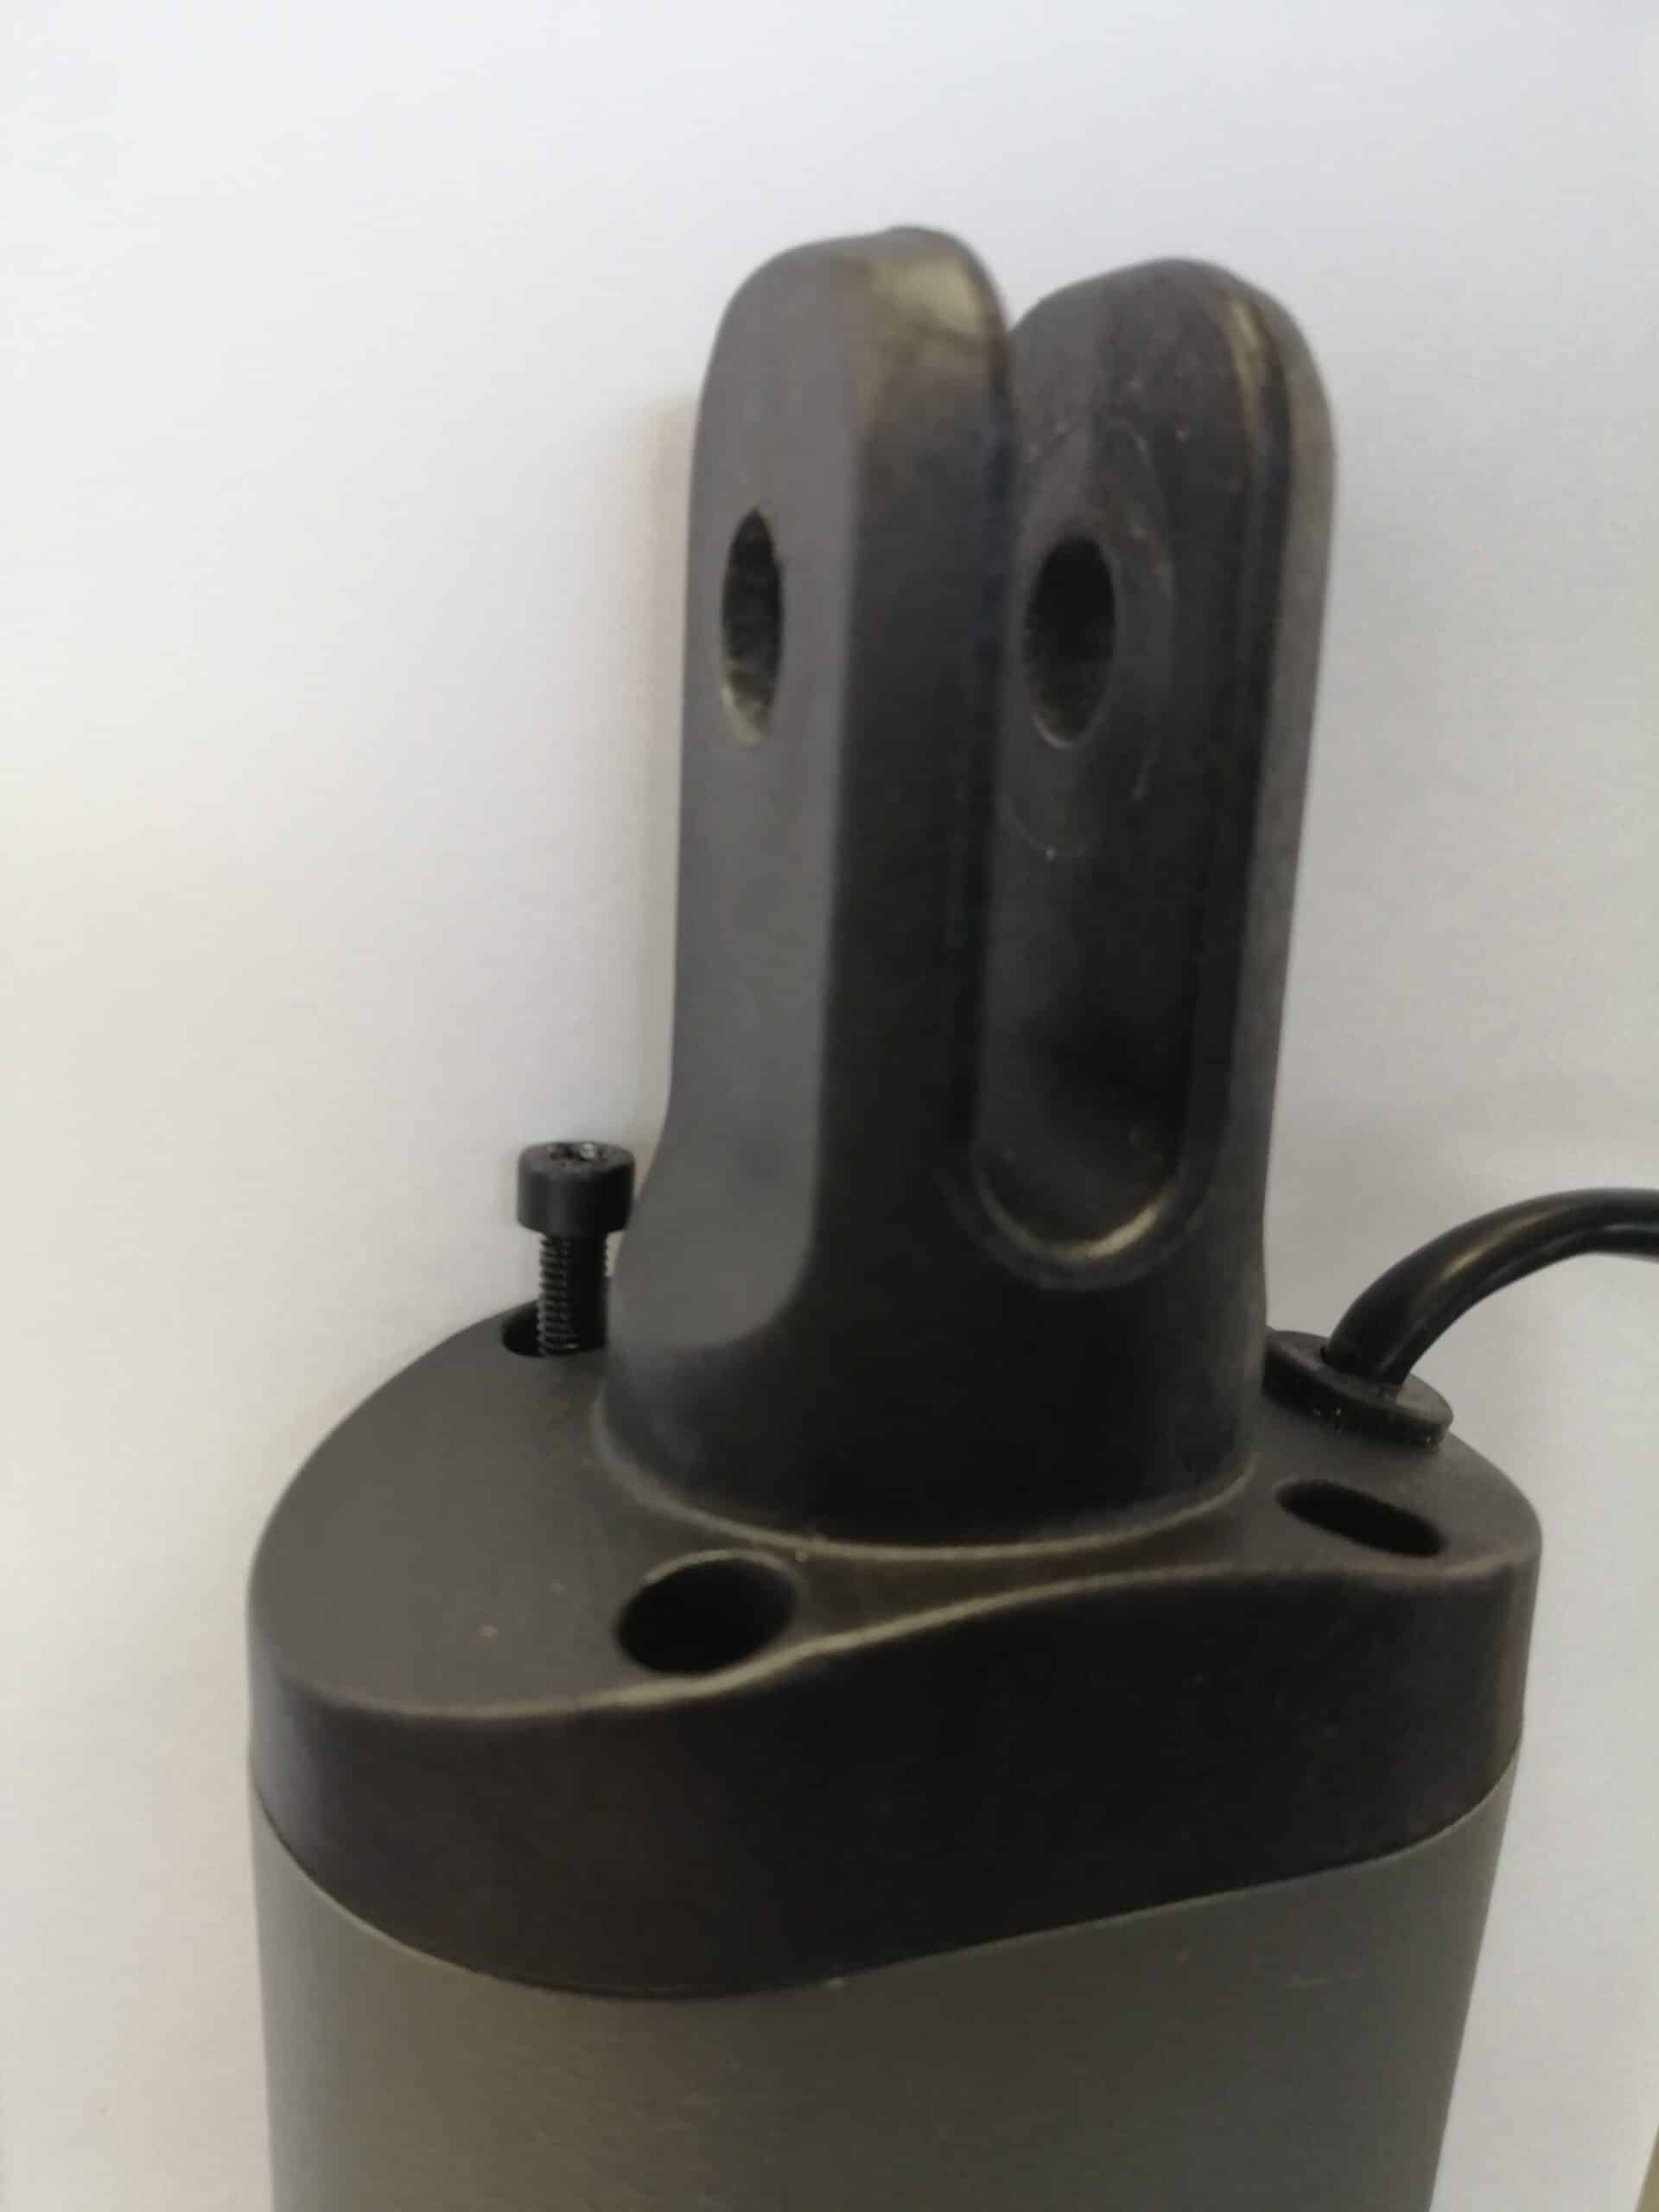
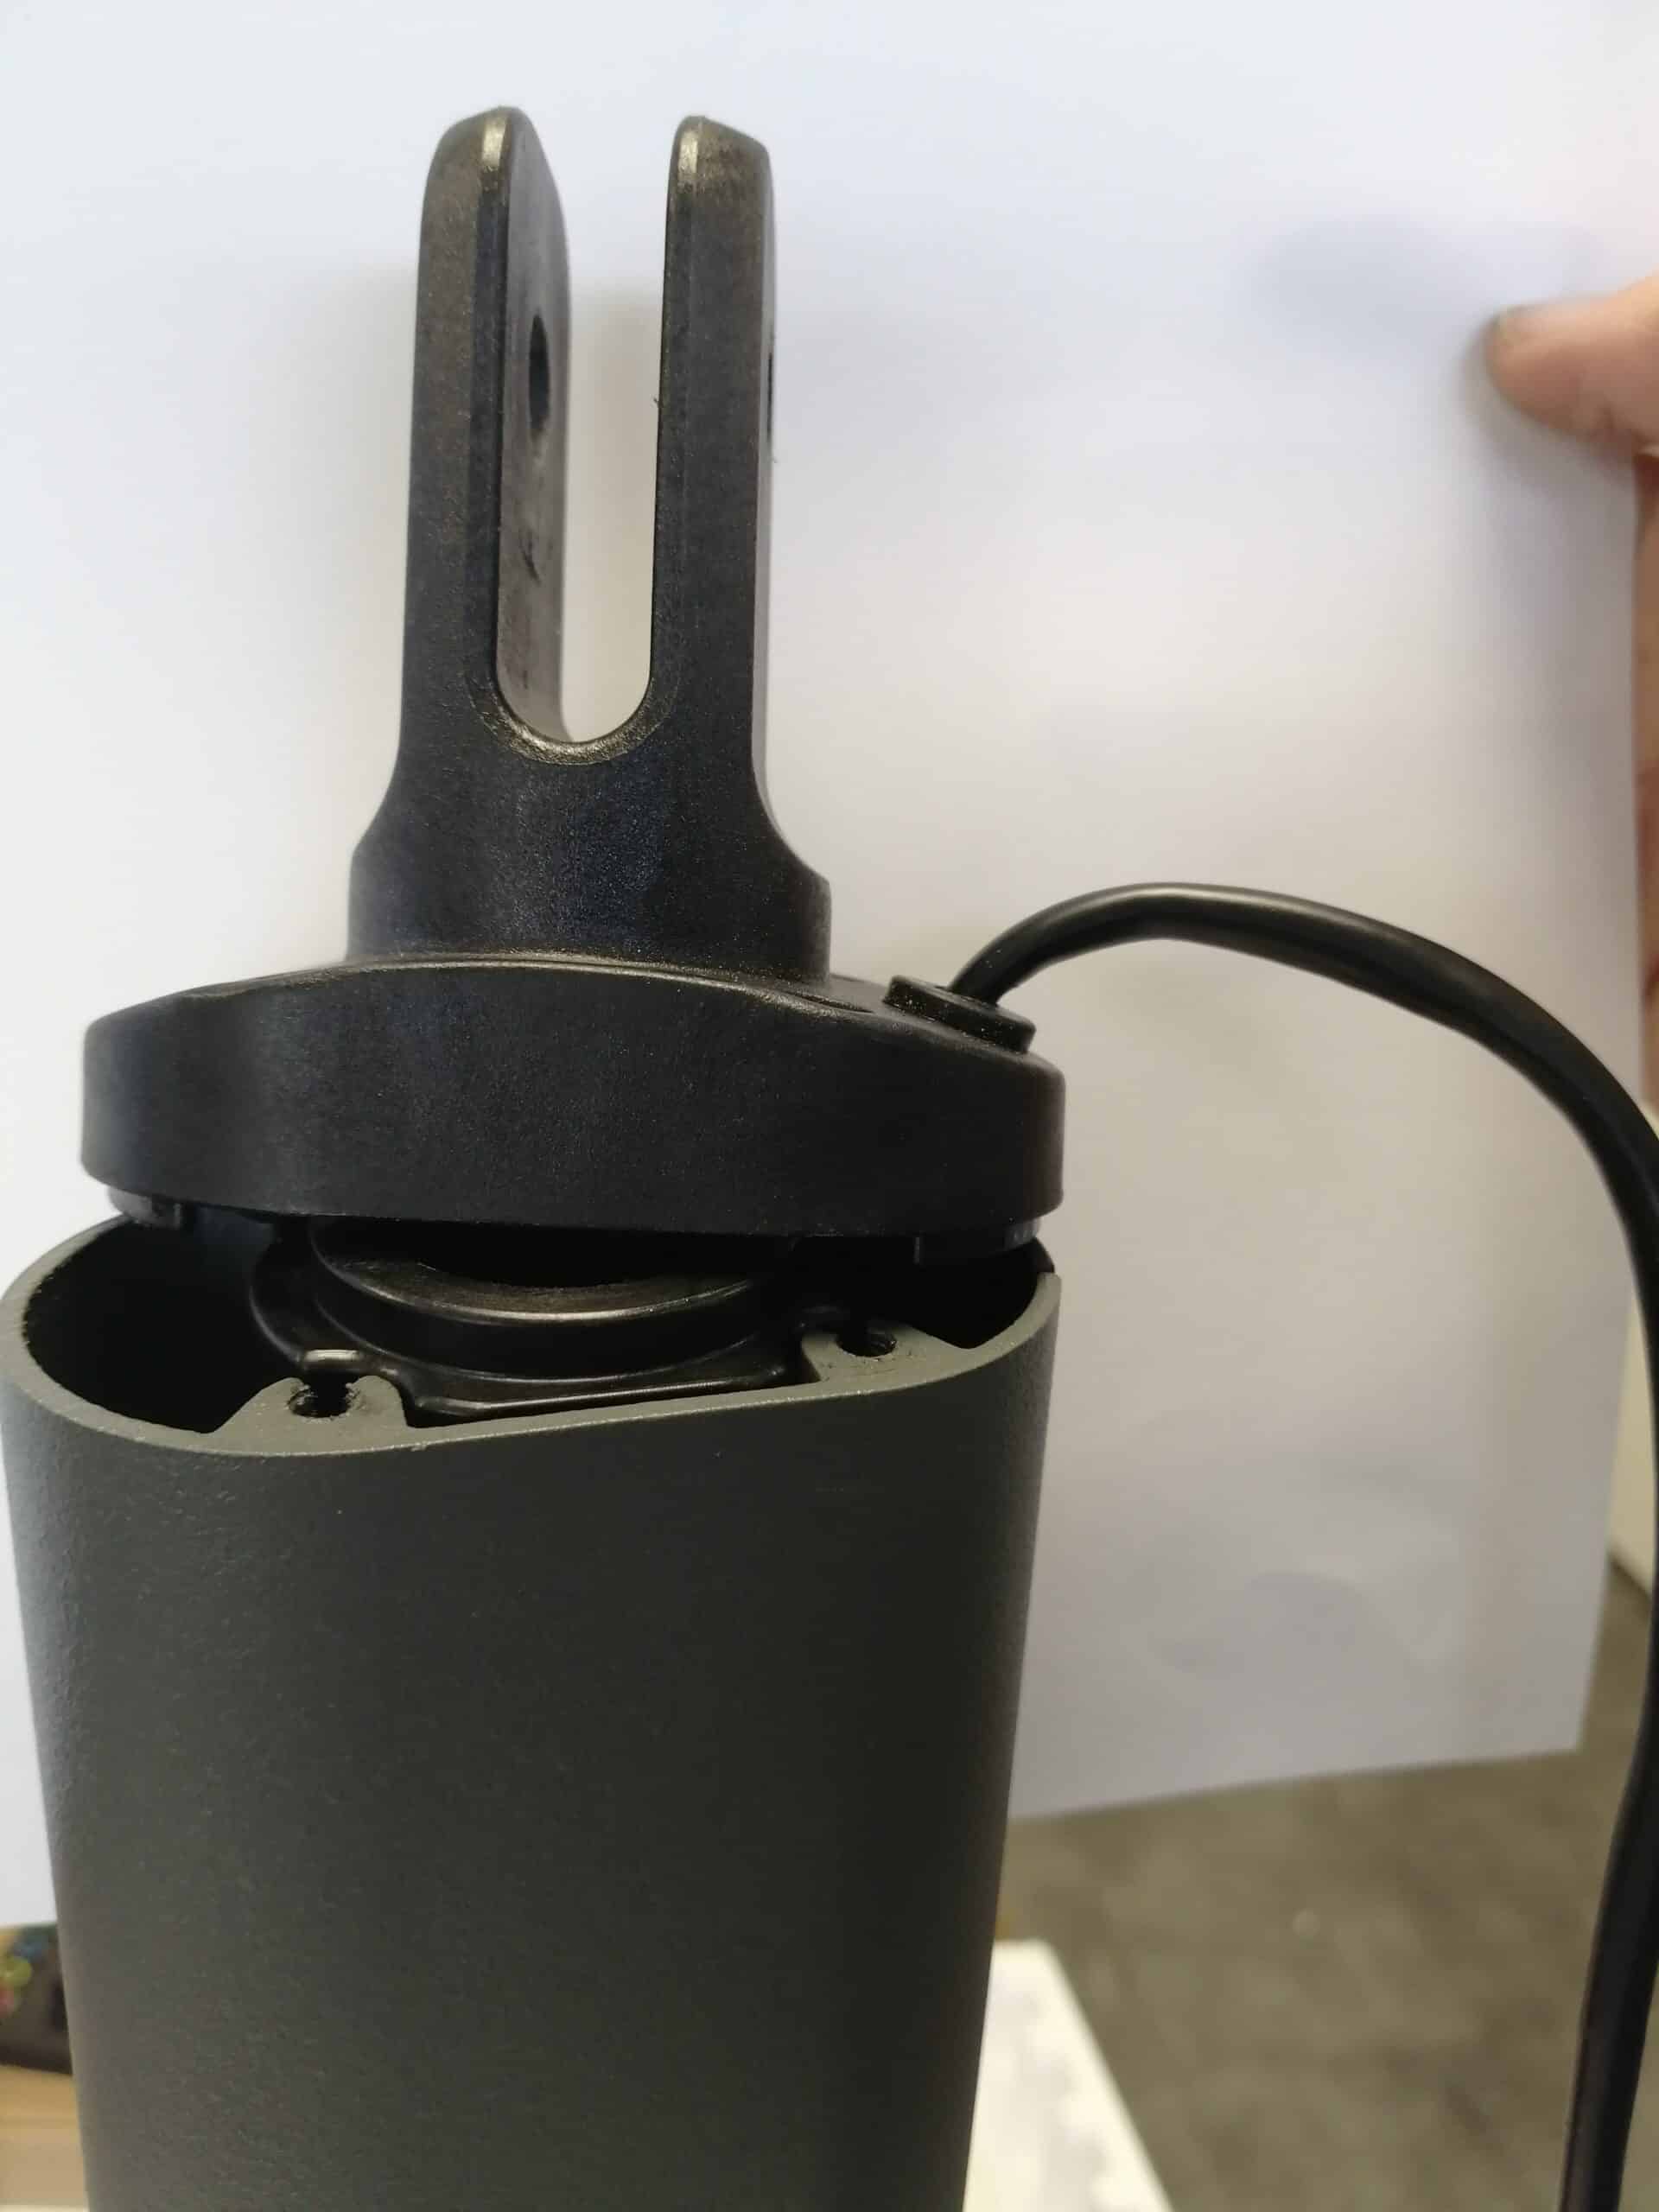
Your jack has suffered a major impact and the fork that secures it to the pillar is broken. Follow the step-by-step instructions in this tutorial to replace it. TIP: If you'd like to use a screwdriver; to gain access to the BTR screws at fork level without having to present the BTR head askew and risk damaging the screw recess, assemble two bit extensions together.

This tutorial is applicable for:

Avidsen - 114173 - Teha 410 / Avidsen - 114174 - Teha Connect / Avidsen - 114300 - Teha 320
Difficulté : Easy
Temps nécessaire : 5 minutes minutes
Nombre d’étapes : 5
Mise à jour : February 2025

Materials needed:

Allen wrench, screwdriver

Tutorial steps:

Step 1 Remove the rear fork

Remove the 4 screw protection rubbers

Step 2 Unscrew and remove the 4 BTR screws

Unscrew and remove the 4 BTR screws

Step 3 Remove the rear fork

Unhook the rear fork and remove it completely by passing
it through the cable.

Step 4 Reinstall the rear fork

Pass the motor fork back through the cable. Screw it back onto the
crankcase and replace the rubber protectors;
Tip:
Hold the gasket firmly on the fork to prevent it from coming out when
it moves on the cable.
When reinstalling the fork, make sure that
the cable gland is well under the fork.

Keep in touch
Youtube Linkedin

Follow us on social networks

About Avidsen
  • Who are we?
  • Contact
  • Who are we?
  • Contact
Support
  • Avidsen Technical Support
  • Extel brand technical support
  • Philips technical support
  • Thomson Technical Support
  • Avidsen Technical Support
  • Extel brand technical support
  • Philips technical support
  • Thomson Technical Support
Avidsen group brand
  • Avidsen Brand
  • Extel Brand
  • Philips Brand
  • Thomson Brand
  • Avidsen Brand
  • Extel Brand
  • Philips Brand
  • Thomson Brand
Copyright 2025 © All rights reserved Avidsen
  • Legal Notice
  • Personal data protection policy
  • Terms and Conditions of Use
  • Legal Notice
  • Personal data protection policy
  • Terms and Conditions of Use
Thank you for your rating!
Thank you for your rating and comment!
This page was translated from: French
Please rate this translation:
Your rating:
Change
Please give some examples of errors and how would you improve them: