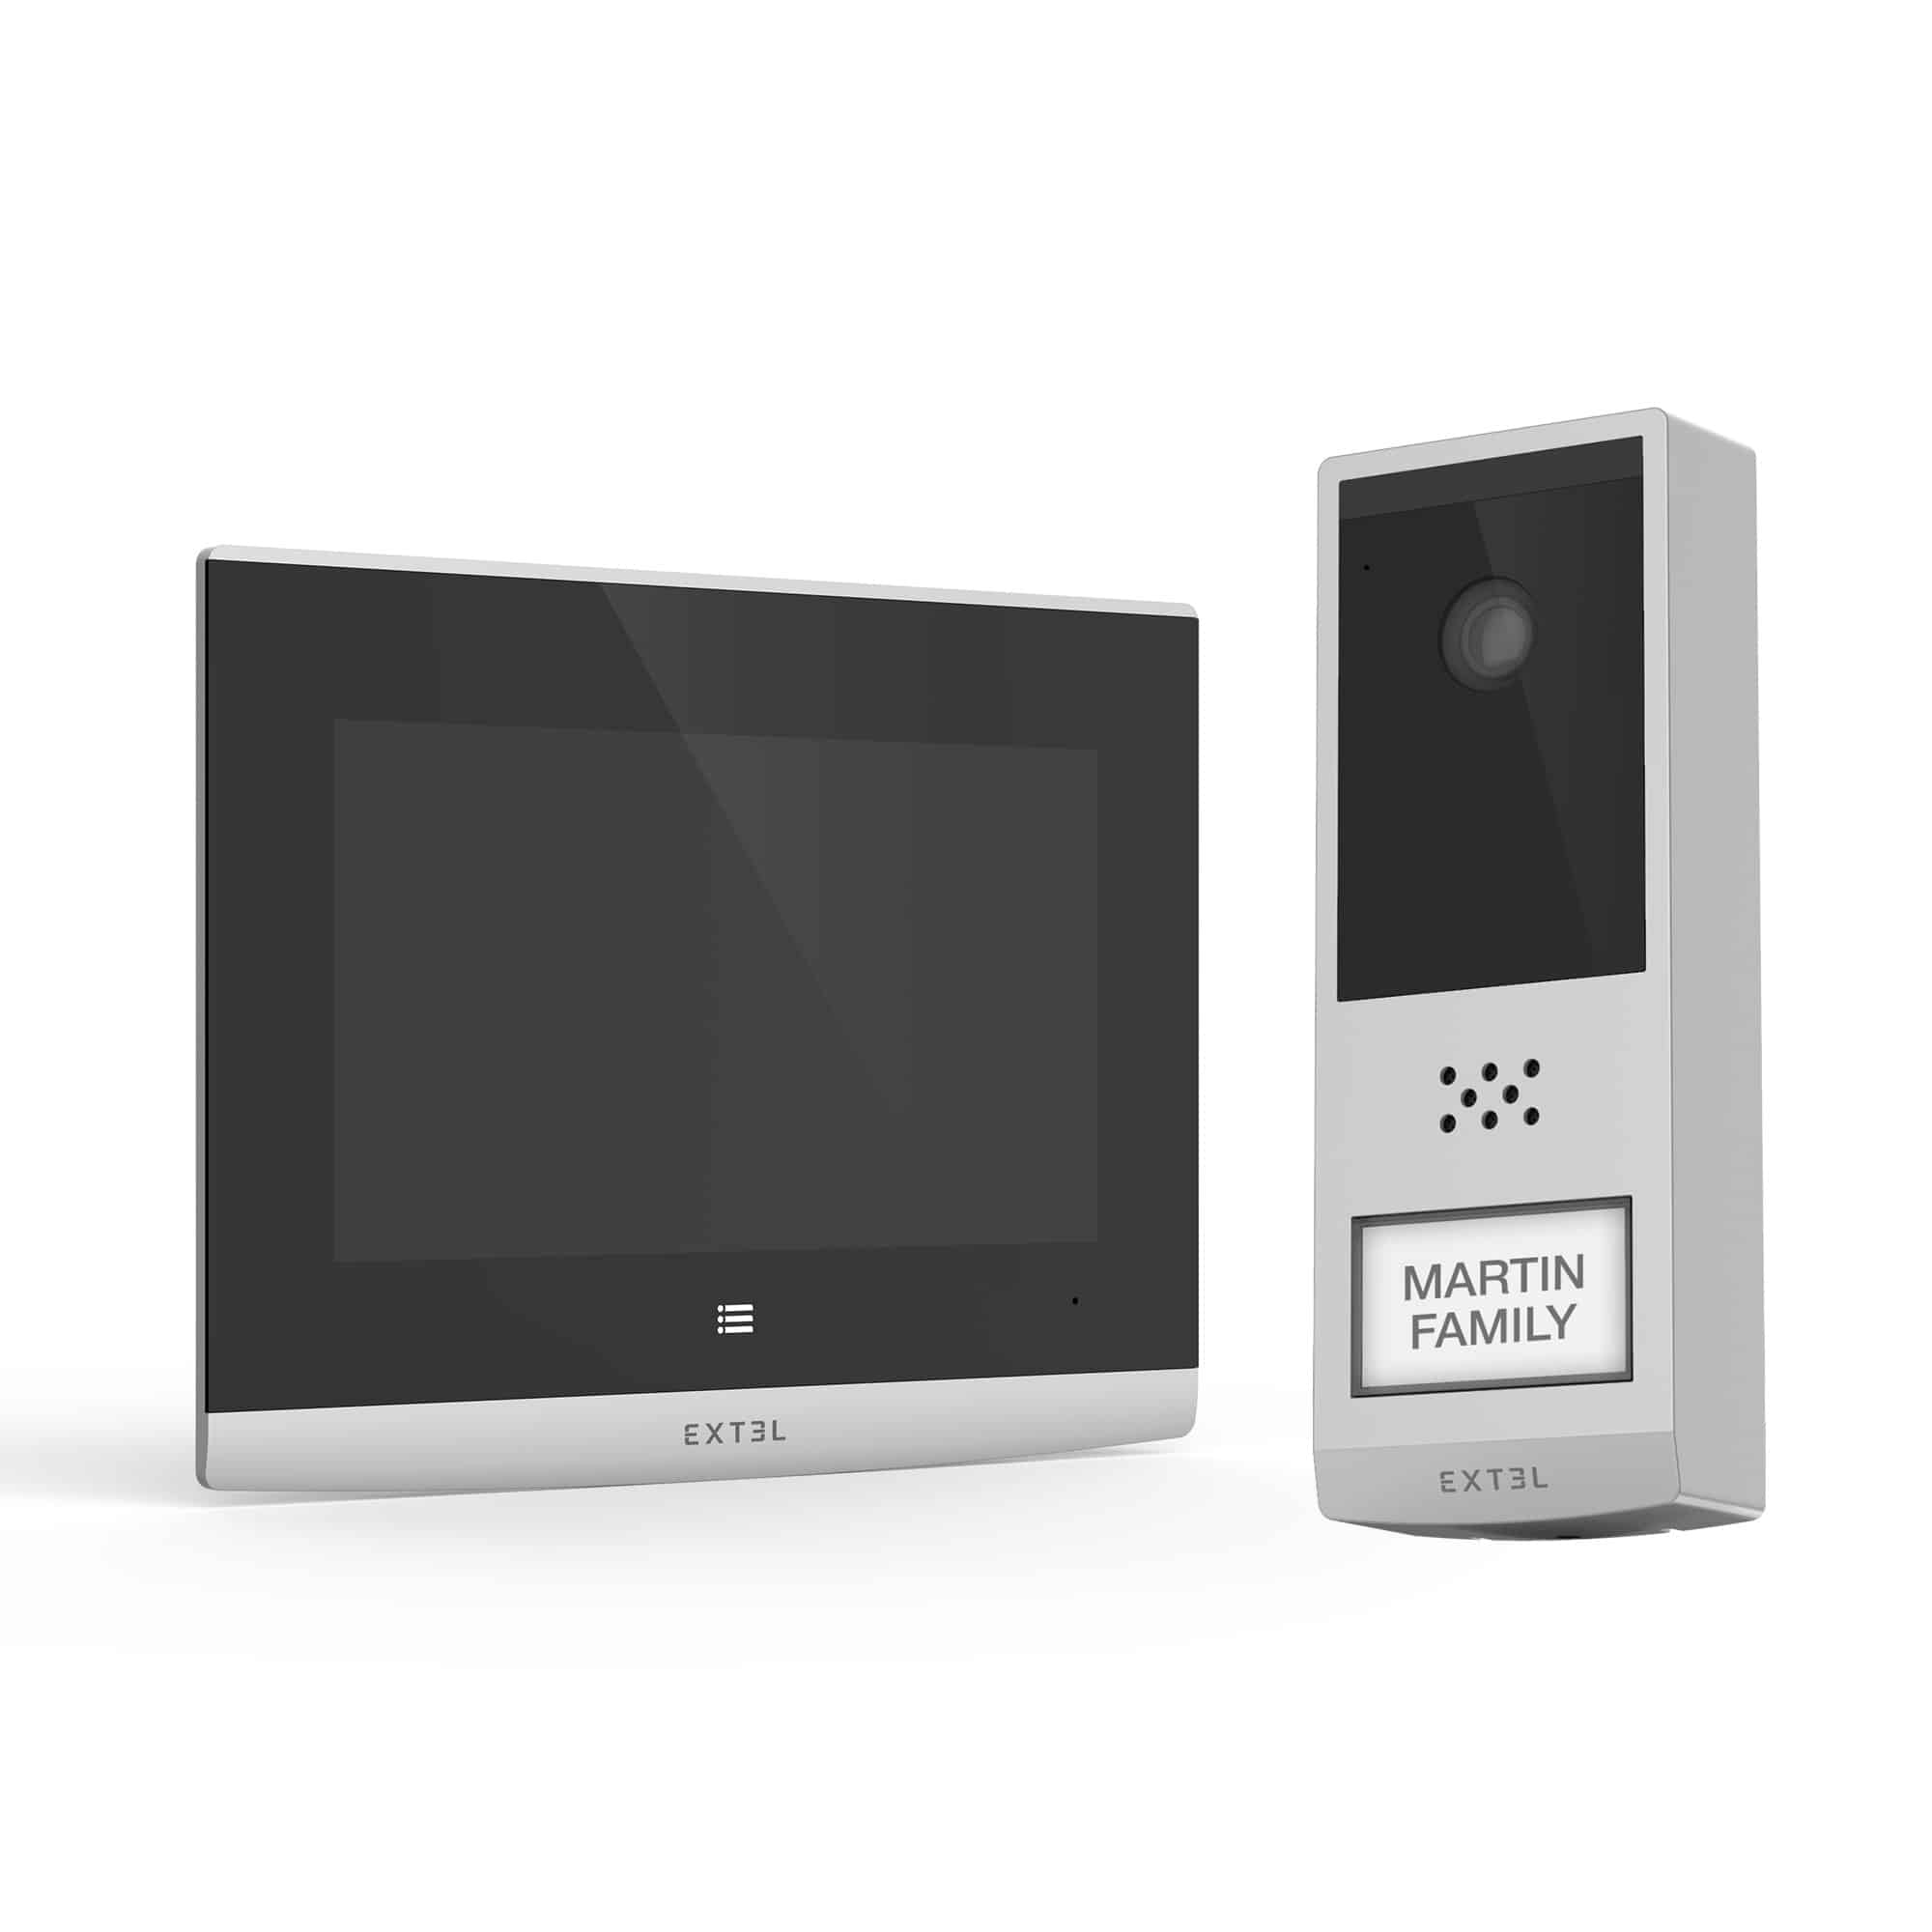
Synchronization of monitor and EXTEL WAVE 2 door station
Synchronization of monitor and EXTEL WAVE 2 door station
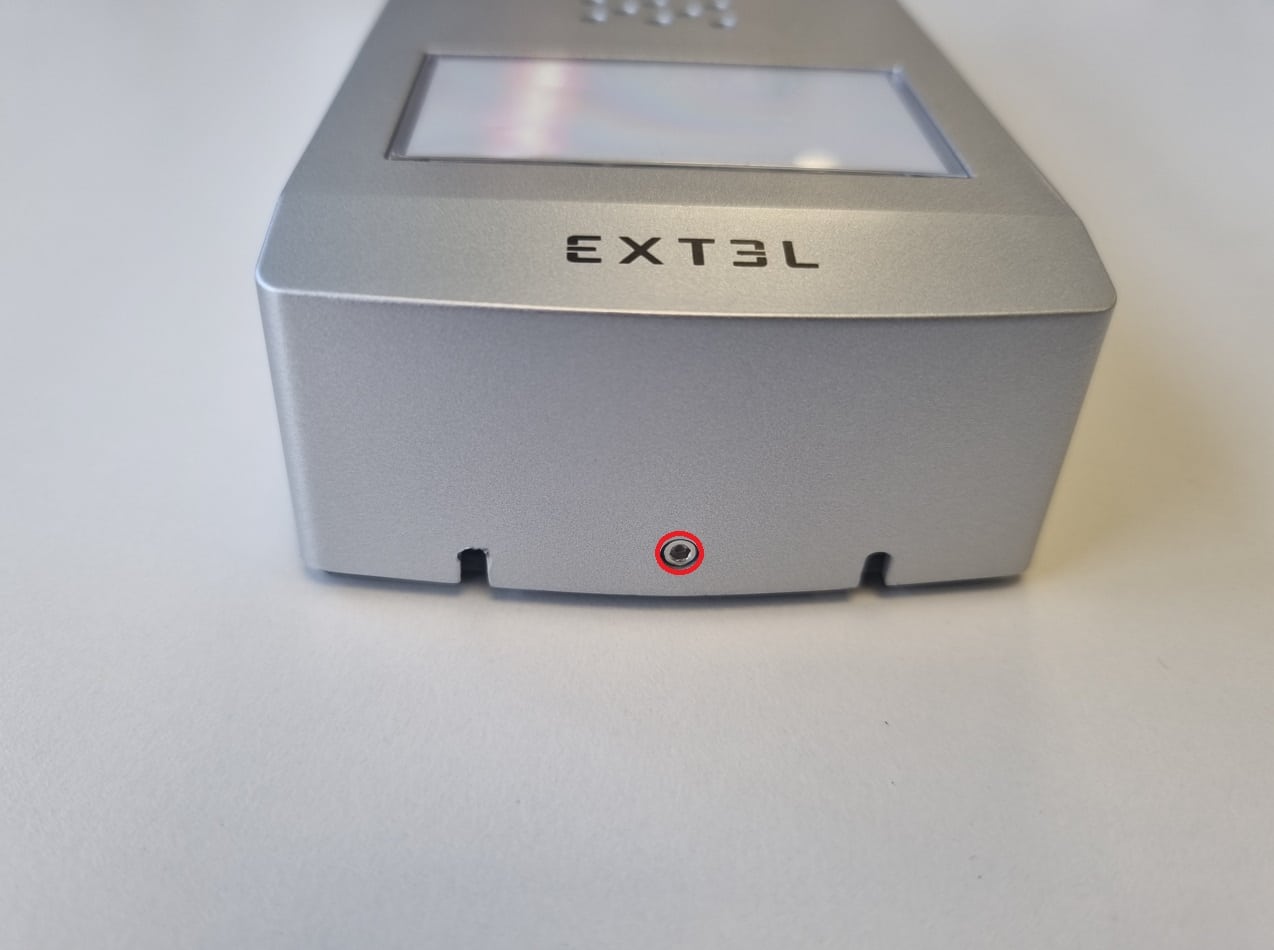
Does your monitor stop ringing when a visitor presses call button? Your monitor needs to be resynchronized at intercom panel.
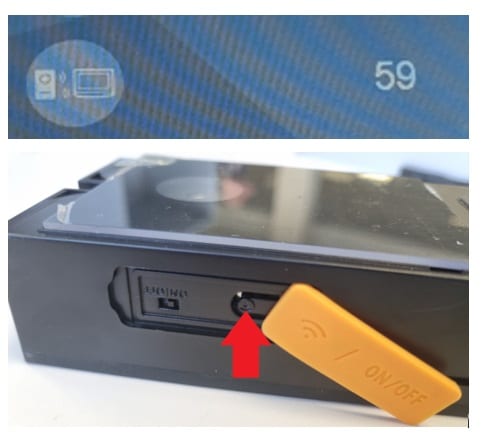
To limit errors caused by large obstacles, bring the intercom panel closer to the monitor.
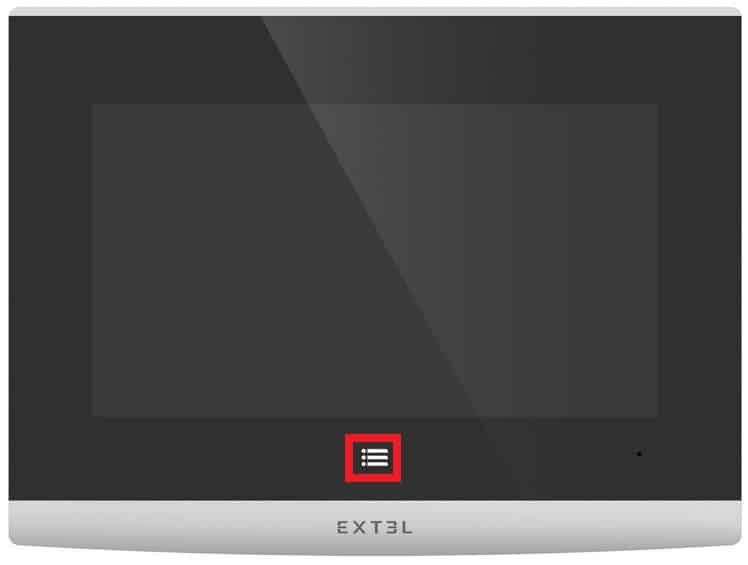
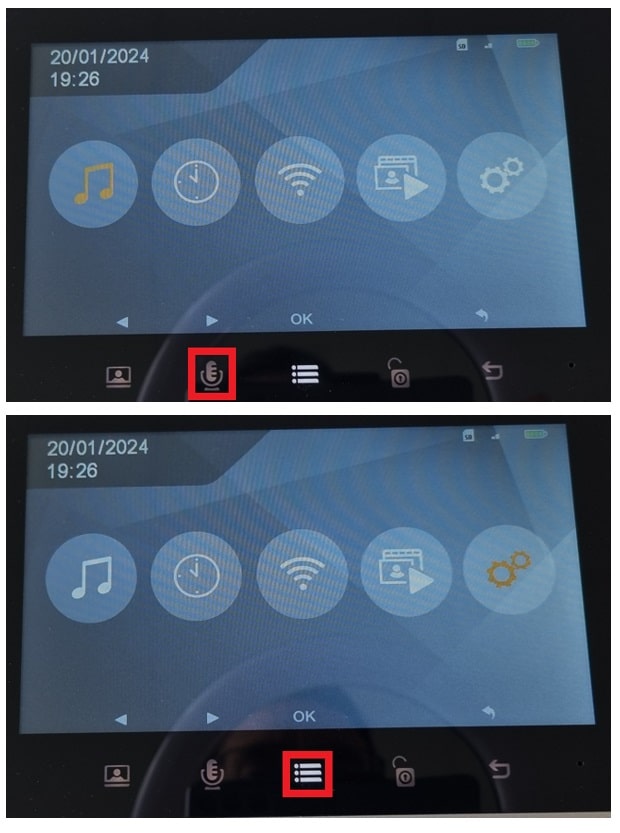
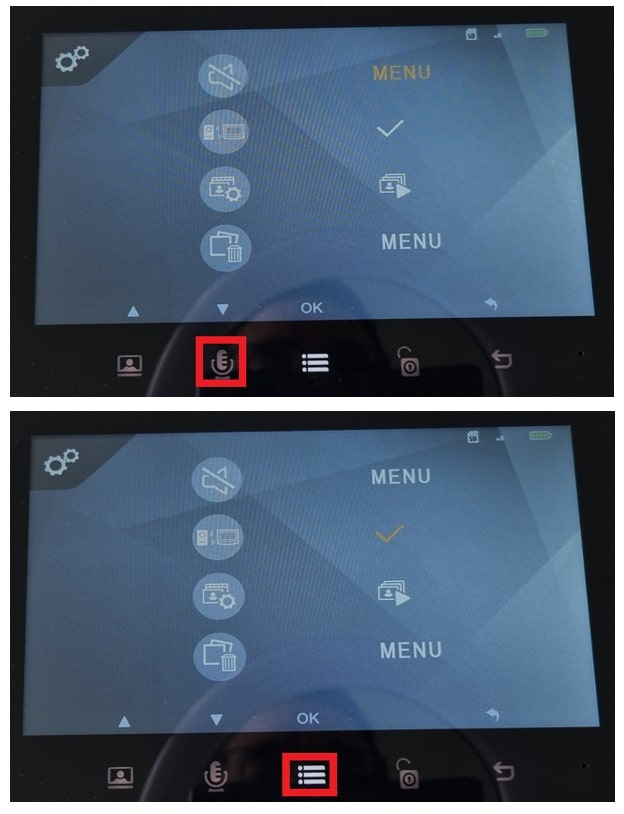
 4 times to move the cursor to the right.